
You typed those words into a search bar because somewhere in your head, you've already decided to build something. Maybe it's a business you've been sitting on for months. Maybe it's a portfolio that's long overdue. Maybe you just want a corner of the internet that's fully yours.
Here's the honest truth: building a website from scratch is not as complicated as the internet makes it look. It's also not as simple as some drag-and-drop ads would have you believe. It's somewhere in the middle, and this guide walks you through exactly what that middle looks like, step by step, without skipping the parts that actually matter.
Step 1: Define the purpose and outcome of your website
Before you touch a tool, platform, or template, you need to get clear on one thing: what is this website supposed to do?
That sounds obvious, but most people skip it. They dive into design decisions before they've answered the question that should be driving every decision. A website without a clear purpose is just a collection of pages.
Start by asking yourself what you want visitors to do when they arrive. Should they contact you? Buy something? Book a call? Read your work? Download a resource? The answer to that question is your website's primary goal, and everything you build should serve it.
Also, think about who your audience is. A website for a local contractor serves a completely different person than a website for a SaaS product. The clearer you are on who you're talking to and what you want them to do, the easier every decision that follows becomes.
Write this down before you move forward. One sentence: "This website exists to [goal] for [audience]." That sentence becomes your filter for every choice you make throughout this process.
For example, let's say you're a freelance graphic designer building your first website. Your purpose sentence might look like this: "This website exists to get me booked for brand identity projects by small business owners who need a designer they can trust." That one sentence immediately tells you what your homepage headline should say, what work to put in your portfolio, and what your call to action should be. It also tells you what to leave out: a blog about design trends, a list of 12 different services, anything that doesn't lead a visitor toward booking you. One sentence, every decision filtered through it.
Step 2: Understand the core components of your website
Before you build anything, it helps to understand what a website is actually made of. Think of it like understanding the ingredients before you start cooking.
Every website, regardless of how simple or complex it is, relies on the same core components working together.
A domain name is your website's address. It's what people type into a browser to find you, like yourname.com or yourbusiness.com. You don't own it outright; you register it through a domain registrar and pay to renew it annually.
Web hosting is where your website actually lives. It's a server, somewhere in the world, that stores your website's files and serves them to anyone who visits your domain. When someone types your URL, the browser connects to your host and retrieves your site.
Design and layout refer to how your site looks and how users move through it. This includes your pages, colors, fonts, images, and navigation structure.
Content is everything you publish on your site, including text, images, videos, and downloads. Content is often underestimated during the build phase, but it is what makes your website useful and findable.
Functionality covers anything interactive or dynamic on your site, such as contact forms, booking systems, payment processing, or member logins.
These components connect like this: your domain points to your host, your host serves your files, and those files contain your design, your content, and your functionality. Once you understand how they fit together, the build process starts to make a lot more sense.
Before moving to the next step, run through this quick checklist to make sure you have a handle on each component:
- Do you know what domain name you want?
- Do you know whether your chosen platform includes hosting or if you need to set it up separately?
- Do you have a rough idea of how you want your site to look and feel?
- Do you know what content you'll need: pages, text, images, and any downloadable assets?
- Do you know what functionality your site needs beyond basic pages?
If you can answer yes to all five, you're ready to move forward. If any of them feel unclear, that's fine too. The steps ahead address each one in detail.
Step 3: Decide how you will build your website
There are several ways to build a website, and the right approach depends on your goals, technical comfort level, and how much time you want to invest.
At this stage, you’re not building yet. You’re just understanding how everything fits together.
No-code website builders
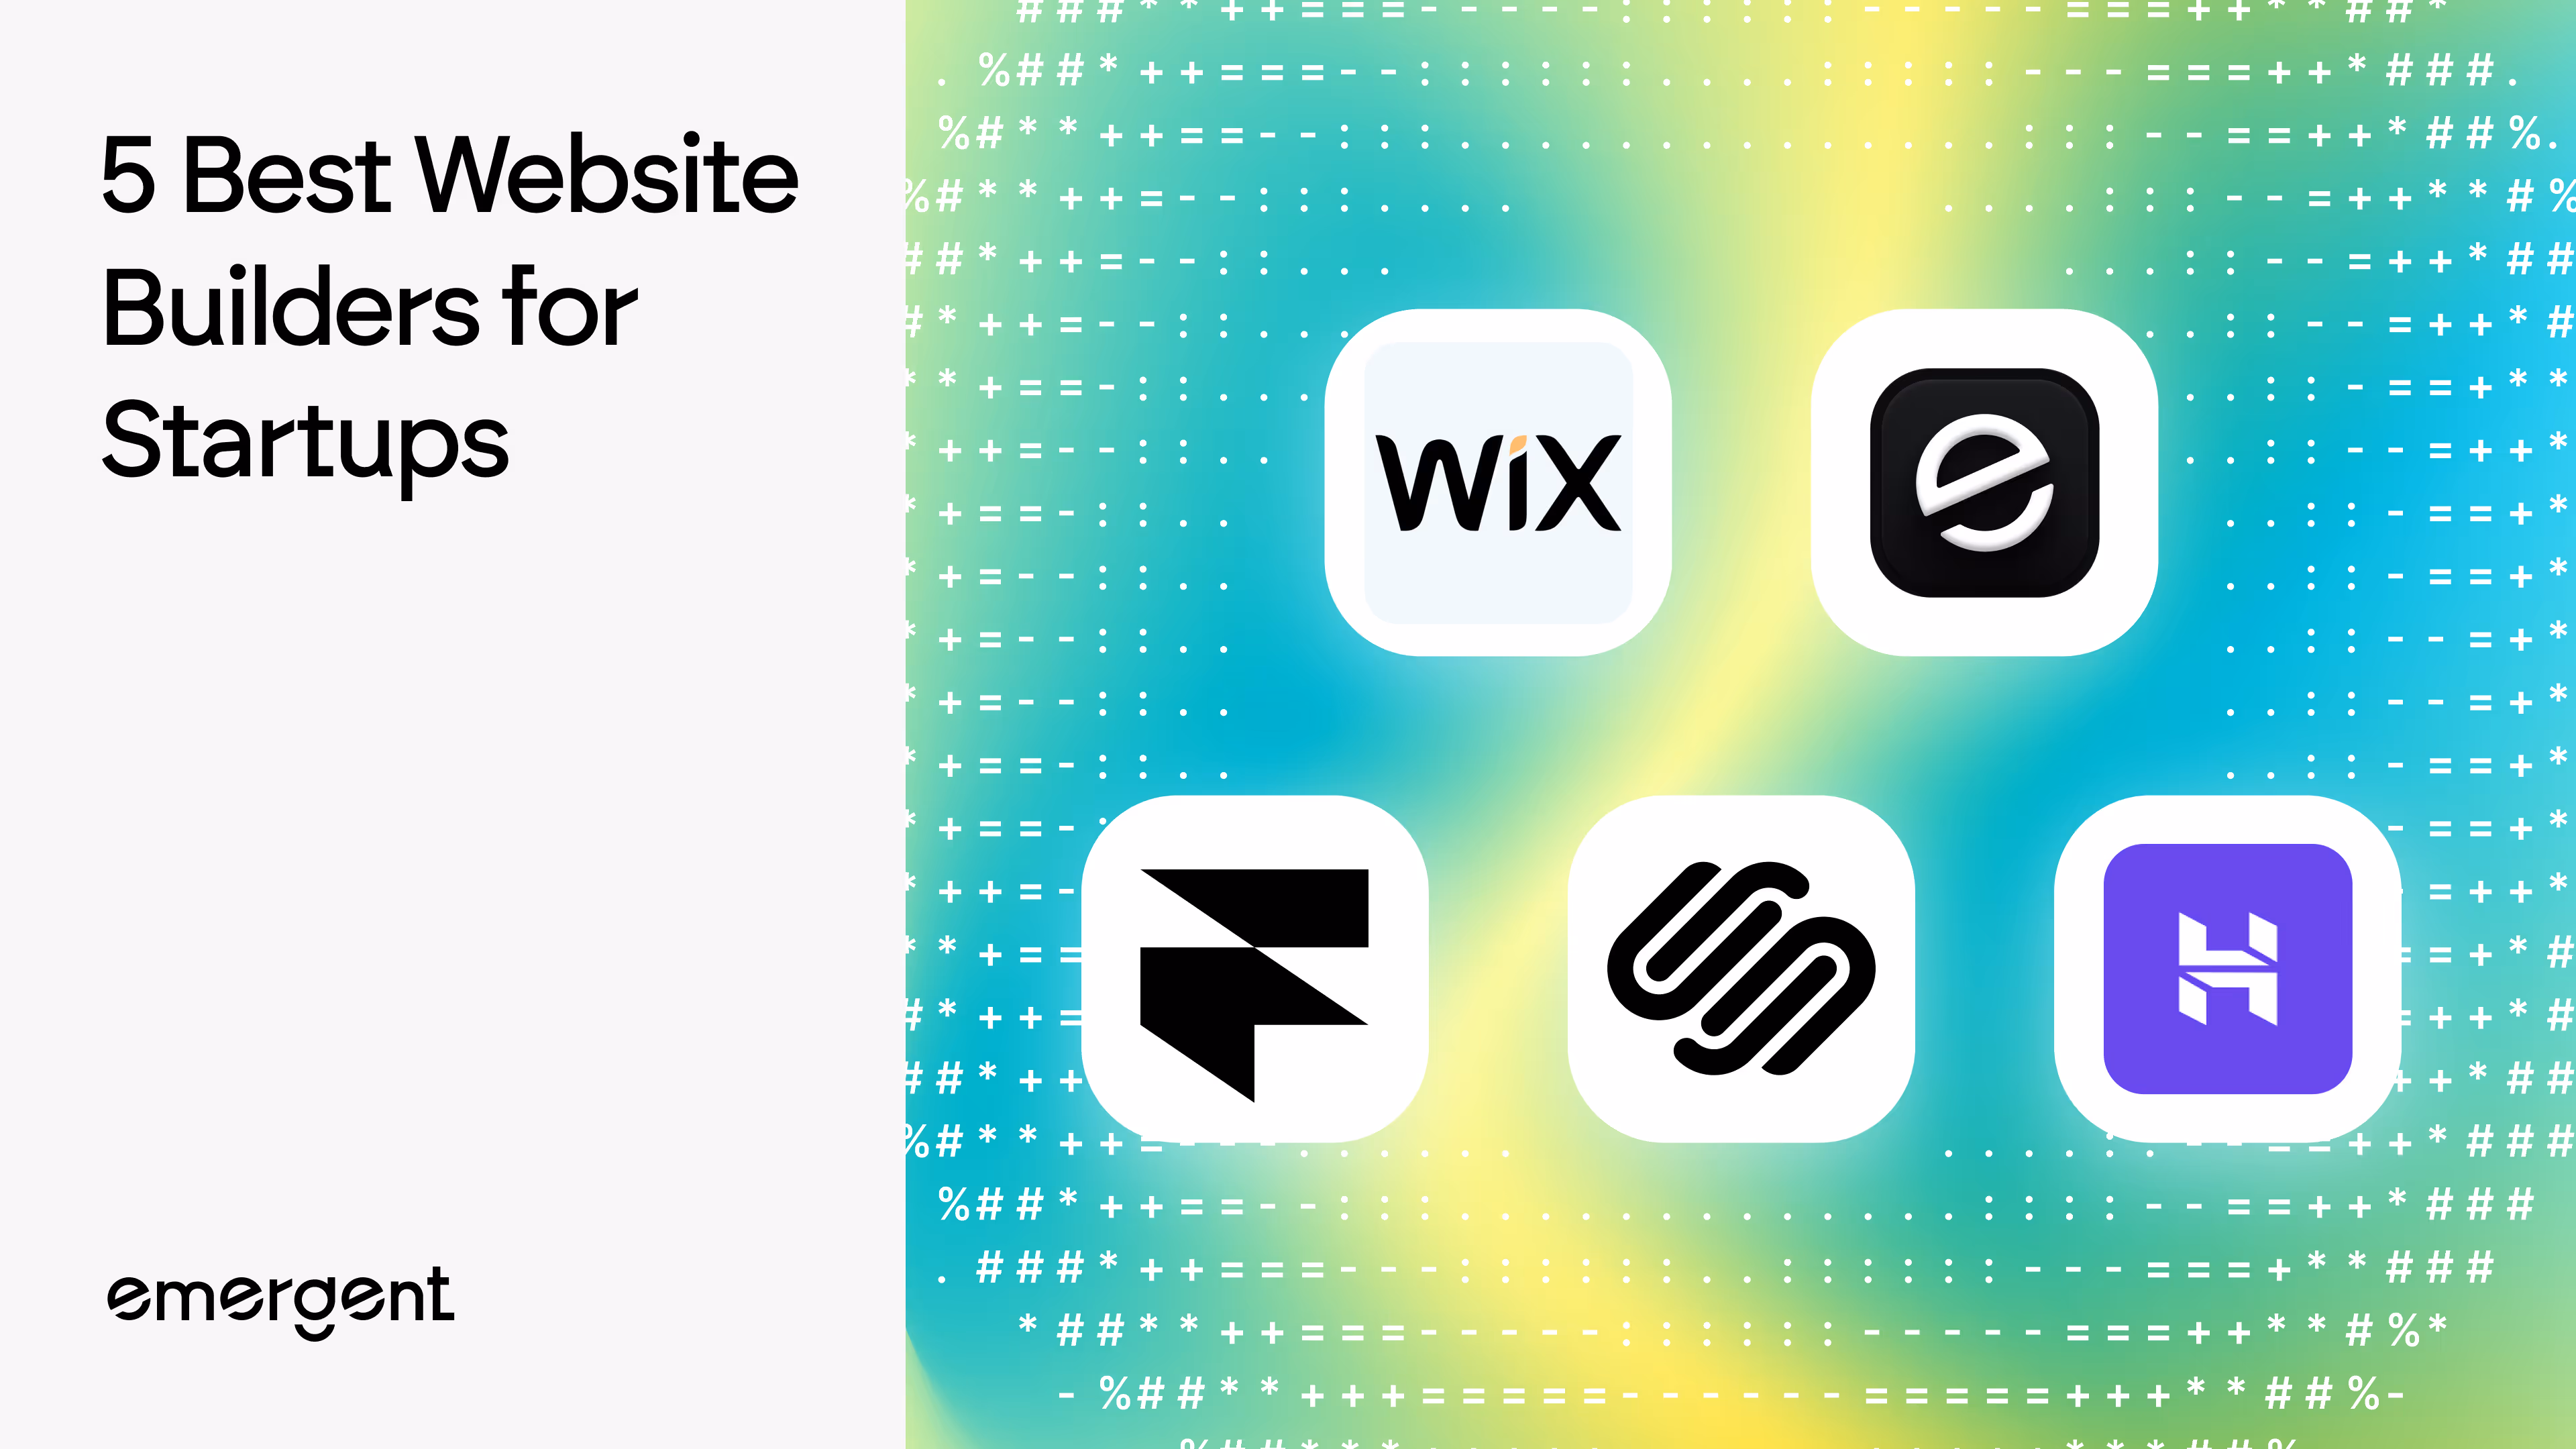
Platforms like Wix, Squarespace, or Webflow give you a visual editor where you drag, drop, and customize without writing any code. They handle hosting and many technical details for you. This is the fastest path to a live site and works well for most personal websites, small businesses, and portfolios.
Content Management Systems (CMS)
WordPress is the most widely used example in this category. It gives you more flexibility than a basic builder but requires a bit more setup. You install the CMS on your hosting account, choose a theme, and customize from there. It balances ease of use with the ability to scale and extend, which is why it has held its position as the most popular CMS globally for years.
AI-assisted website builders
This is a newer category. Platforms like Framer and Wix ADI let you describe what you want and generate a starting point automatically. These are particularly useful if you want speed and a reasonable first draft without starting from a blank canvas.
At the other end are agentic builders like Emergent, which go significantly further. Instead of producing a design draft, Emergent takes a plain-language description and builds a complete, deployable full-stack app, React frontend, Node.js backend, database, and integrations, without requiring any technical setup on your part.
The result isn't a starting point to hand off to a developer. It's a production-ready product you can deploy and share directly. This approach makes the most sense if you want to go from idea to live product without managing any of the underlying infrastructure yourself.
Custom development
This means building your site with code, either yourself or by hiring a developer. It gives you the most control and flexibility, but it takes the longest and requires the most technical knowledge. It makes sense when you have unique functionality requirements that no existing platform can handle.
Pick the approach that matches your goal, not the one that sounds most impressive.
Step 4: Set up the foundation (domain and hosting)
Once you've chosen your approach, it's time to secure the two foundational pieces: your domain name and your hosting.
Registering your domain name
Registering your domain name is straightforward. Head to a registrar like Namecheap, GoDaddy, or Cloudflare Registrar, search for the name you want, and register it. Choose something short, memorable, and relevant to what you're building. If your first choice is taken, try variations with different extensions (.co, .io, .net) or slightly different phrasing.
A few things to keep in mind: avoid hyphens, keep it easy to spell out loud, and don't choose something that could be confused with an existing brand.
Setting up hosting
Hosting setup depends on the approach you chose in Step 3. If you're using an all-in-one builder like Squarespace or Wix, hosting is included in your plan, and you don't need to set it up separately. If you're using WordPress, you'll need to choose a separate hosting provider like Bluehost, SiteGround, or Hostinger, and install WordPress on it.
If you're building a site using modern frameworks or static site generators, platforms like Vercel and Netlify handle hosting and deployment for you, often with built-in performance optimization and global CDN distribution.
If you're using an AI website platform that manages everything end-to-end, you may be able to register your domain directly within the platform and skip the separate registrar step entirely. Check what your chosen platform supports before purchasing a domain elsewhere.
Once your domain and hosting are in place, your foundation is set. Everything else gets built on top of it.
Step 5: Plan your website structure before building
This step gets skipped constantly, and it shows in the finished product.
Planning your website structure before you start building is the difference between a site that feels clear and intentional versus one that feels scattered. Visitors who can't figure out where to go next leave, and they don't come back.
Start by listing every page your website needs. For most sites, this is fewer pages than you think. A business website might need a homepage, an about page, a services page, a contact page, and maybe a blog. A portfolio might only need four pages. Resist the urge to add pages just to have them.
Once you have your page list, map out the navigation. Decide what appears in your main menu and how pages connect to each other. Think about the journey a visitor takes: where do they land first, where do you want them to go next, and what action do you want them to take at the end?
Here are a few resources if you want to go deeper into website structure and information architecture:
- How to Create a Website Structure by Semrush covers how to organise your pages and internal links in a way that works for both users and search engines.
- Information Architecture: A UX Designer's Guide by Nielsen Norman Group is the definitive resource on how people navigate websites and how to design for it.
- How to Plan a Website by HubSpot walks through the planning process from goal-setting to sitemap creation in practical terms.
- Whimsical is a free tool that makes building a simple sitemap fast and visual, no design experience needed.
Step 6: Define your content and messaging before building the website
This is probably the step most people underestimate.
A website that looks good but says nothing useful doesn't work. Content is what makes your site effective, not just visually complete. And if you wait until after the site is designed to think about content, you end up with filler text, vague headlines, and a site that looks finished but doesn't actually convert anyone.
Before you build, write the core content for each page. This means the headline, the subheadlines, the supporting body copy, and the call to action.
Your homepage headline is the most important piece of copy on your entire site. It should answer "what is this and who is it for" in one line. Not your company tagline, not a clever one-liner, but a clear, direct statement of value.
Think carefully about your calls to action, too. Every page should have one clear thing you want visitors to do next. "Get in touch," "Book a free call," "See our work," "Start your free trial." Pick one per page and make it obvious.
Write in the language your audience actually uses, not your internal jargon. If you're not sure what that is, look at how customers describe their problems in reviews, forums, or emails. Mirror that language back to them.
You don't need a perfect copy before you build. You need enough to work with so that your design serves your message, not the other way around.
For example, let's go back to our freelance graphic designer. She's not just a designer anymore. She uses AI-assisted design tools to deliver finished, professional brand identities faster than a traditional agency, without sacrificing the judgment, taste, and human touch that make great design actually work. That's a compelling position. But only if her website says it clearly.
Here's what her core content might look like before she builds a single page:
Homepage headline - "Brand identities for small businesses, delivered in days, not months."
Supporting subheadline - "I combine design expertise with AI-assisted workflows to give you a polished, professional brand without the agency timeline or the agency price tag."
Call to action - "See my work" (primary) and "Book a free intro call" (secondary)
About page headline - "Great design shouldn't take six weeks and a committee."
About page body (opening) - "I'm a brand identity designer who uses AI-assisted tools to move faster without cutting corners. Every concept you see is shaped by real creative decisions, refined by hand, and built to look like it cost twice what you paid."
Services page headline - "What you get when you work with me."
Services page positioning line - "Fast doesn't mean rushed. It means I've built a smarter process, so you spend less time waiting and more time growing."
Call to action on every page - "Ready to get started? Book a free 20-minute call."
Notice what none of this copy does- it never says "I leverage cutting-edge AI solutions to optimize your brand deliverables."
That's jargon. It says nothing to a small business owner who just wants a logo and a brand that looks credible. The copy above speaks directly to the thing her audience actually cares about, which is getting something that looks great without it taking forever or costing a fortune.
That's the standard to aim for when you write your content before you build. Clear, specific, and written for the person who's going to read it, not the person who built the site.
Step 7: Build the first version of your website
Now you're building. This is where everything you've planned starts to take a real shape.
Pull up your chosen platform and start assembling your site based on the structure and content you defined in the previous steps. If you're using a website builder, choose a template that most closely matches your layout goals and modify it. If you're using WordPress, choose a theme and configure it. If you're using an AI builder, provide your content and goals as your input and iterate on what it generates.
A few principles to keep in mind as you build:
- Work page by page, starting with your homepage. Get the layout, content, and flow of one page right before moving to the next.
- Don't get stuck trying to make it perfect on the first pass. The goal at this stage is to get a working version assembled. You'll refine it in the next step.
- Use real content, not placeholder text. Designing around fake copy leads to a layout that doesn't work when you drop in your actual words. Use what you wrote in Step 6.
- Keep it simple. The instinct is to add more, but clarity beats complexity every time. A clean, well-organised site with focused content will outperform a complicated site with everything thrown at it.
Step 8: Refine the design and user experience
Once your first version is assembled, step back and look at it with fresh eyes. Better yet, ask someone else to look at it and watch them use it without explaining anything.
Refinement is about making your site easier to use and more trustworthy to look at. You're not redesigning from scratch; you're improving what's already there.
Use this checklist to work through your refinement pass before moving to the next step
Consistency
- Do all your headings follow the same size and style hierarchy throughout the site?
- Are your buttons consistent in size, colour, and label style across every page?
- Does your spacing feel even, with no sections that feel cramped or oddly spread out?
- Are your fonts limited to two or three at most, used consistently?
Readability
- Are your paragraphs short enough to read comfortably on a screen?
- Is your font size large enough to read without zooming in on mobile?
- Does your text colour contrast clearly against your background on every page?
- Are there headings and subheadings breaking up longer sections of content?
Navigation
- Can a first-time visitor tell where they are on the site at any given moment?
- Can they find what they're looking for in two clicks or fewer?
- Is your main menu limited to only the pages that matter?
- Do all your internal links work and go where they're supposed to?
Trust signals
- Is there a clear and easy way for visitors to contact you?
- Do you have a logo or at least a consistent visual identity?
- Is there at least one testimonial, case study, or social proof element on the site?
- Does the site look like it belongs to a real, active business or person?
If you can check every box, you're ready to move on. If something feels off but you can't pinpoint why, go back to the "ask someone else" approach. A fresh pair of eyes catches things you've gone blind to after staring at the same pages for days.
Step 9: Add essential functionality based on your goal
Functionality refers to anything on your site that does something beyond displaying content. Contact forms, booking systems, payment processors, email signup forms, live chat, membership areas, and integrations with other tools all fall into this category.
The keyword in this step is "essential." Add only what your website actually needs to achieve its goal. A portfolio site might only need a contact form. An e-commerce site needs a product catalogue, a shopping cart, and a checkout process. A coaching site might need a booking tool and video integration.
Most website builders include basic functionality as part of their plans. For more specific needs, look at third-party tools that integrate with your platform. Calendly for bookings, Stripe for payments, Mailchimp or ConvertKit for email lists, and Typeform for forms are all popular options with straightforward integrations.
Resist the temptation to add functionality because it looks impressive. Every feature adds complexity, and complexity adds friction. More features mean more things to maintain, more things that can break, and more decisions for your visitor to make. If a feature doesn't serve your primary goal directly, save it for version two.
Step 10: Optimize for search, mobile, and performance
You've built a site. Now you need to make sure people can find it, view it properly, and actually load it in a reasonable amount of time.
Search engine optimisation (SEO)
SEO is how your site gets found through Google and other search engines. At the basic level, this means making sure each page has a clear title tag, a descriptive meta description, proper use of heading tags (H1 for page title, H2 for sections), and content that's relevant to what your target audience is searching for. If you're using WordPress, a plugin like Yoast SEO or Rank Math guides you through this. Most other platforms have built-in SEO settings.
Mobile responsiveness
According to StatCounter, mobile devices account for over 55% of global web traffic as of early 2026. If your site doesn't work well on a phone, you're failing the majority of your visitors. Test your site on multiple screen sizes and fix anything that looks broken, loads slowly, or is difficult to interact with on a small screen.
Page speed
Here is what most novice website builders miss about SEO page speed matters a lot! Compress your images before uploading them. Avoid loading external scripts you don't need. Use your platform's built-in performance tools, or run your URL through Google's PageSpeed Insights to see specific recommendations.
These three things, search visibility, mobile experience, and loading speed, are not finishing touches. They're what make the difference between a site that gets ignored and a site that does its job.
Step 11: Test, launch, and make your website live
Before you hit publish, run through a thorough check.
Click every link on your site. A broken internal link is the kind of thing that's easy to miss in the build phase and embarrassing to leave live. Check that all your external links open correctly, too.
Fill in every form and submit it. Confirm the submission goes where it's supposed to go and that you receive the expected notification.
Read through all your copy one more time. Look for typos, awkward phrasing, or anything that reads like a rough draft rather than a finished page.
Check how your site looks on mobile and on at least one other browser besides the one you used to build it. Chrome, Firefox, and Safari can all render things slightly differently.
Once you're satisfied, connect your custom domain if you haven't already and publish. Most platforms walk you through the domain connection process. It typically involves updating your domain's DNS settings to point to your hosting or platform, a process that takes a few minutes to set up and usually takes anywhere from a few minutes to a few hours (though in rare cases up to 48 hours) to propagate.
Your site is live. Tell people about it.
Step 12: Monitor performance and improve over time
A website is not a finished product. It's an ongoing one.
Once you're live, connect Google Analytics or a similar tool to start tracking what's happening on your site. You'll be able to see which pages get the most traffic, how long people spend on each page, where they drop off, and what actions they take.
Use this data to make decisions. If most visitors land on your homepage but few of them click through to your services page, something in the homepage experience is not working. If a particular blog post brings in a lot of traffic, write more content on related topics.
Also, pay attention to the feedback you get from real people. If multiple customers ask the same question, that question probably belongs on your website. If someone mentions they couldn't find your pricing, that's a UX problem worth fixing.
Set a recurring reminder every month or quarter to review your site. Check that all your links still work, all your information is current, and your content still reflects what you actually offer. Websites that get maintained regularly stay relevant. Websites that don't go stale quickly and start to actively work against the brand they were meant to support.
A faster way to build a website without managing every step
Everything covered in this guide so far represents the traditional path to building a website: define your purpose, choose your approach, register a domain, set up hosting, plan your structure, write your content, build, refine, optimize, and launch. Each step matters, and working through them gives you a thorough understanding of how websites actually come together.
But building a website in 2026 doesn't have to mean managing every one of those steps yourself. A newer category of tools, broadly called vibe coding platforms, has changed what's possible for non-technical builders.
Among these, one of the most capable and complete platforms available right now is Emergent, a full-stack AI builder that takes you from a plain-language description to a deployed, production-ready website without requiring you to touch a single technical setting.
Instead of assembling a website piece by piece, you describe what you want in plain language, and the platform generates a working, deployable product from that description.
With a tool like Emergent, the steps you still need to handle are:
- Defining your purpose and audience (Step 1), because no tool can decide that for you
- Planning your content and messaging (Step 6), because what your site says still matters
- Reviewing, refining, and giving feedback as the build progresses
- Connecting your custom domain once the site is live
Everything else, including structure, design, functionality, hosting, deployment, and technical configuration, is handled automatically. You're not choosing a theme, configuring a hosting account, or wiring up a contact form. You're describing an outcome, and the platform builds toward it.
Final thoughts
Building a website from scratch is one of the most valuable things you can do for yourself or your business. It gives you a platform you control, a presence that works for you around the clock, and a foundation you can build on over time.
The process is more manageable than it looks when you take it step by step. Define your purpose, understand your components, choose your approach, set up your foundation, plan before you build, write your content, build, refine, and optimize. Then launch, and keep improving.
You don't need it to be perfect on day one. You need it to be live, clear, and useful. Everything else comes with time and iteration.

Emergent turns your idea into a full-stack web or mobile app, no coding required.
 No coding required
- Web & mobile apps
- Deploys instantly
Frequently Asked Questions
Your Questions, Answered
It depends entirely on the complexity of the site and the approach you choose. A simple website built with a no-code builder can be live within a few days if you already have your content ready. A more complex site built on WordPress with custom features might take two to four weeks. A fully custom-coded site can take several months. The most common reason sites take longer than expected is not the building itself; it's waiting on content, images, and decisions about what goes where.
Yes, absolutely. No-code website builders like Wix, Squarespace, and Webflow let you create a professional-looking site without writing a single line of code. WordPress with a good theme and page builder also requires no coding for most use cases. Coding becomes necessary only if you need highly custom functionality that no existing tool provides.
The range is wide. At the low end, you can build a functional site for the cost of a domain (around $10 to $15 per year) plus a website builder plan (typically $10 to $40 per month). At the higher end, a custom-designed and developed site can cost anywhere from a few thousand to tens of thousands of dollars, depending on complexity and who you hire. For most small businesses and personal websites, a budget of $200 to $600 for the first year is realistic if you're doing the work yourself.
You need clarity on your goal and audience, a sense of what pages and structure your site needs, your core content drafted (headlines, body copy, calls to action), a domain name, a hosting solution or platform choice, and your brand assets if you have them (logo, colours, fonts). Having these things ready before you start building saves a significant amount of time and rework.
There's no universal answer because the best platform depends on your goal. Squarespace is a strong choice for portfolios and simple business sites with a premium design feel. Wix offers the most flexibility in a no-code environment. WordPress is the best option if you want long-term control, the ability to scale, and a large ecosystem of plugins. Shopify is purpose-built for e-commerce. Webflow is excellent for designers who want fine-grained control without full custom development.
on emergent today

Lorem ipsum dolor sit amet, consectetur adipiscing elit. Suspendisse varius enim in eros elementum tristique. Duis cursus, mi quis viverra ornare, eros dolor interdum nulla, ut commodo diam libero vitae erat. Aenean faucibus nibh et justo cursus id rutrum lorem imperdiet. Nunc ut sem vitae risus tristique posuere.