
E-3 is an autonomous builder on Emergent's Pro plan. Unlike E-1 or E-2, it doesn't wait for you to guide every step. You describe what you want, E-3 runs a brainstorm conversation to scope the project, produces a phased build plan, and then builds, tests, and fixes issues on its own. Under the hood, it runs E-1 as a sub-agent and can sustain builds for hours without needing your input.
In this tutorial, we'll walk through E-3's full capability by building a real estate CRM from a single sentence prompt. If you want the video walkthrough, check it out below!
Essentials to get started with E-3
Here are the key things to know before you begin:
- E-3 is available on Pro plans. Make sure your account is upgraded before starting.
- E-3 pairs with Claude 4.7 Opus by default and consumes approximately 30% more tokens than E-1 due to its longer, more autonomous build process with built-in verification. Make sure your Universal Key has enough credits loaded and auto-recharge enabled so the agent doesn't pause mid-build.
- The build in this tutorial took approximately 90 minutes from prompt to preview. Complexity affects build time.
Step 1: Open the Emergent home page
Navigate to https://emergent.sh
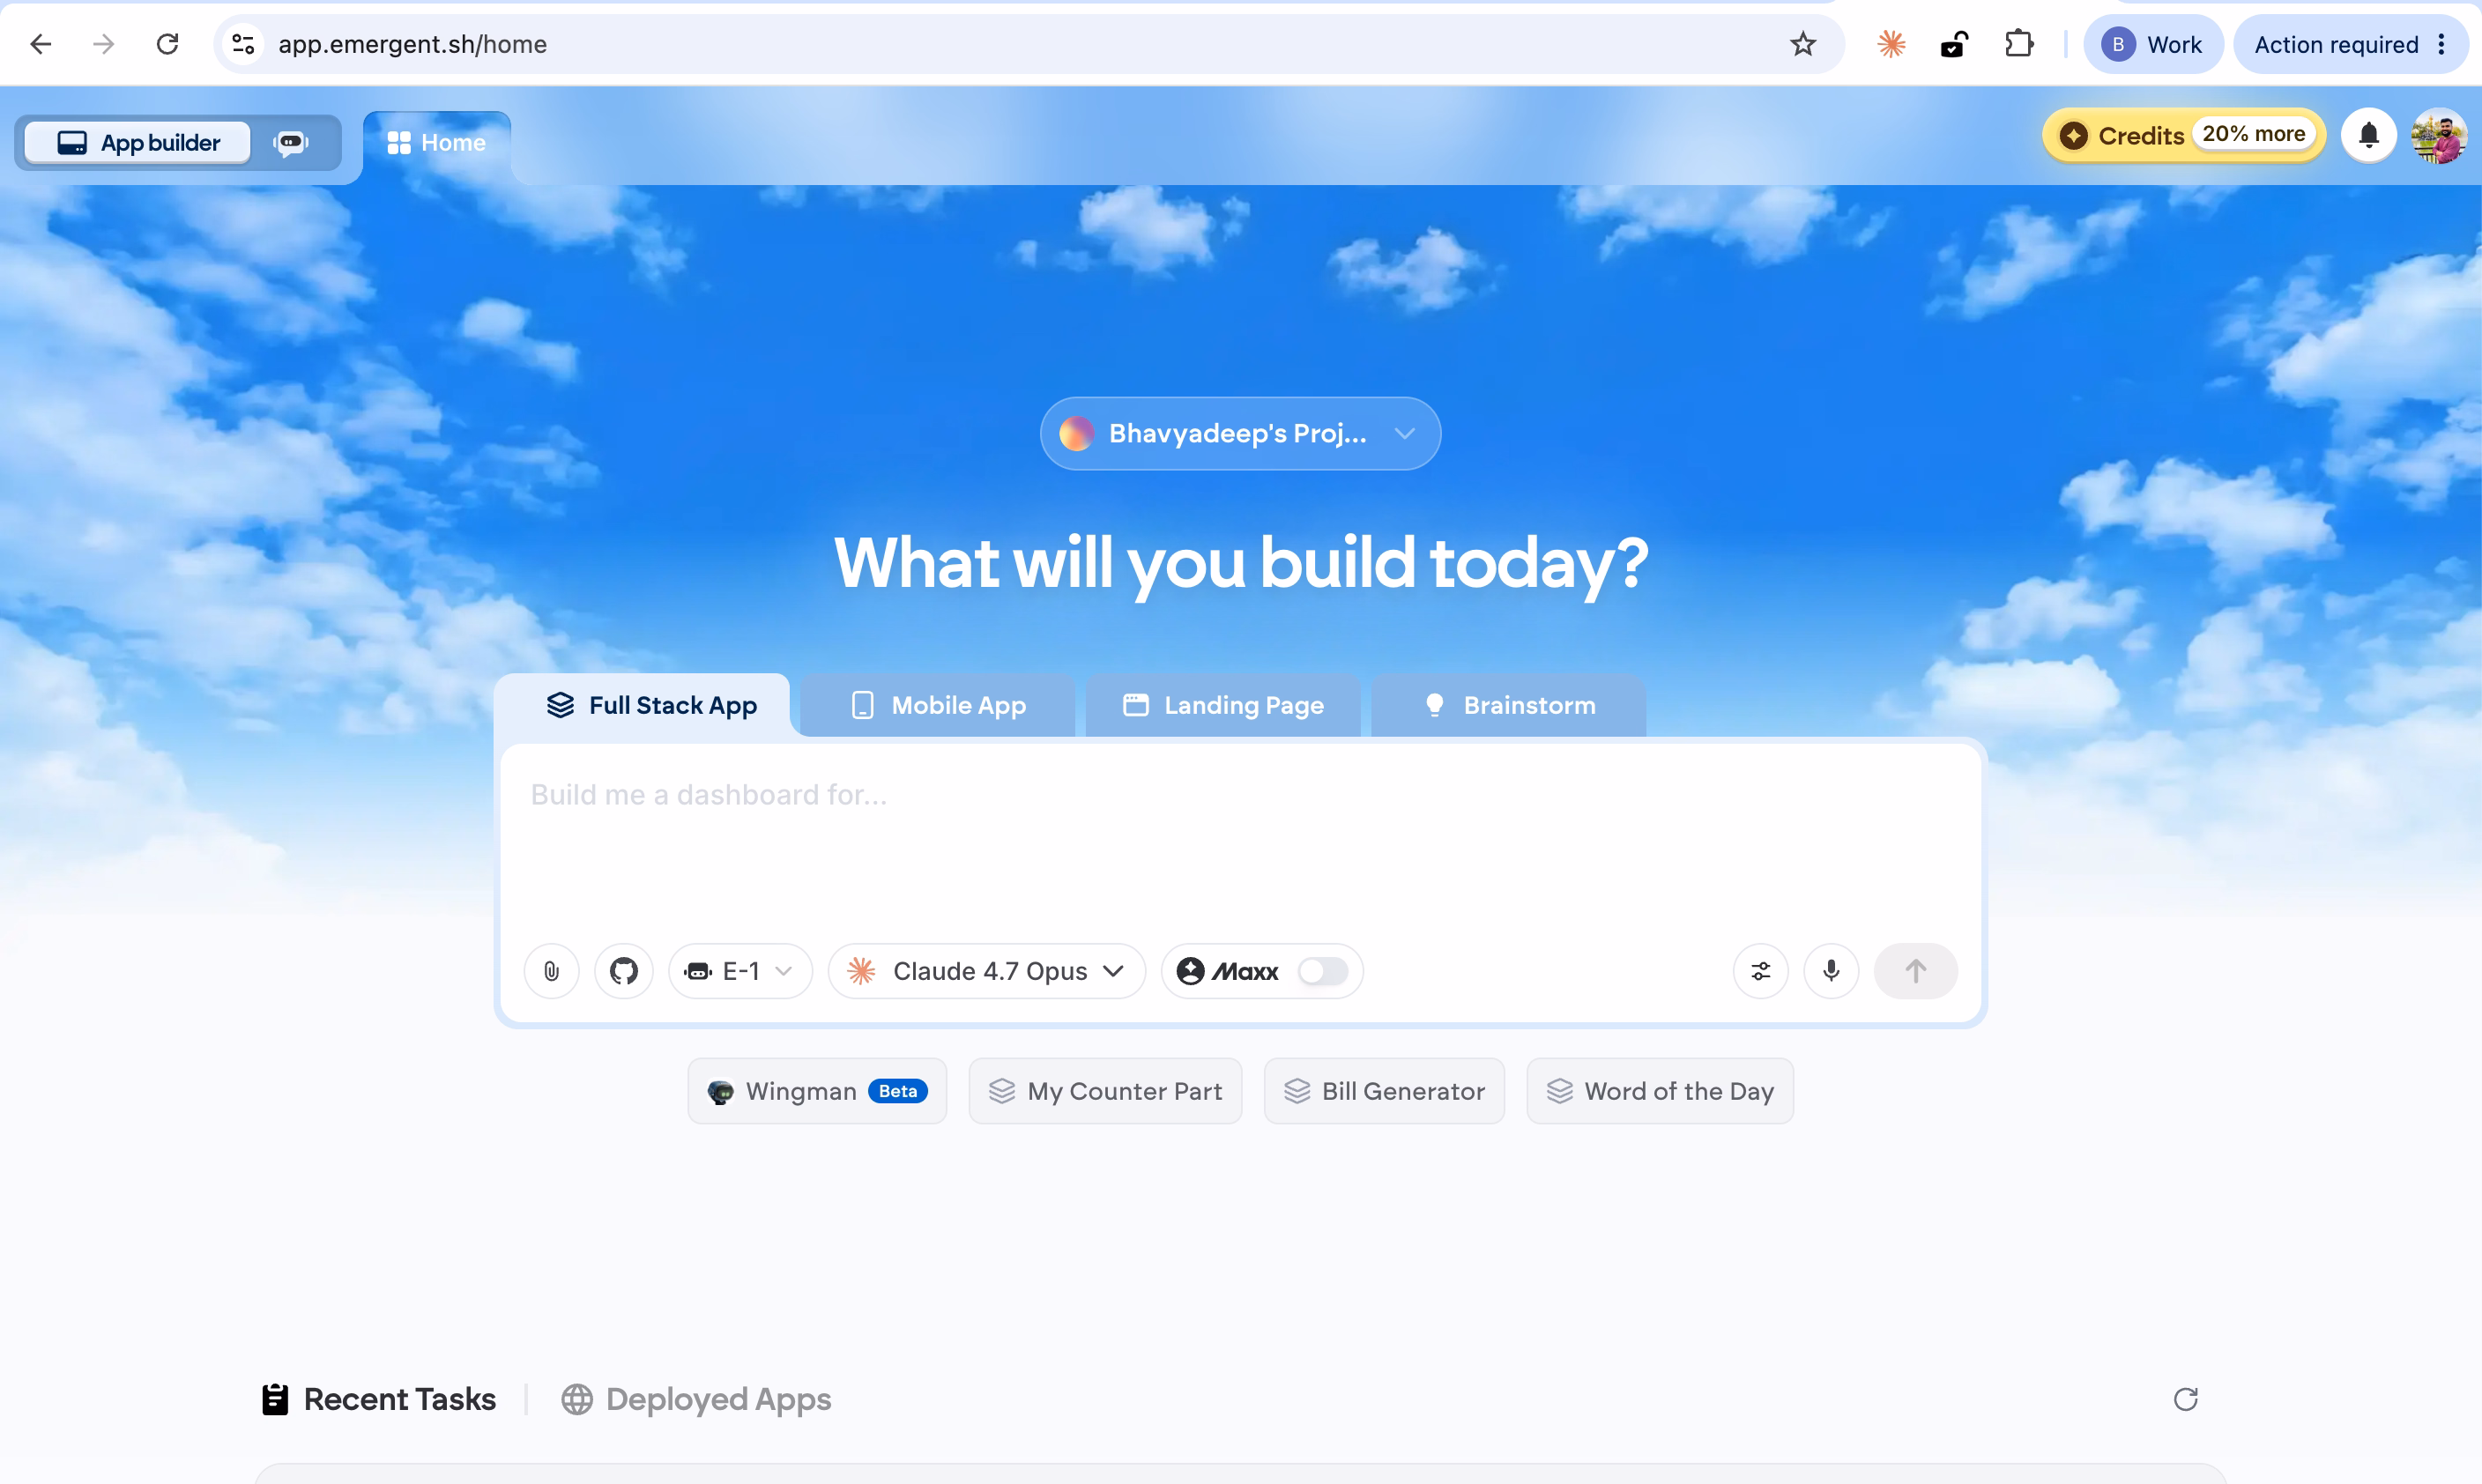
Sign in with your Google account. You will land on the home screen with the prompt bar at the center.
Step 2: Select the E-3 agent
Click the agent selector dropdown in the prompt bar. The available agents are listed:
- E-1 — Stable & thorough
- E-2 — Thorough & Relentless
- E-3 — Autonomous & Powerful (Pro)
- Prototype — Frontend Only Apps
- Mobile — Mobile apps
Select E-3.
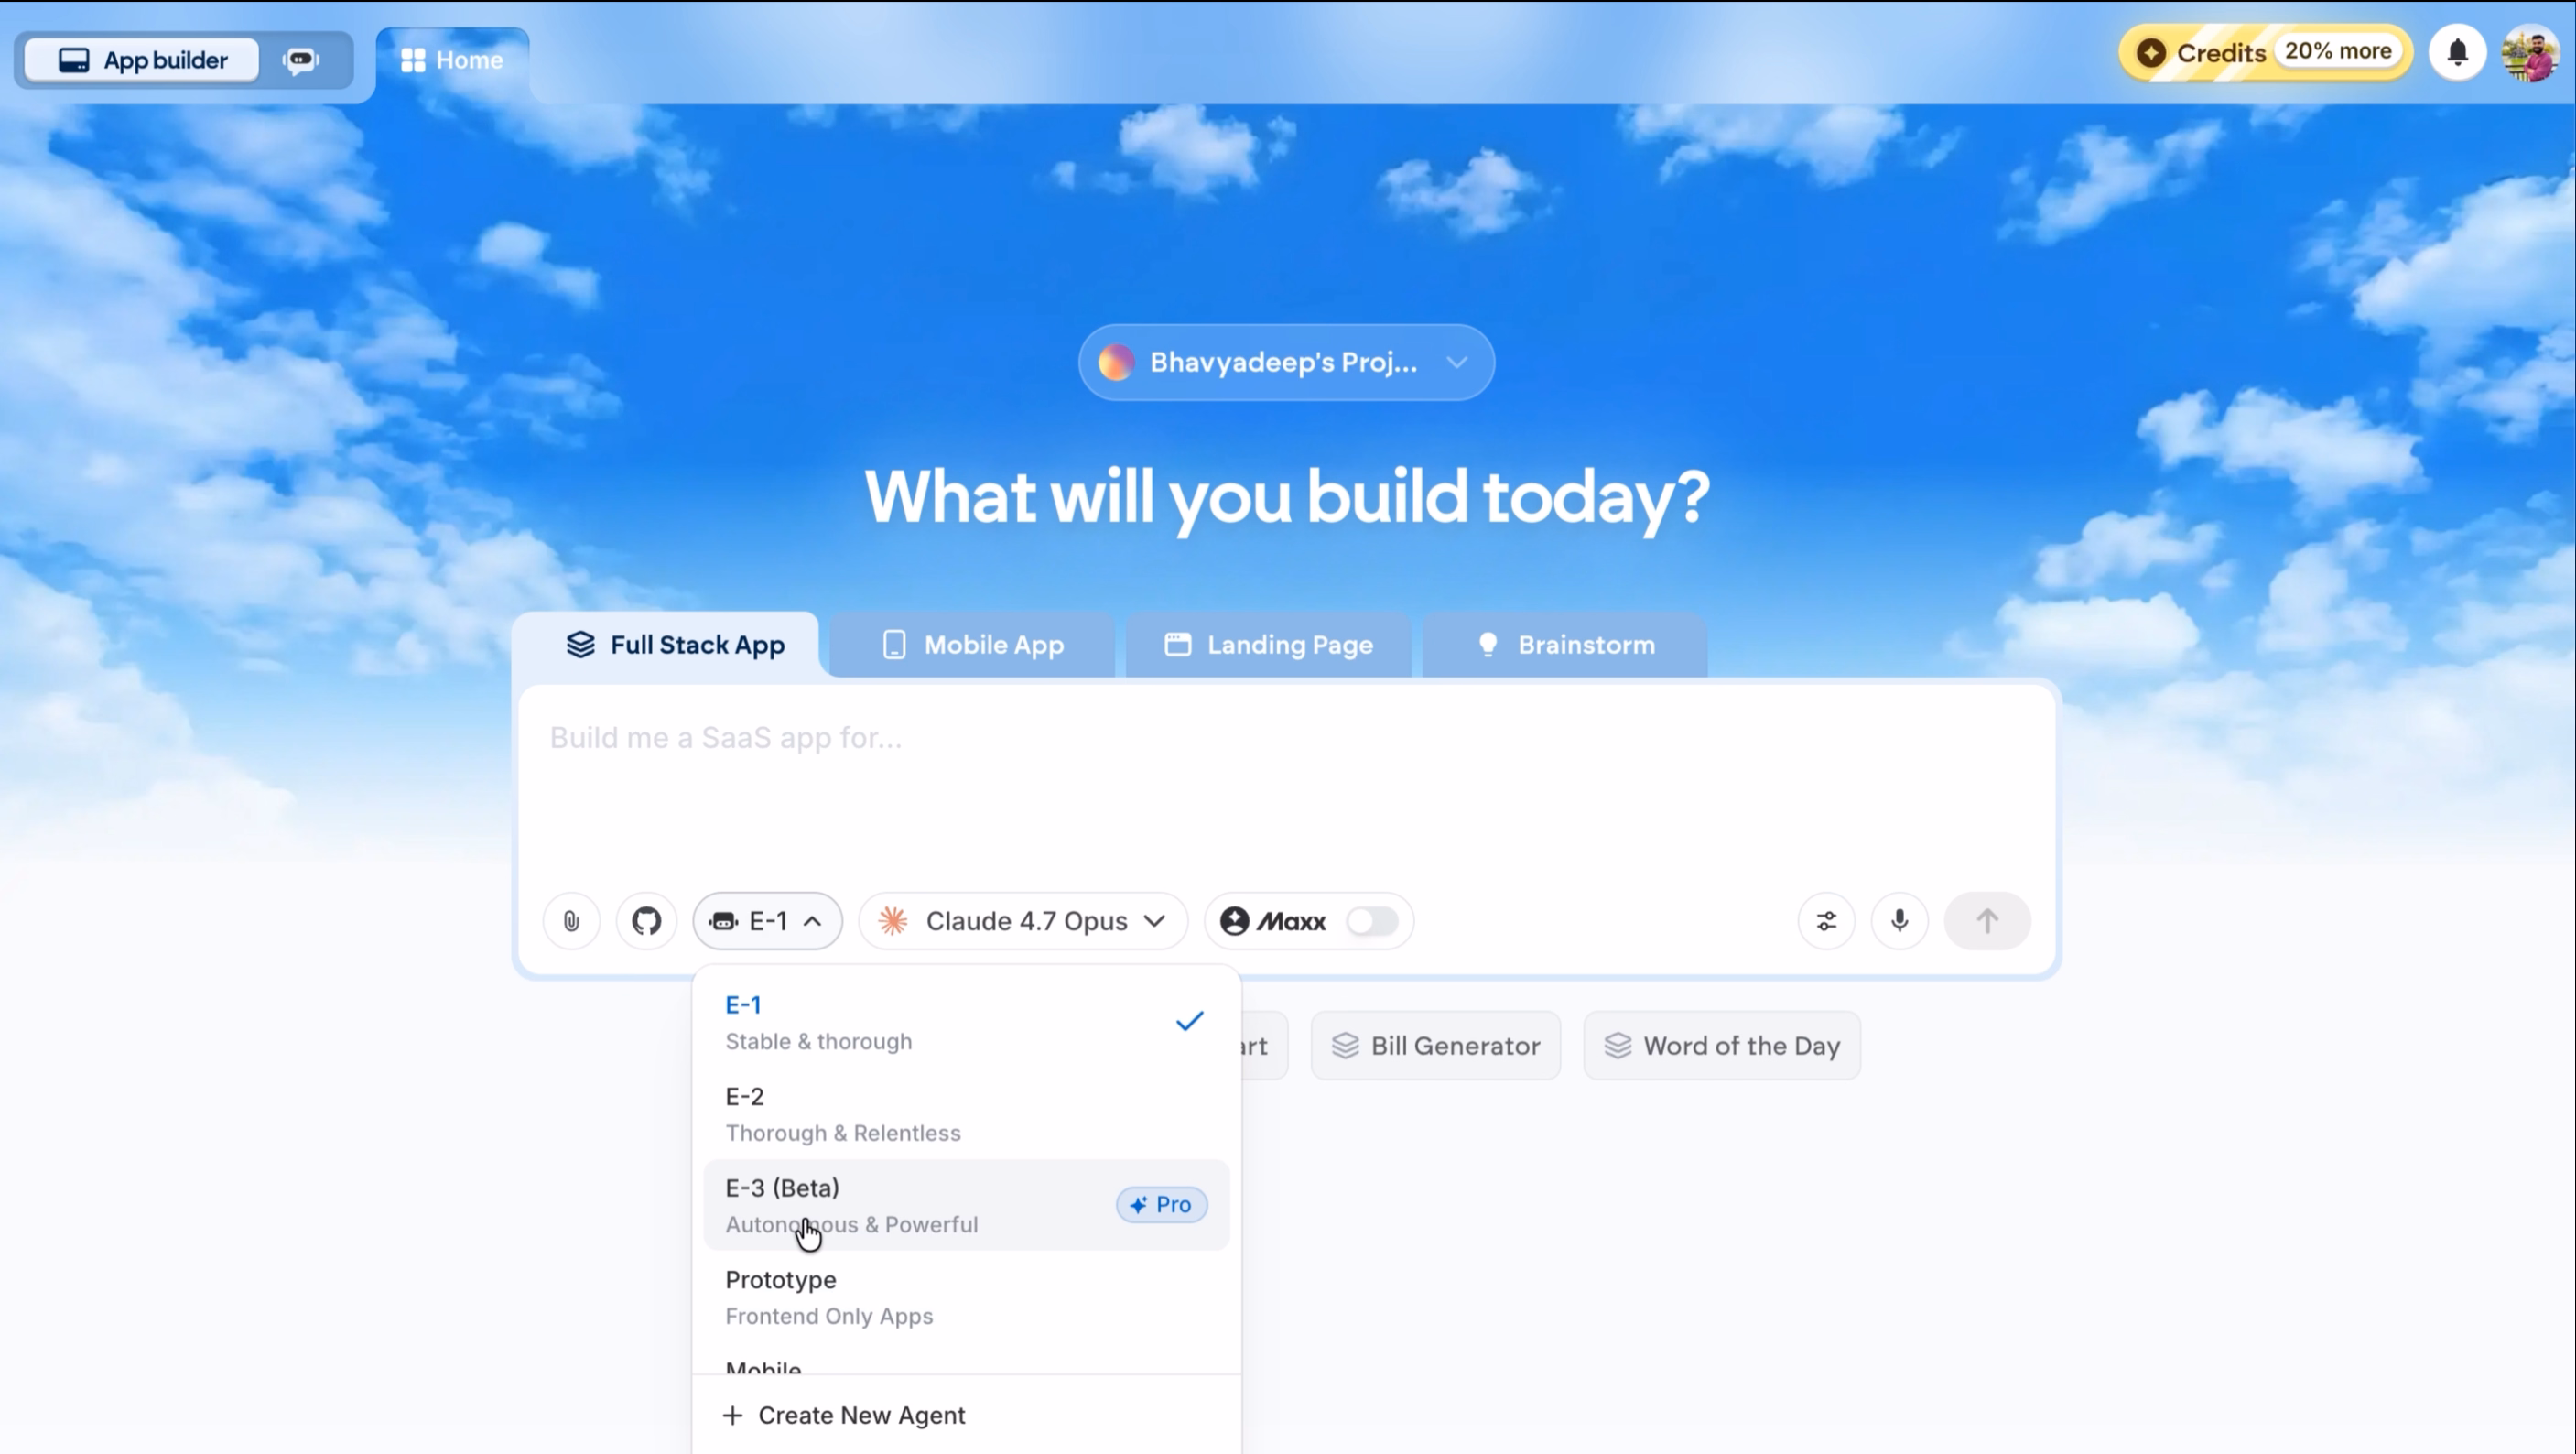
The model will default to Claude 4.7 Opus. This is the recommended configuration for E-3.
Step 3: Enter your prompt
With E-3 selected, type your prompt. Here, we have entered the prompt “Create a real estate CRM software for me”.
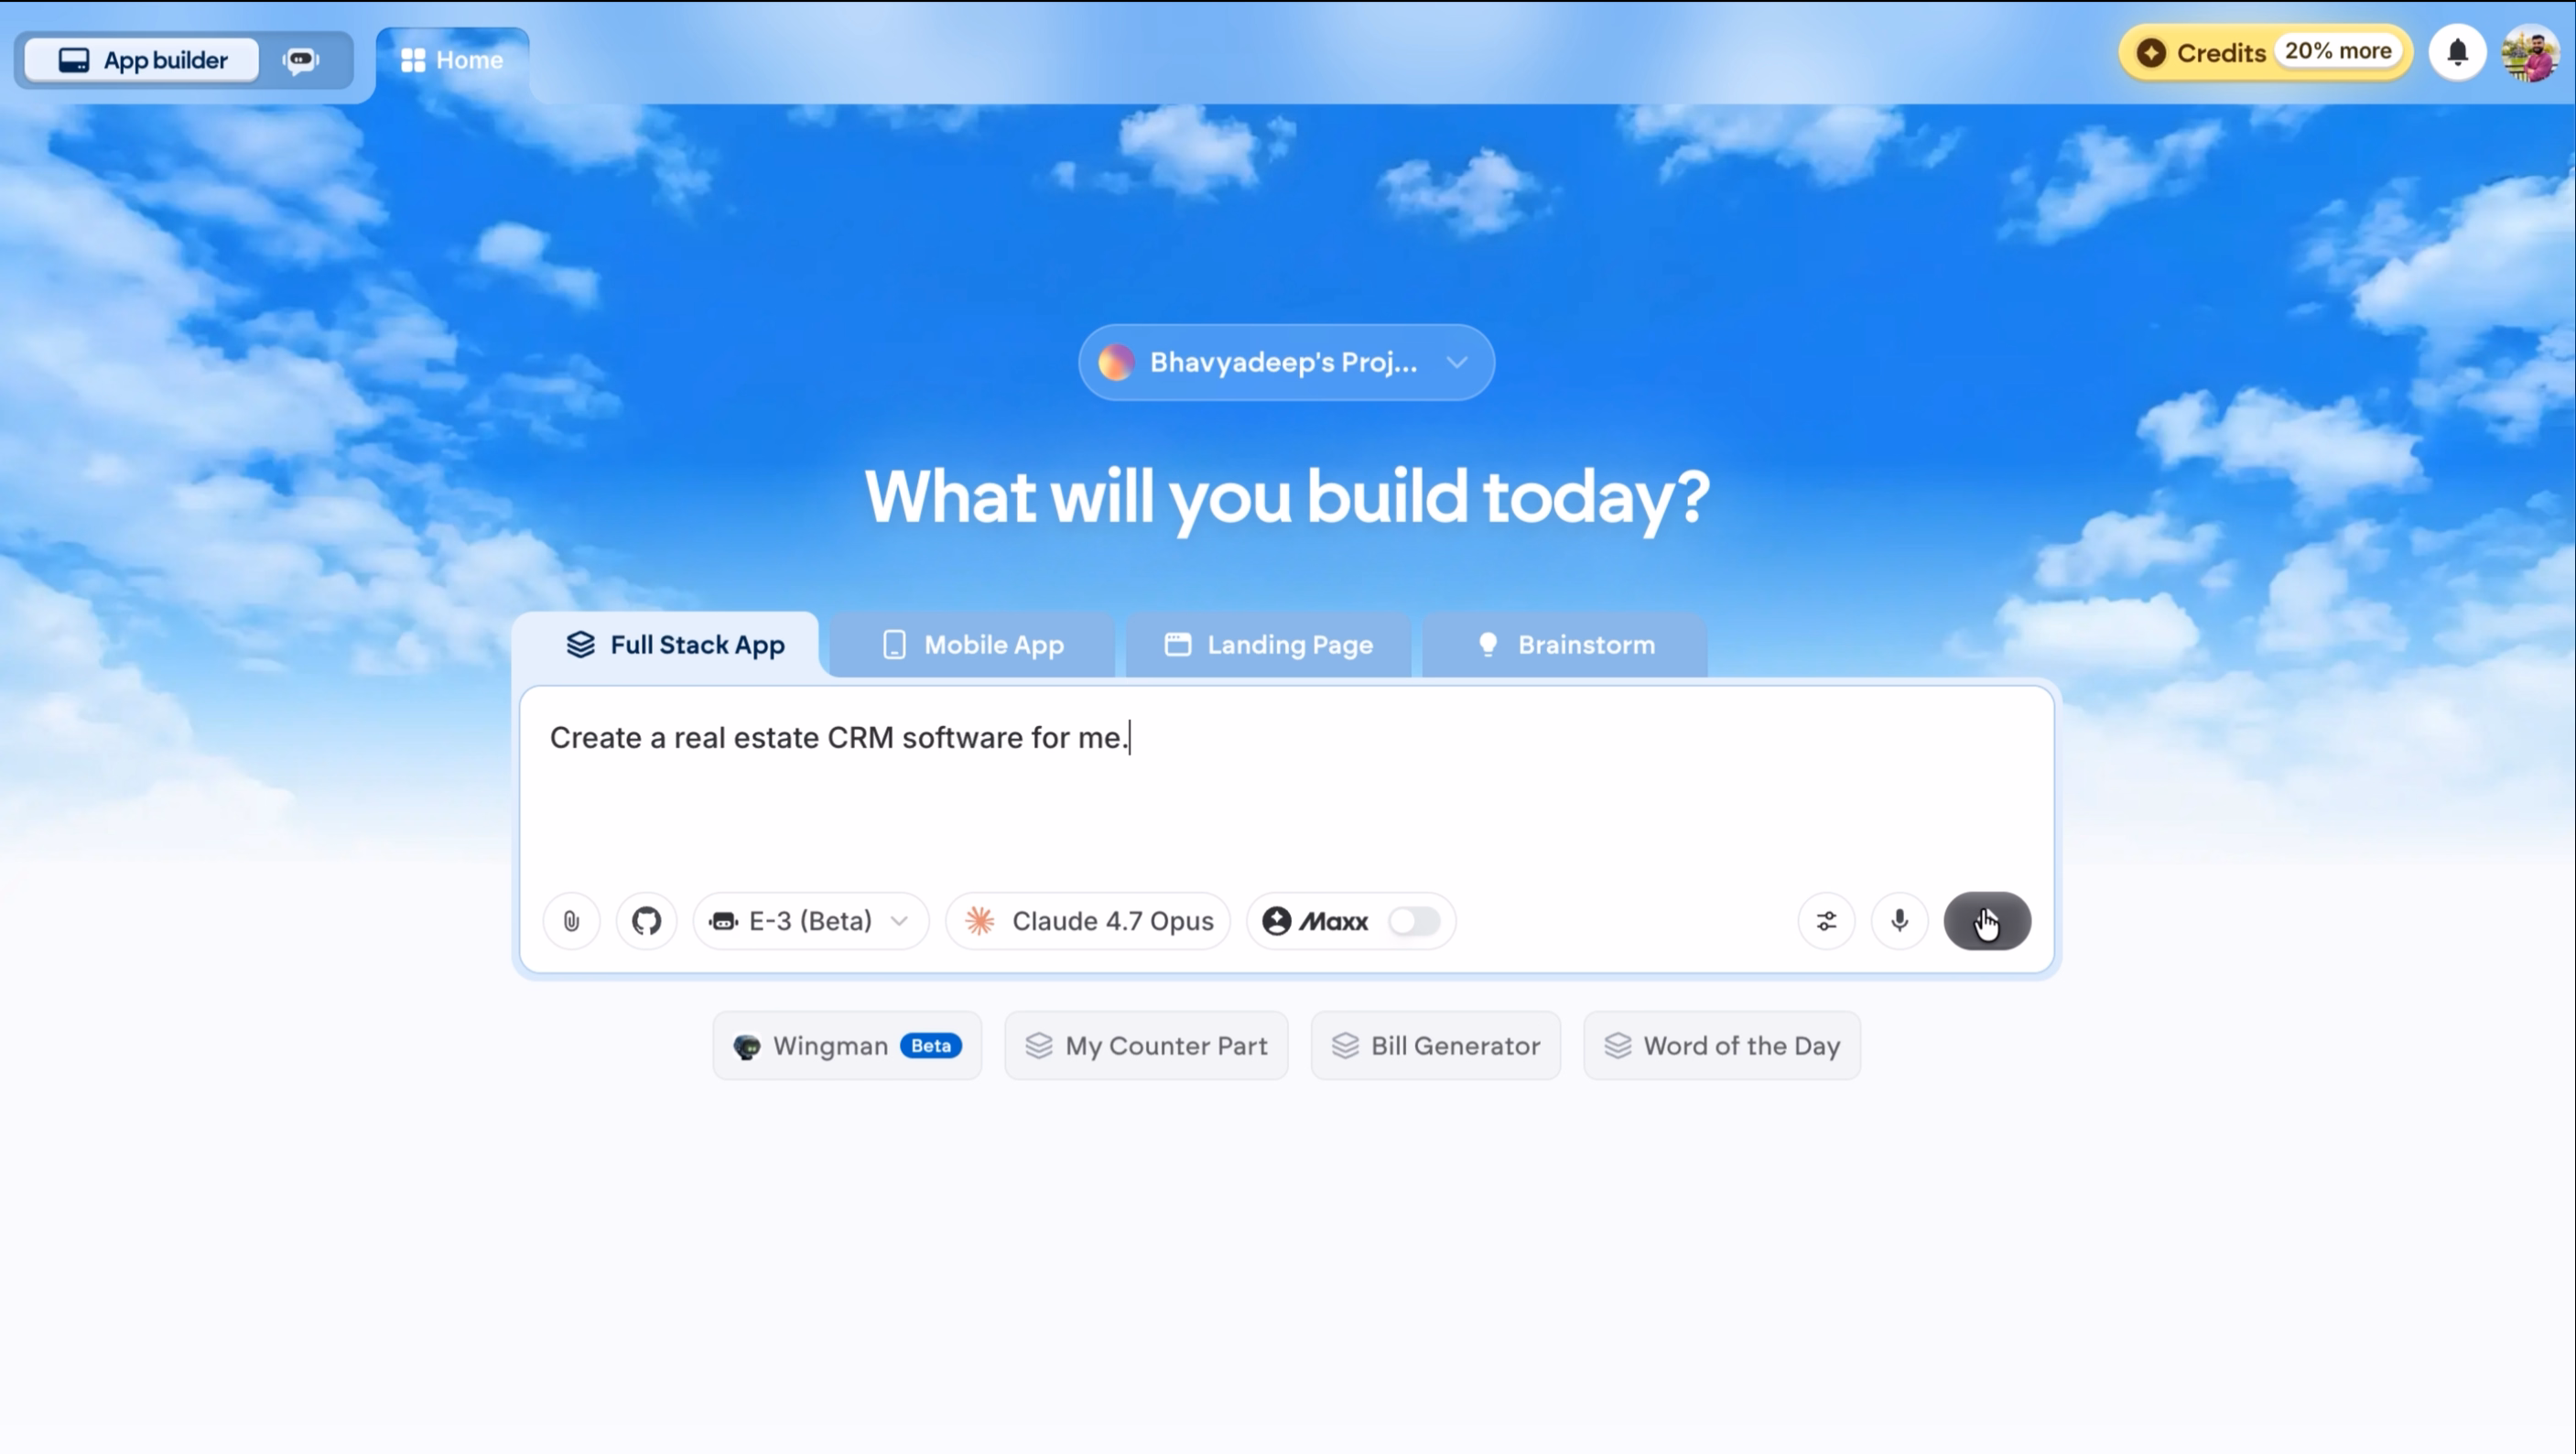
Press Enter or click the send button.
That single sentence is the only instruction the agent needs to start the scoping process.
Step 4: Scope the project
Instead of immediately generating code, E-3 pauses and asks a structured set of questions to scope the project.
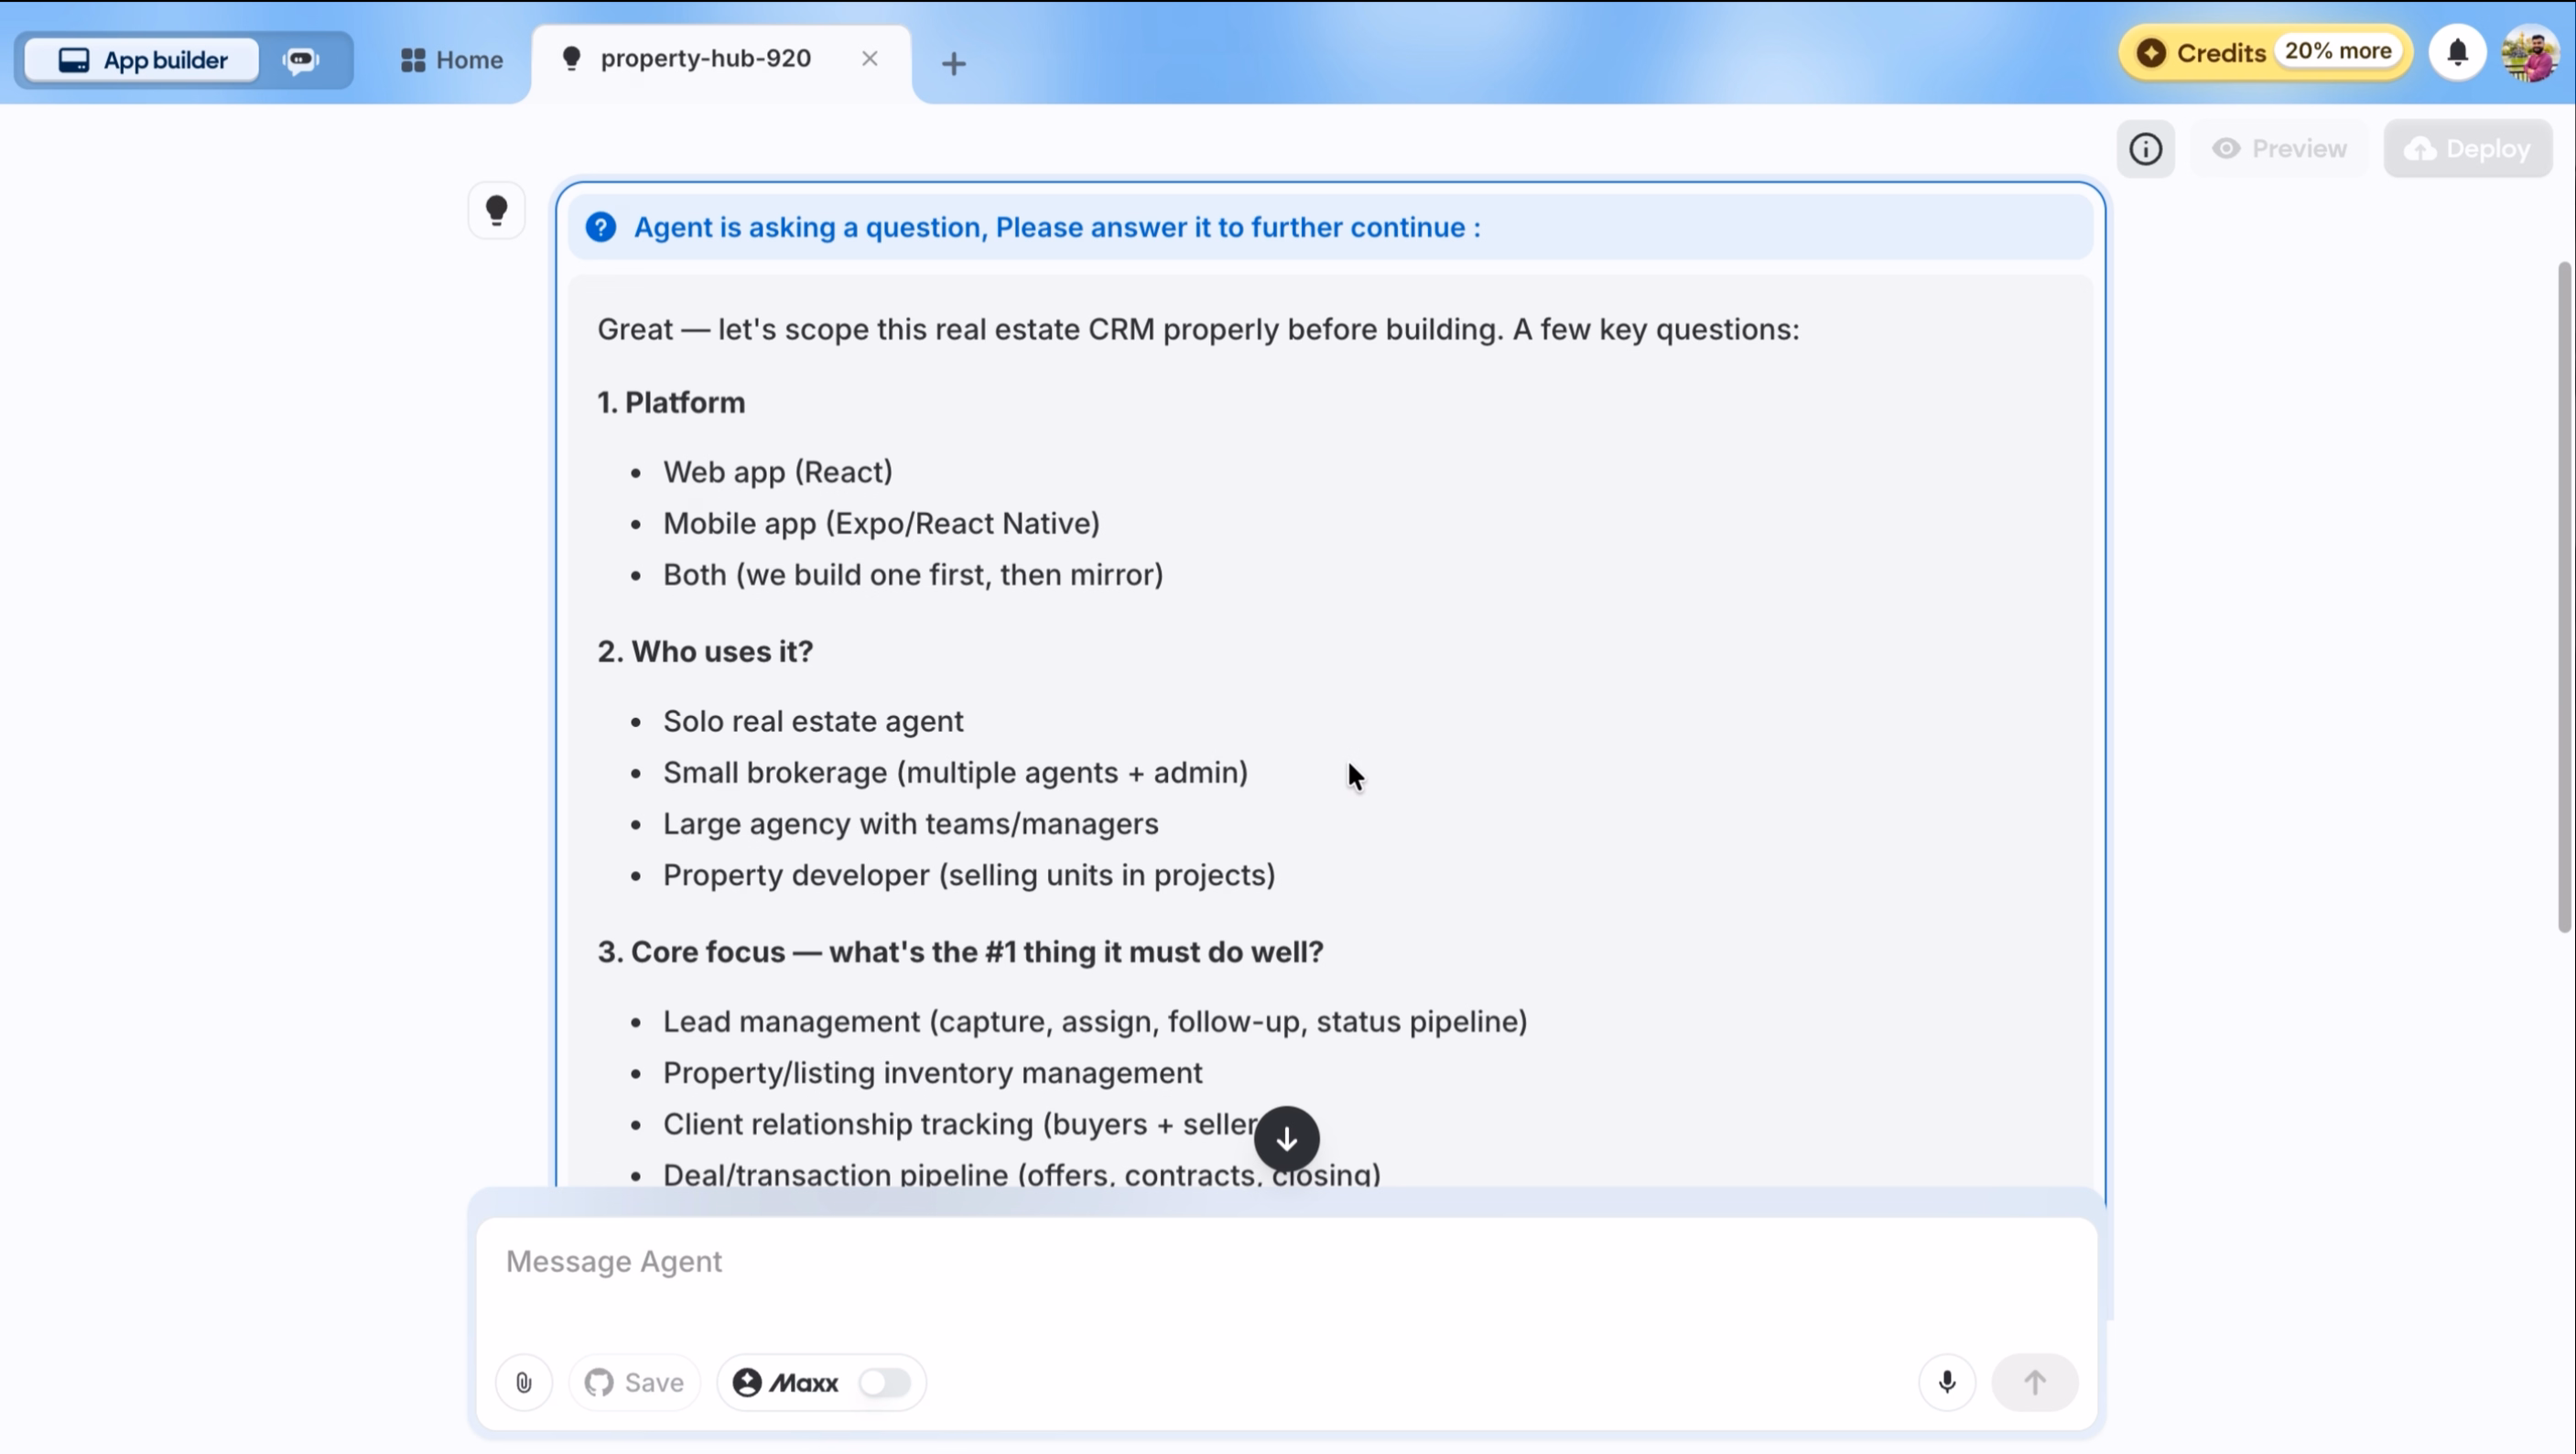
The first round covers five areas:
1. Platform
- Web app (React)
- Mobile app (Expo/React Native)
- Both (we build one first, then mirror)
2. Who uses it?
- Solo real estate agent
- Small brokerage (multiple agents + admin)
- Large agency with teams/managers
- Property developer (selling units in projects)
3. Core focus — what's the #1 thing it must do well?
- Lead management (capture, assign, follow-up, status pipeline)
- Property/listing inventory management
- Client relationship tracking (buyers + sellers)
- Deal/transaction pipeline (offers, contracts, closing)
- All of the above with equal weight
4. Must-have integrations?
- Email (Gmail/Outlook sync)
- WhatsApp / SMS for client comms
- Calendar (Google Calendar for site visits)
- Property listing portals (Zillow, MLS, 99acres, etc.)
- Payment collection
- None — keep it self-contained for now
5. Auth + branding
- Simple email/password login OK?
- Any brand name / region (US, India, UAE, etc.) so I tailor units (sq ft vs sq m), currency, terminology?
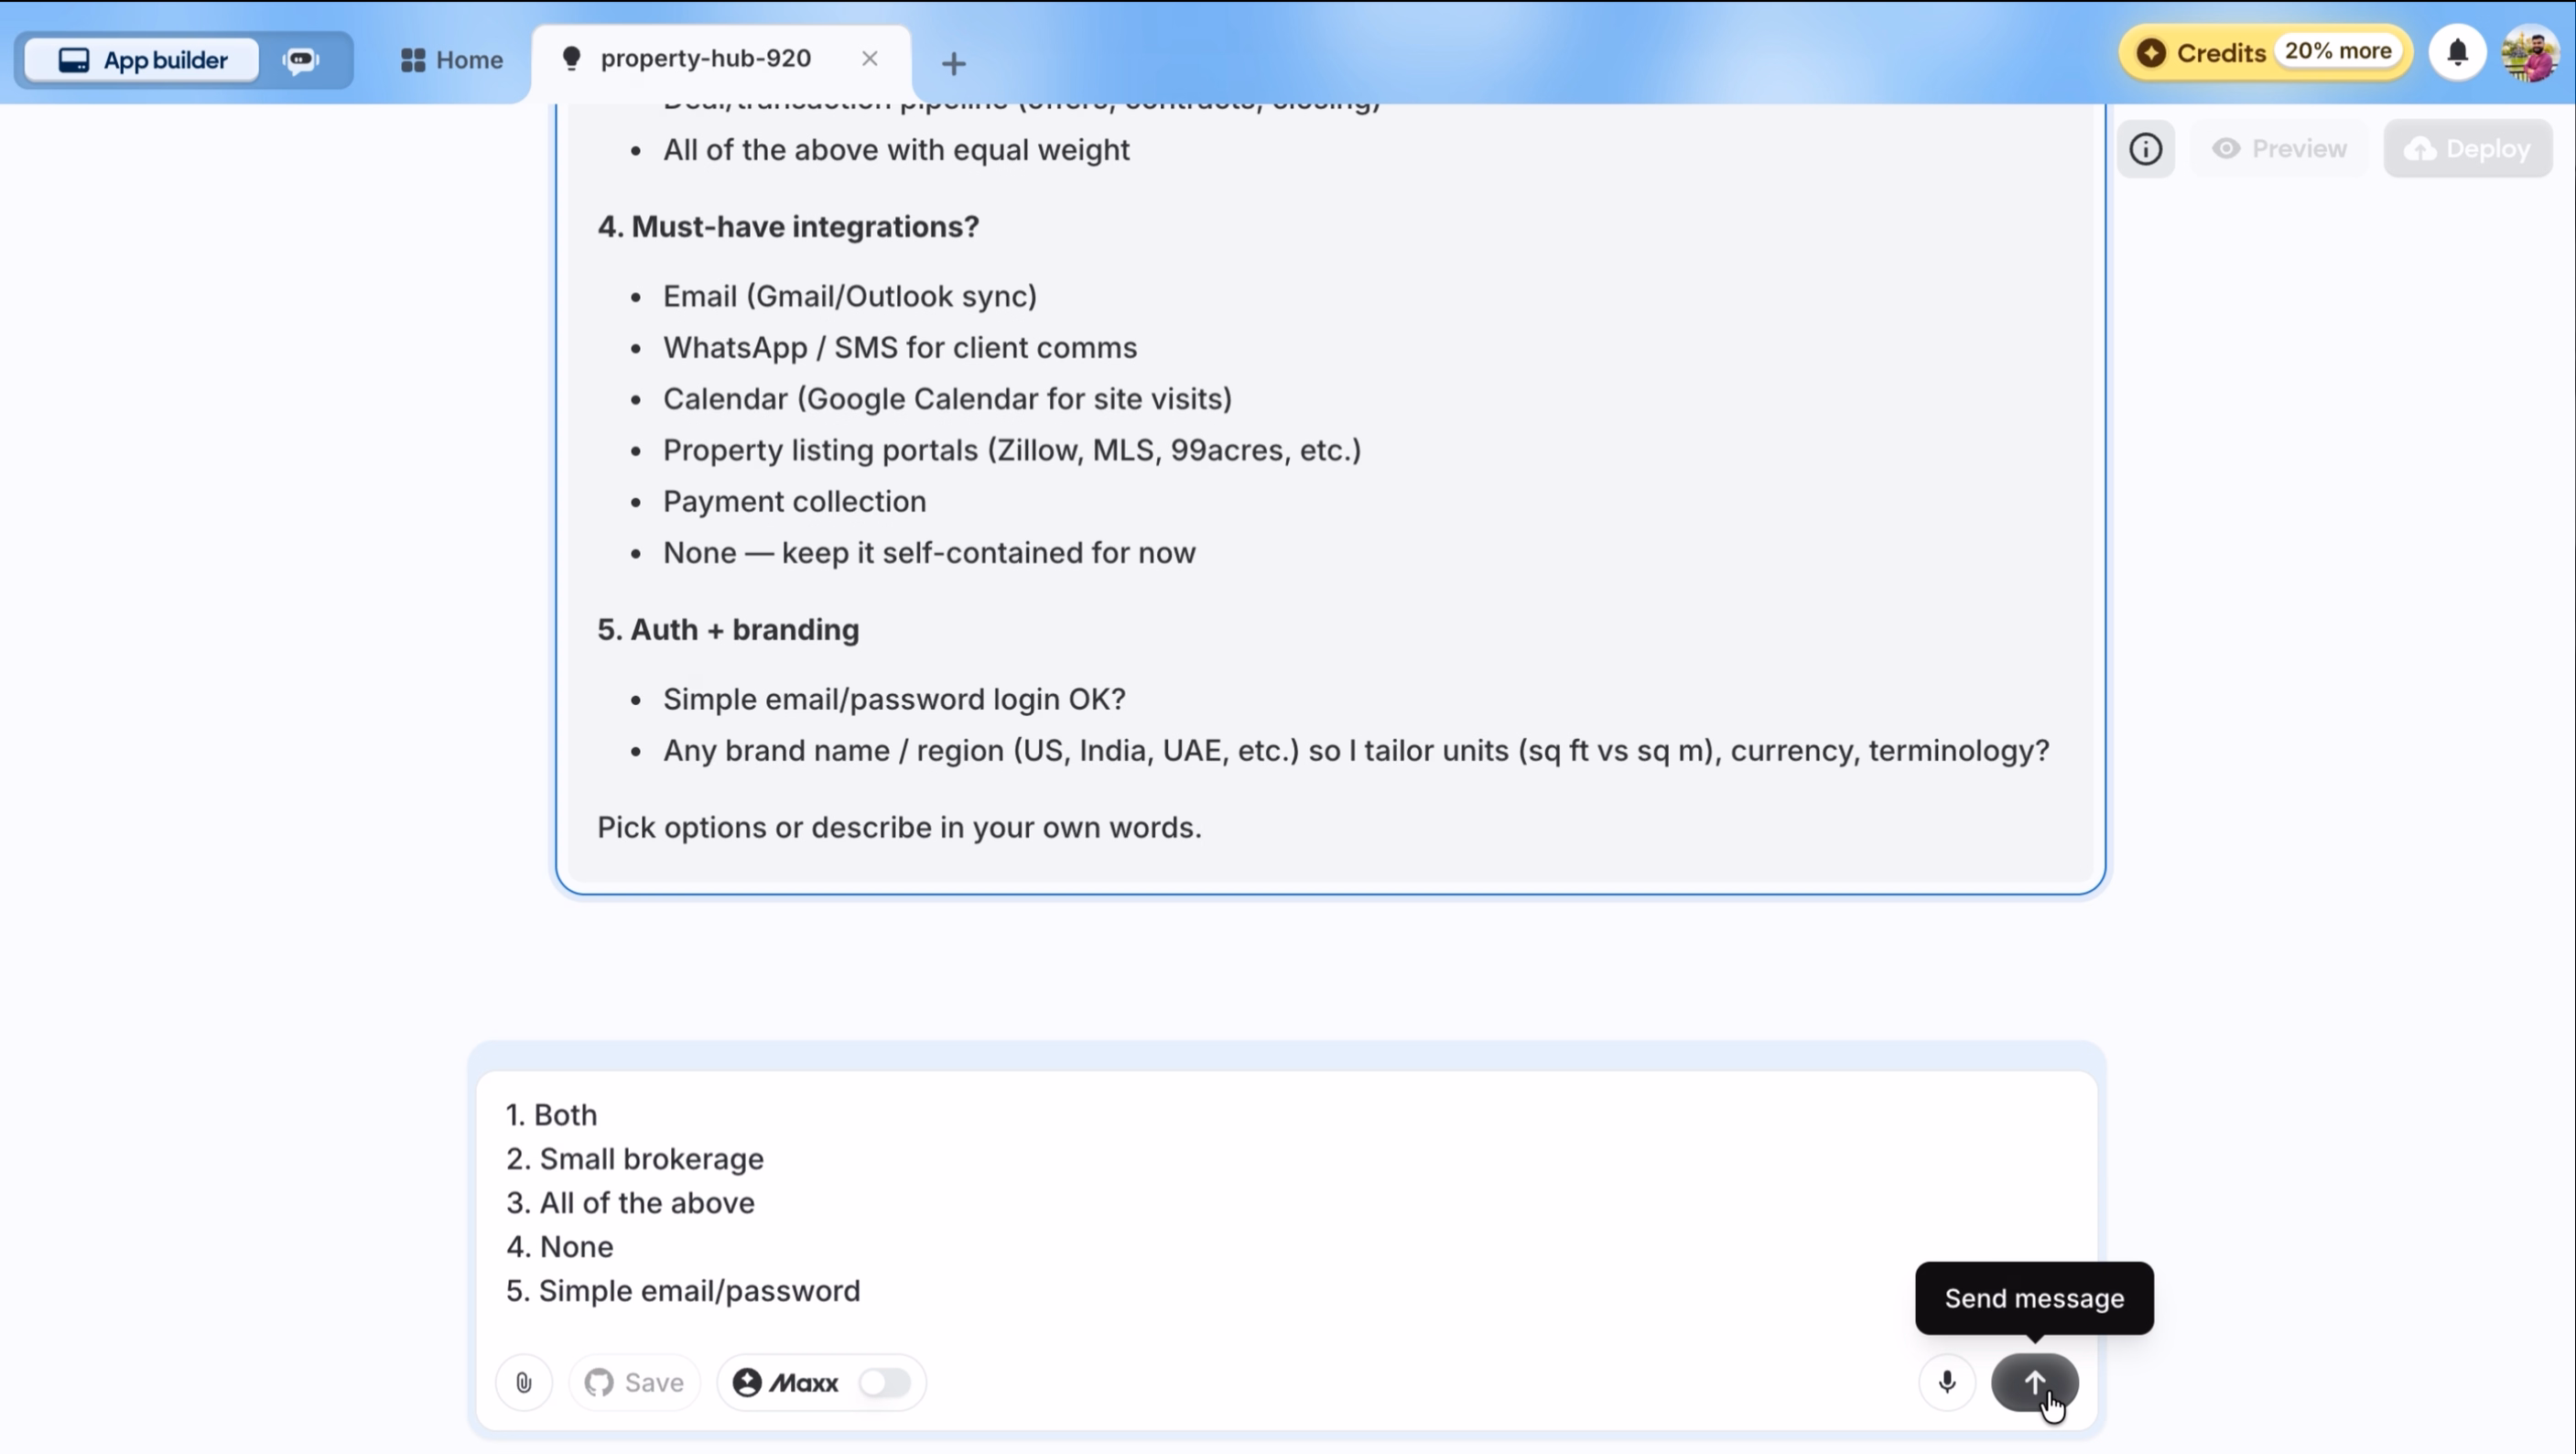
For this tutorial, we answered:
- Both
- Small brokerage
- All of the above
- None
- Simple email/password
Step 5: Finalize the build details
Based on your answers, E-3 asks a second round of more specific questions before locking the plan.
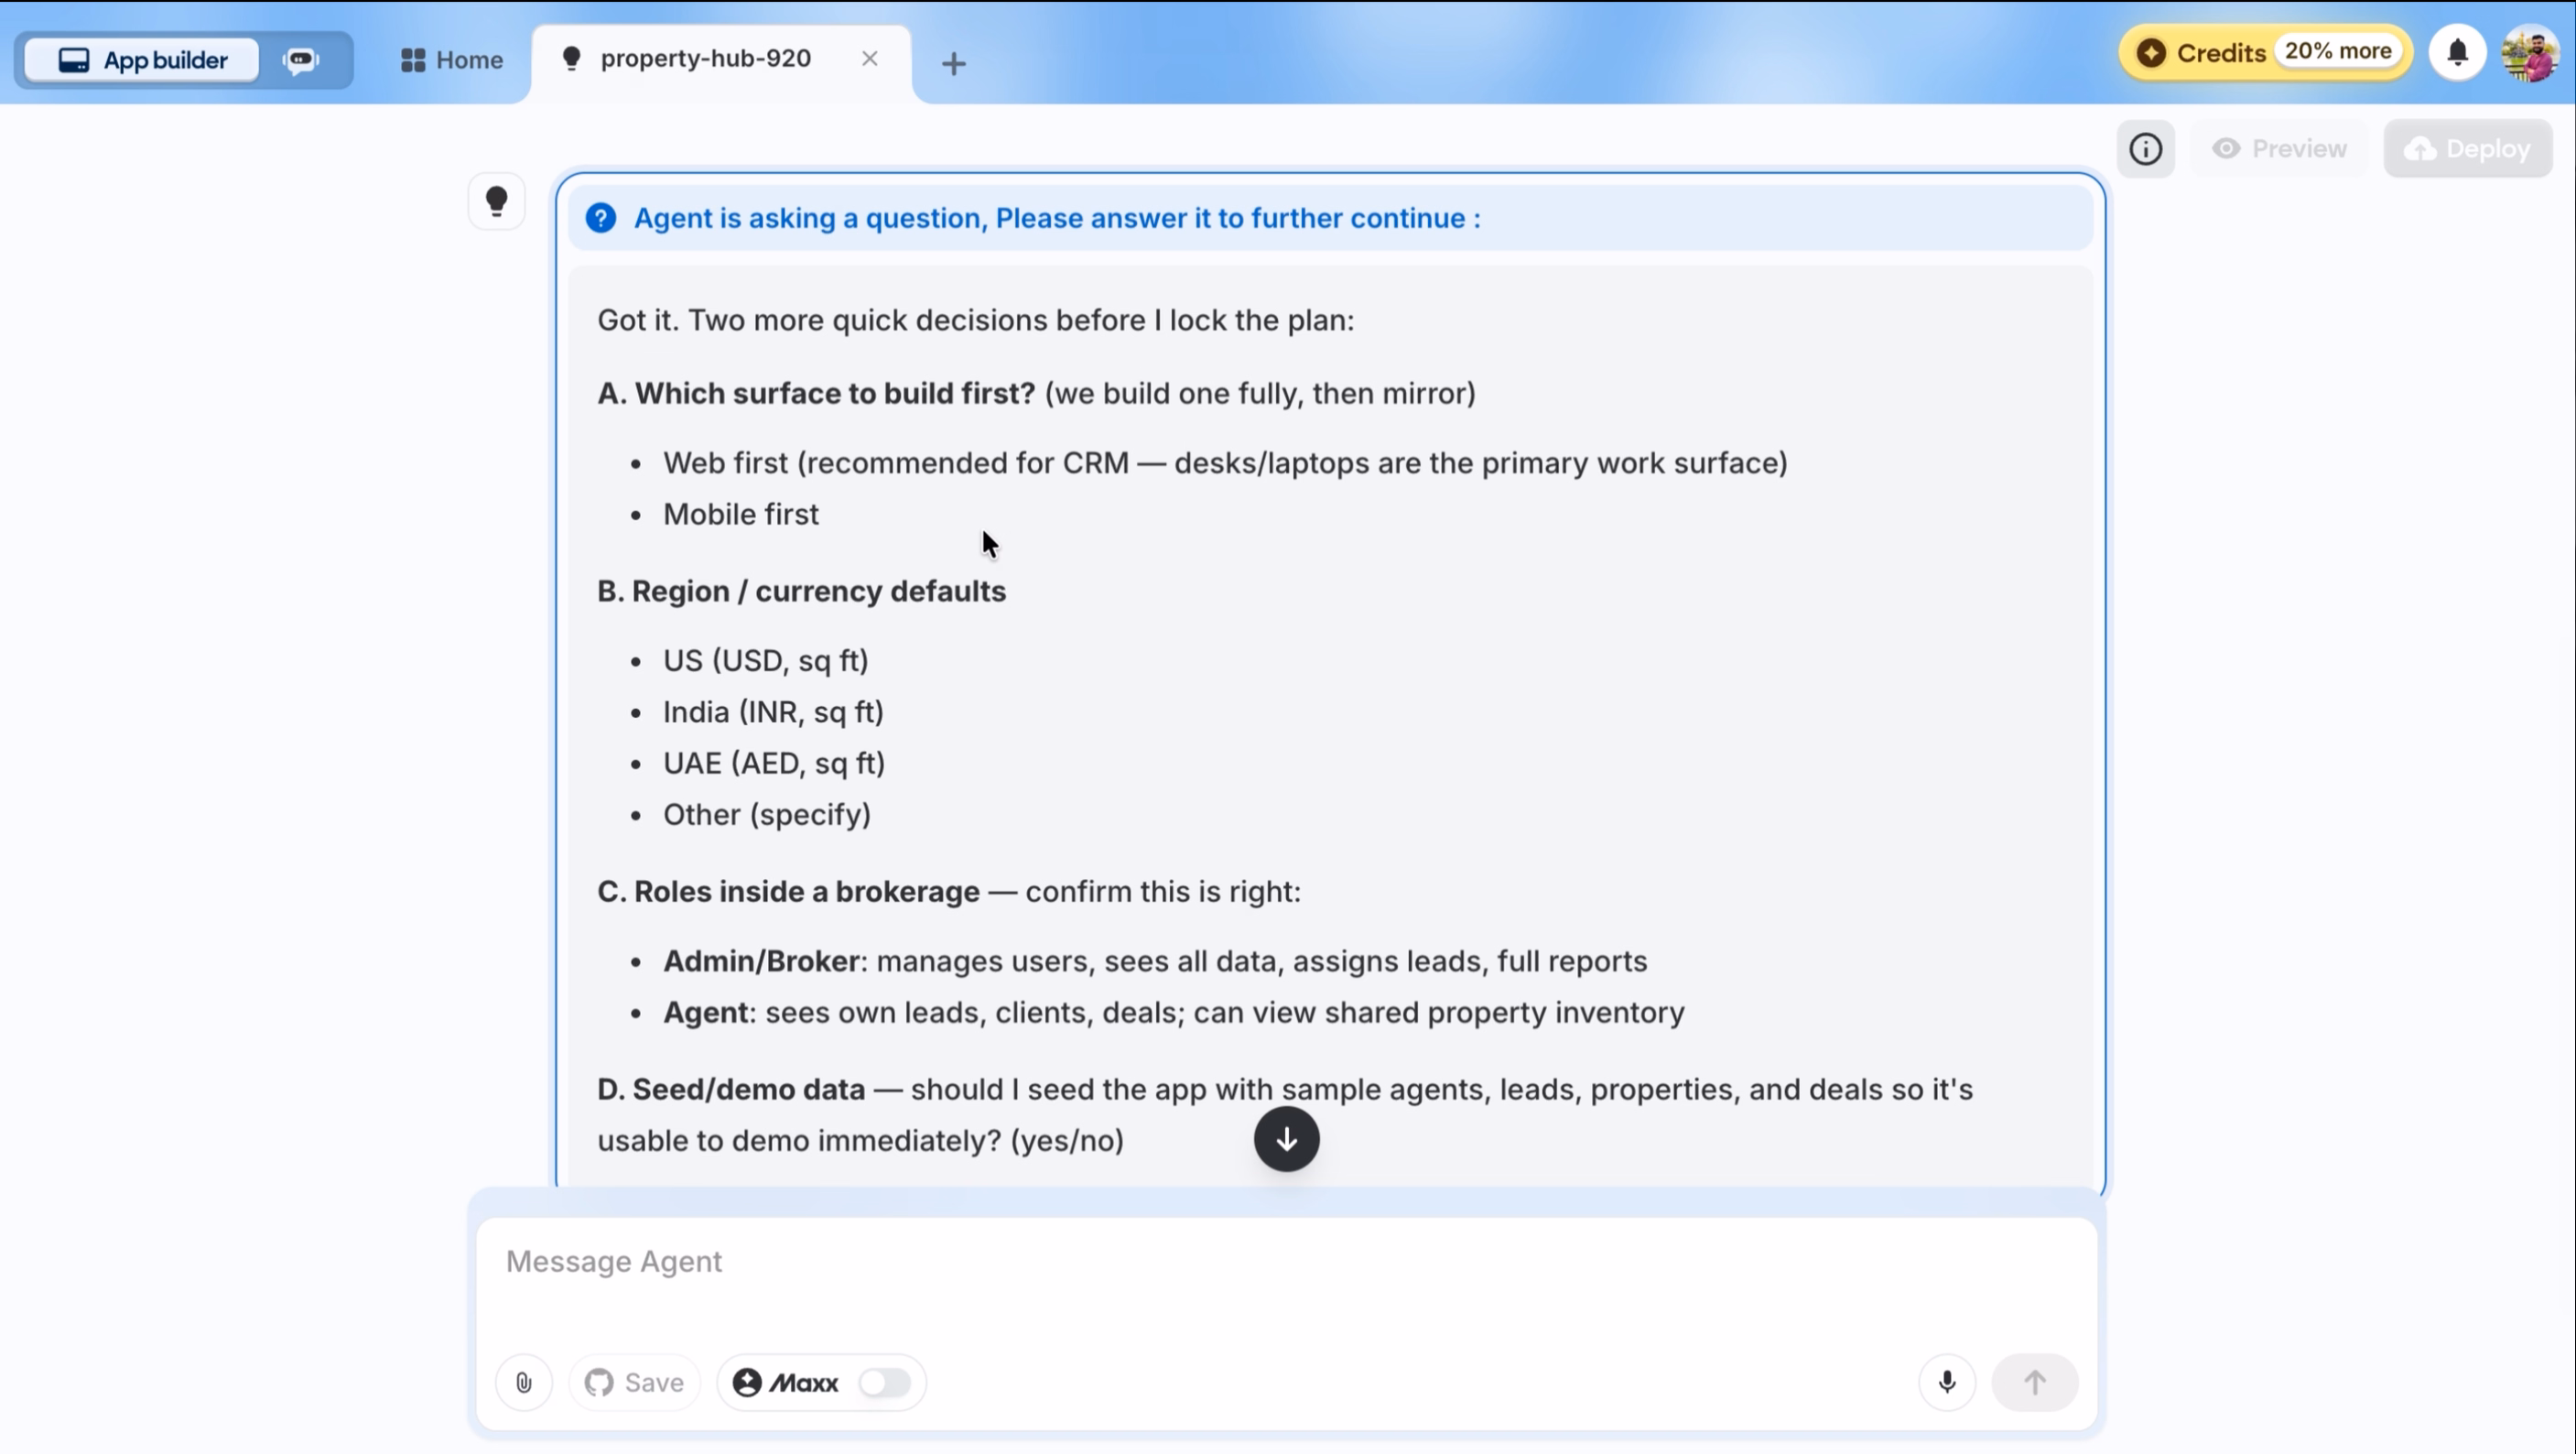
A. Which surface to build first? (we build one fully, then mirror)
- Web first (recommended for CRM — desks/laptops are the primary work surface)
- Mobile first
B. Region / currency defaults
- US (USD, sq ft)
- India (INR, sq ft)
- UAE (AED, sq m)
- Other (specify)
C. Roles inside a brokerage — confirm this is right:
- Admin/Broker: manages users, sees all data, assigns leads, full reports
- Agent: sees own leads, clients, deals; can view shared property inventory
D. Seed/demo data — should I seed the app with sample agents, leads, properties, and deals so it's usable to demo immediately? (yes/no)
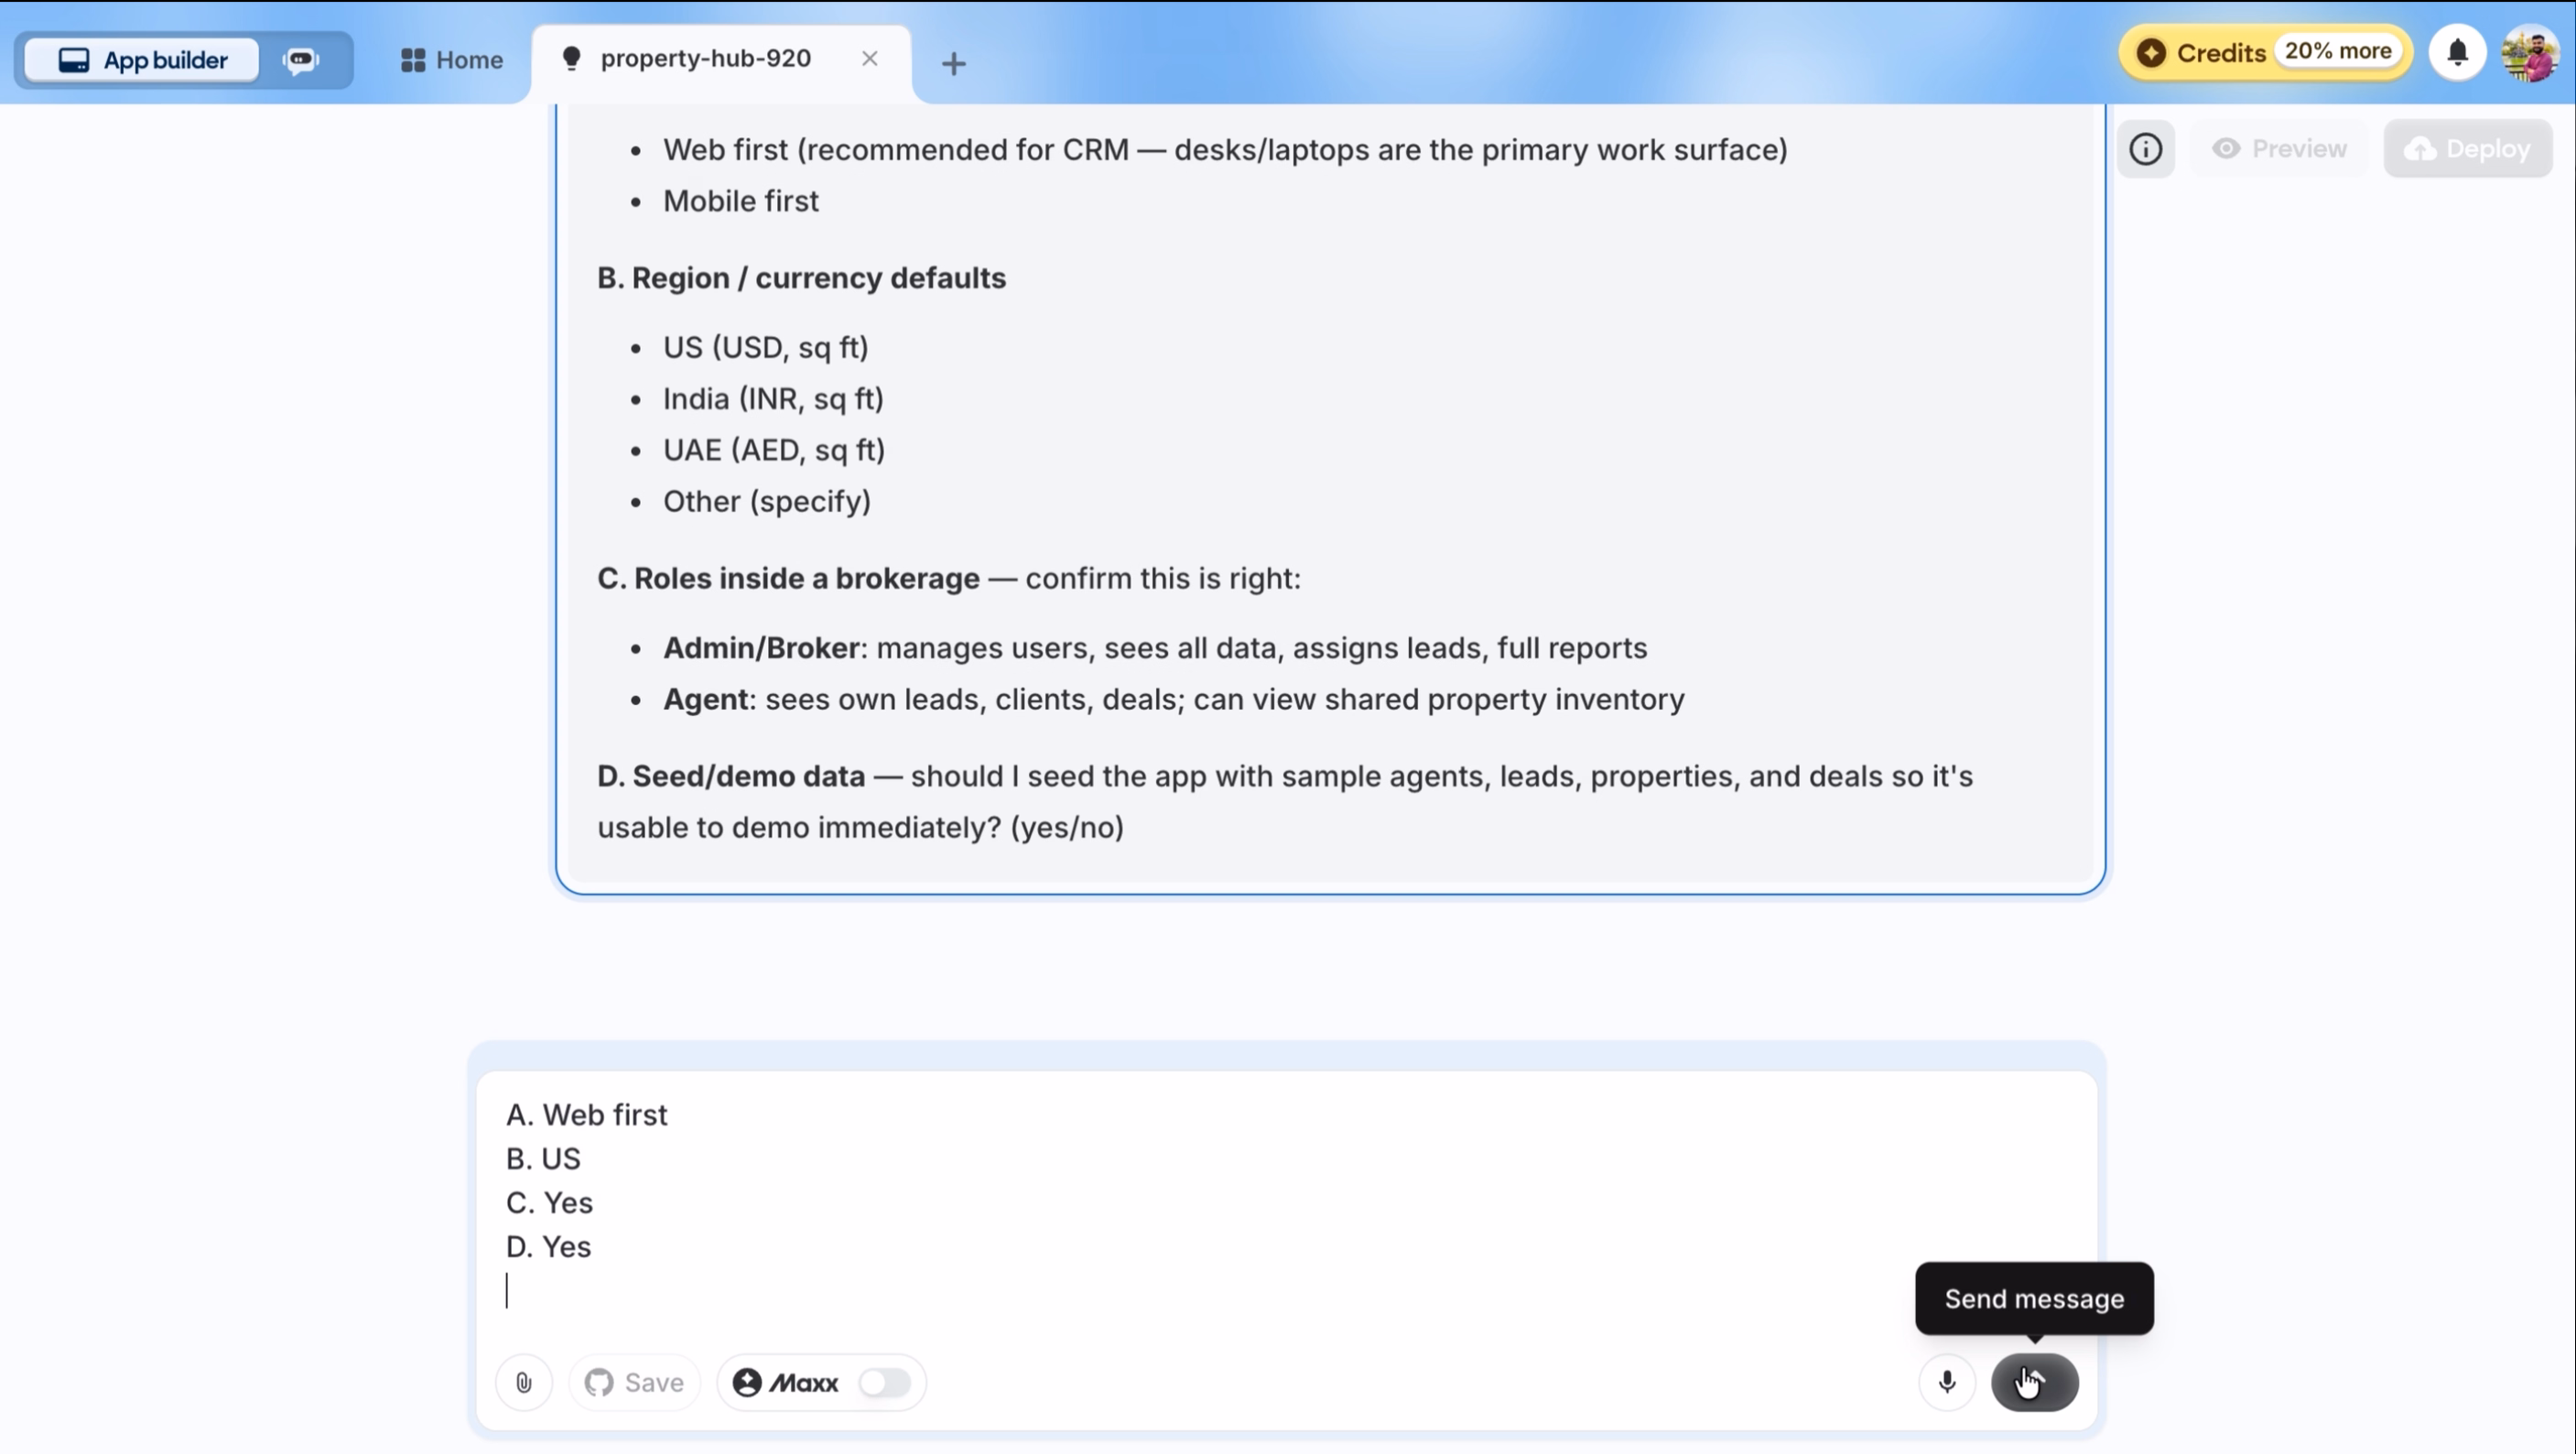
We answered:
- A. Web first
- B. US
- C. Yes
- D. Yes
Step 6: Review the build plan
After collecting all your answers, E-3 generates a phased build plan before writing any code. This is your chance to review the scope and architecture.
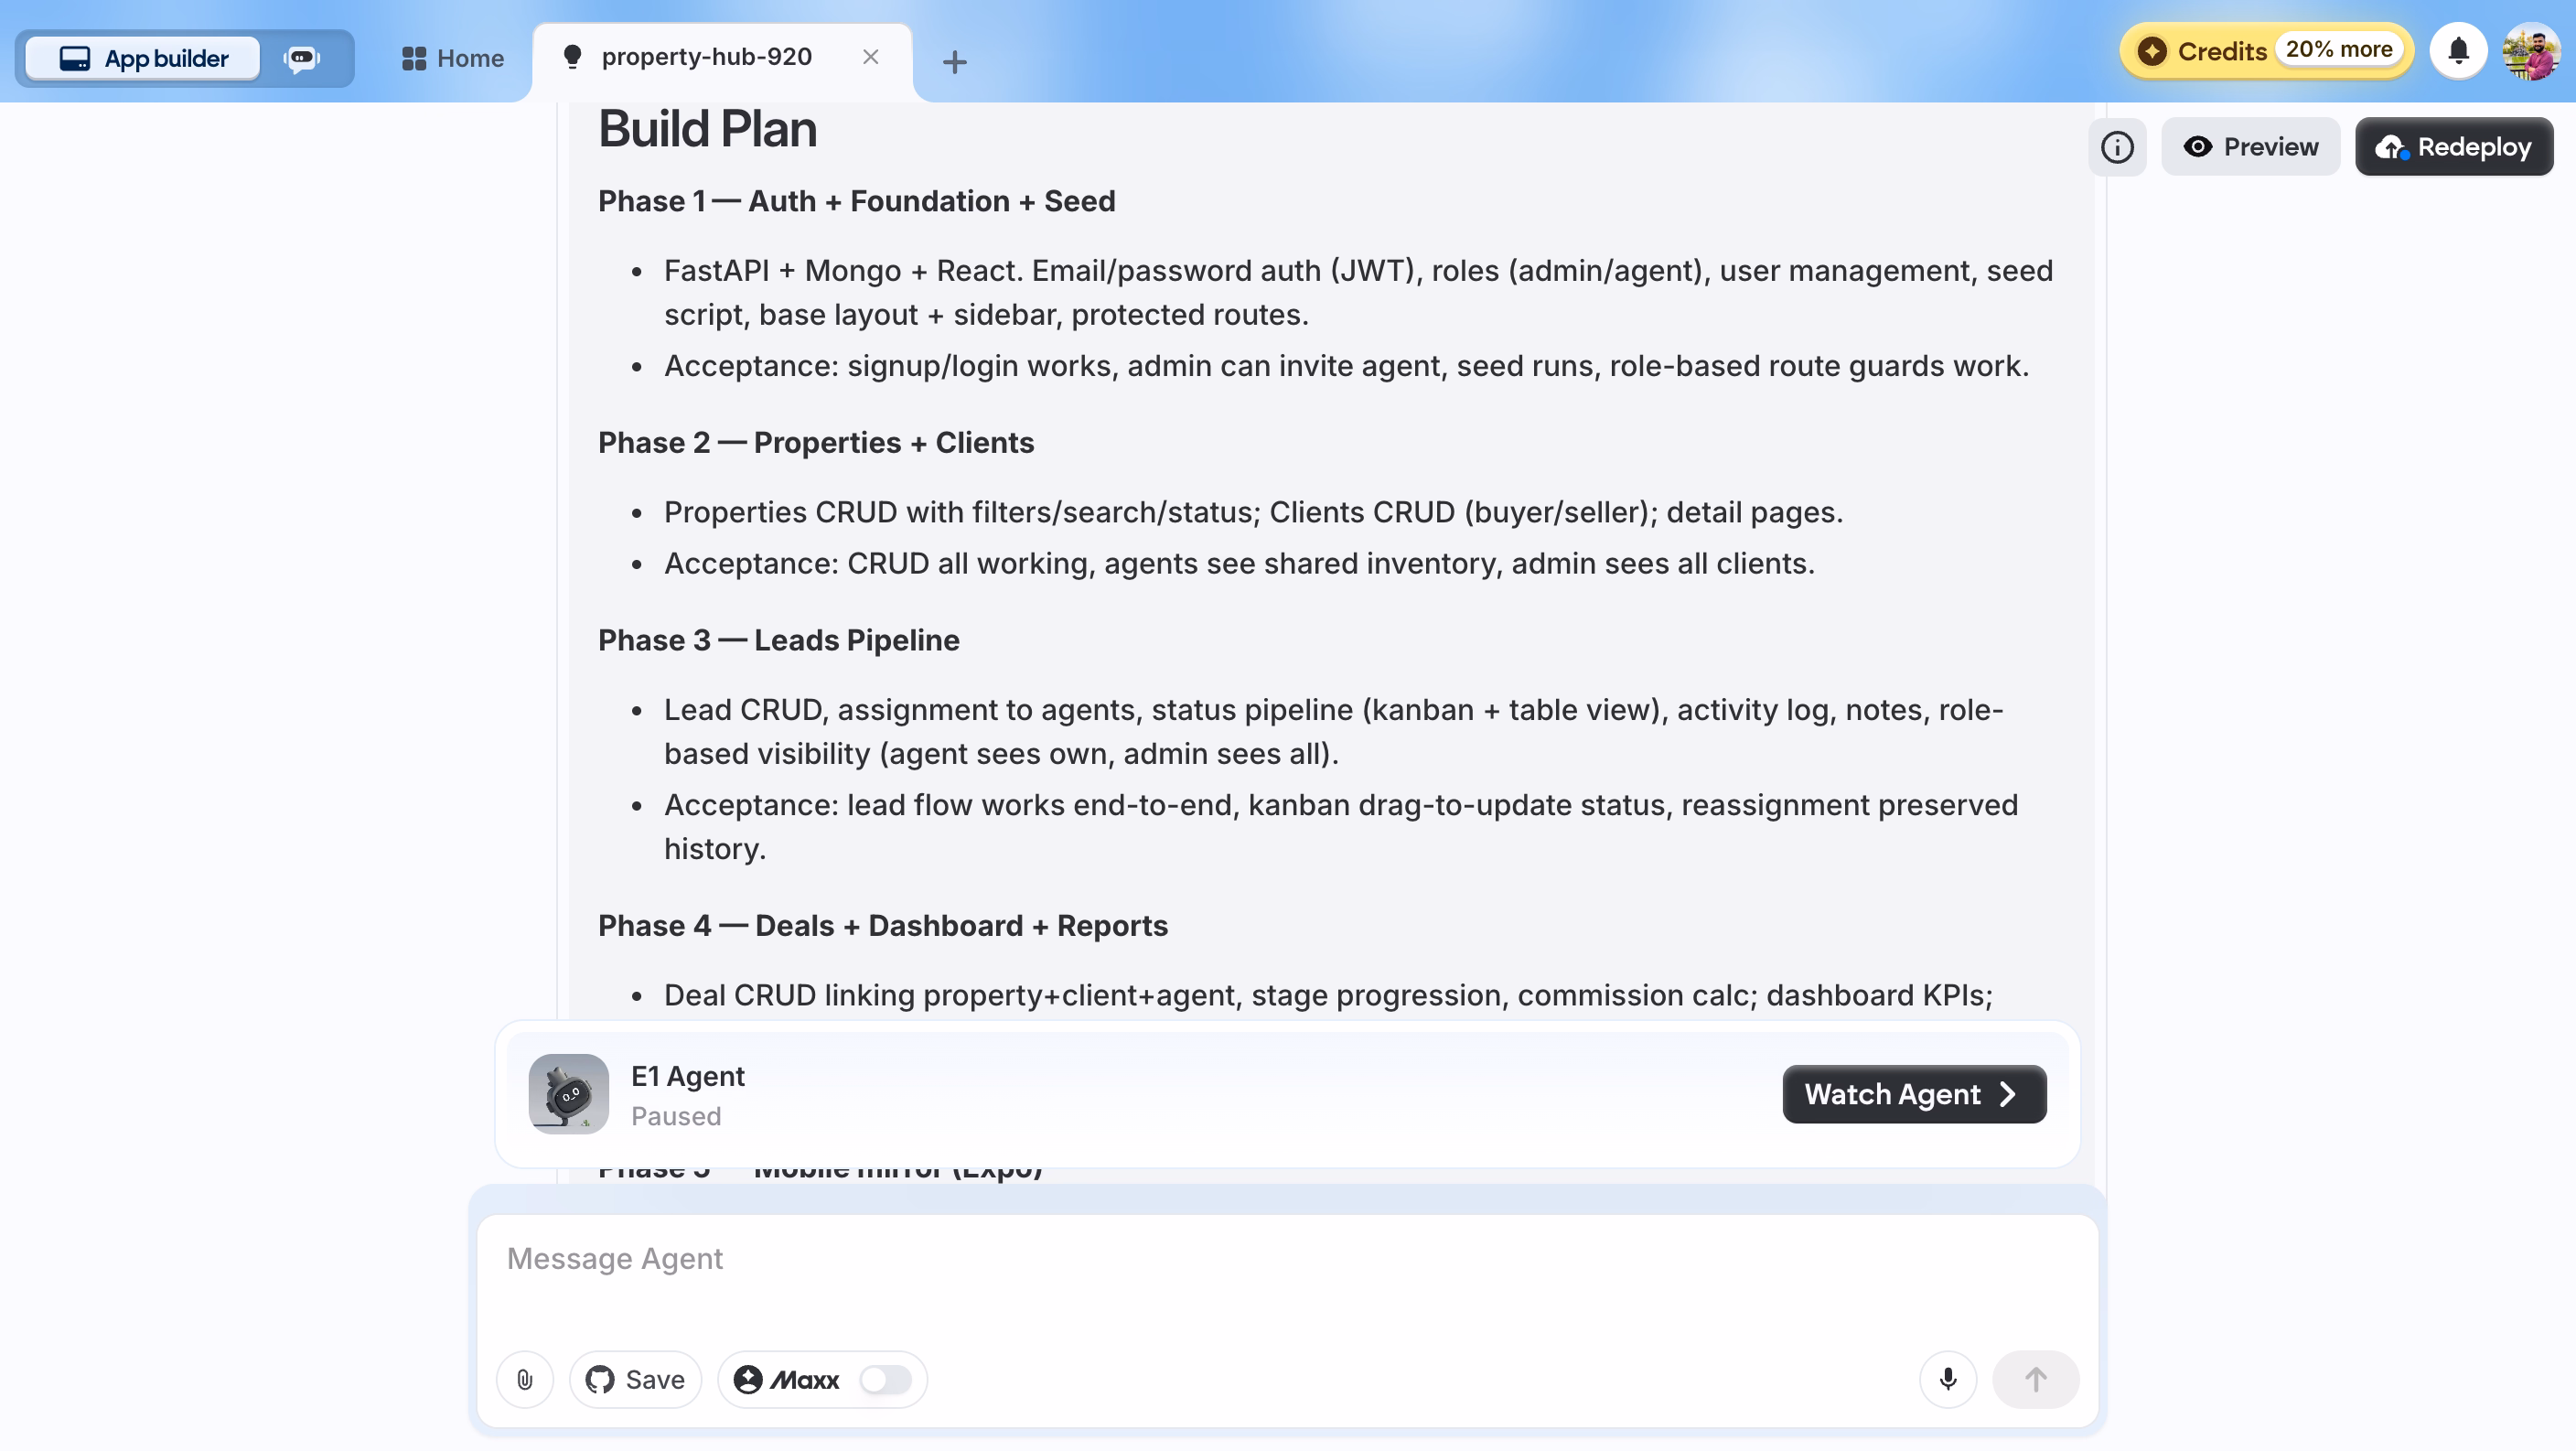
The plan for our CRM:
Phase 1 — Auth + Foundation + Seed
FastAPI + Mongo + React. Email/password auth (JWT), roles (admin/agent), user management, seed script, base layout + sidebar, protected routes.
Acceptance: signup/login works, admin can invite agent, seed runs, role-based route guards work.
Phase 2 — Properties + Clients
Properties CRUD with filters/search/status; Clients CRUD (buyer/seller); detail pages.
Acceptance: CRUD all working, agents see shared inventory, admin sees all clients.
Phase 3 — Leads Pipeline
Lead CRUD, assignment to agents, status pipeline (kanban + table view), activity log, notes, role-based visibility (agent sees own, admin sees all).
Acceptance: lead flow works end-to-end, kanban drag-to-update status, reassignment preserved history.
Phase 4 — Deals + Dashboard + Reports
Deal CRUD linking property+client+agent, stage progression, commission calc; dashboard KPIs; reports (pipeline value, conversion, agent leaderboard).
Step 7: Wait for the build
E-3 now works through each phase autonomously. You can watch the agent's progress in real time as it sets up the backend, scaffolds the frontend, implements authentication, builds out CRUD operations for each module, creates the dashboard, and runs the seed script.
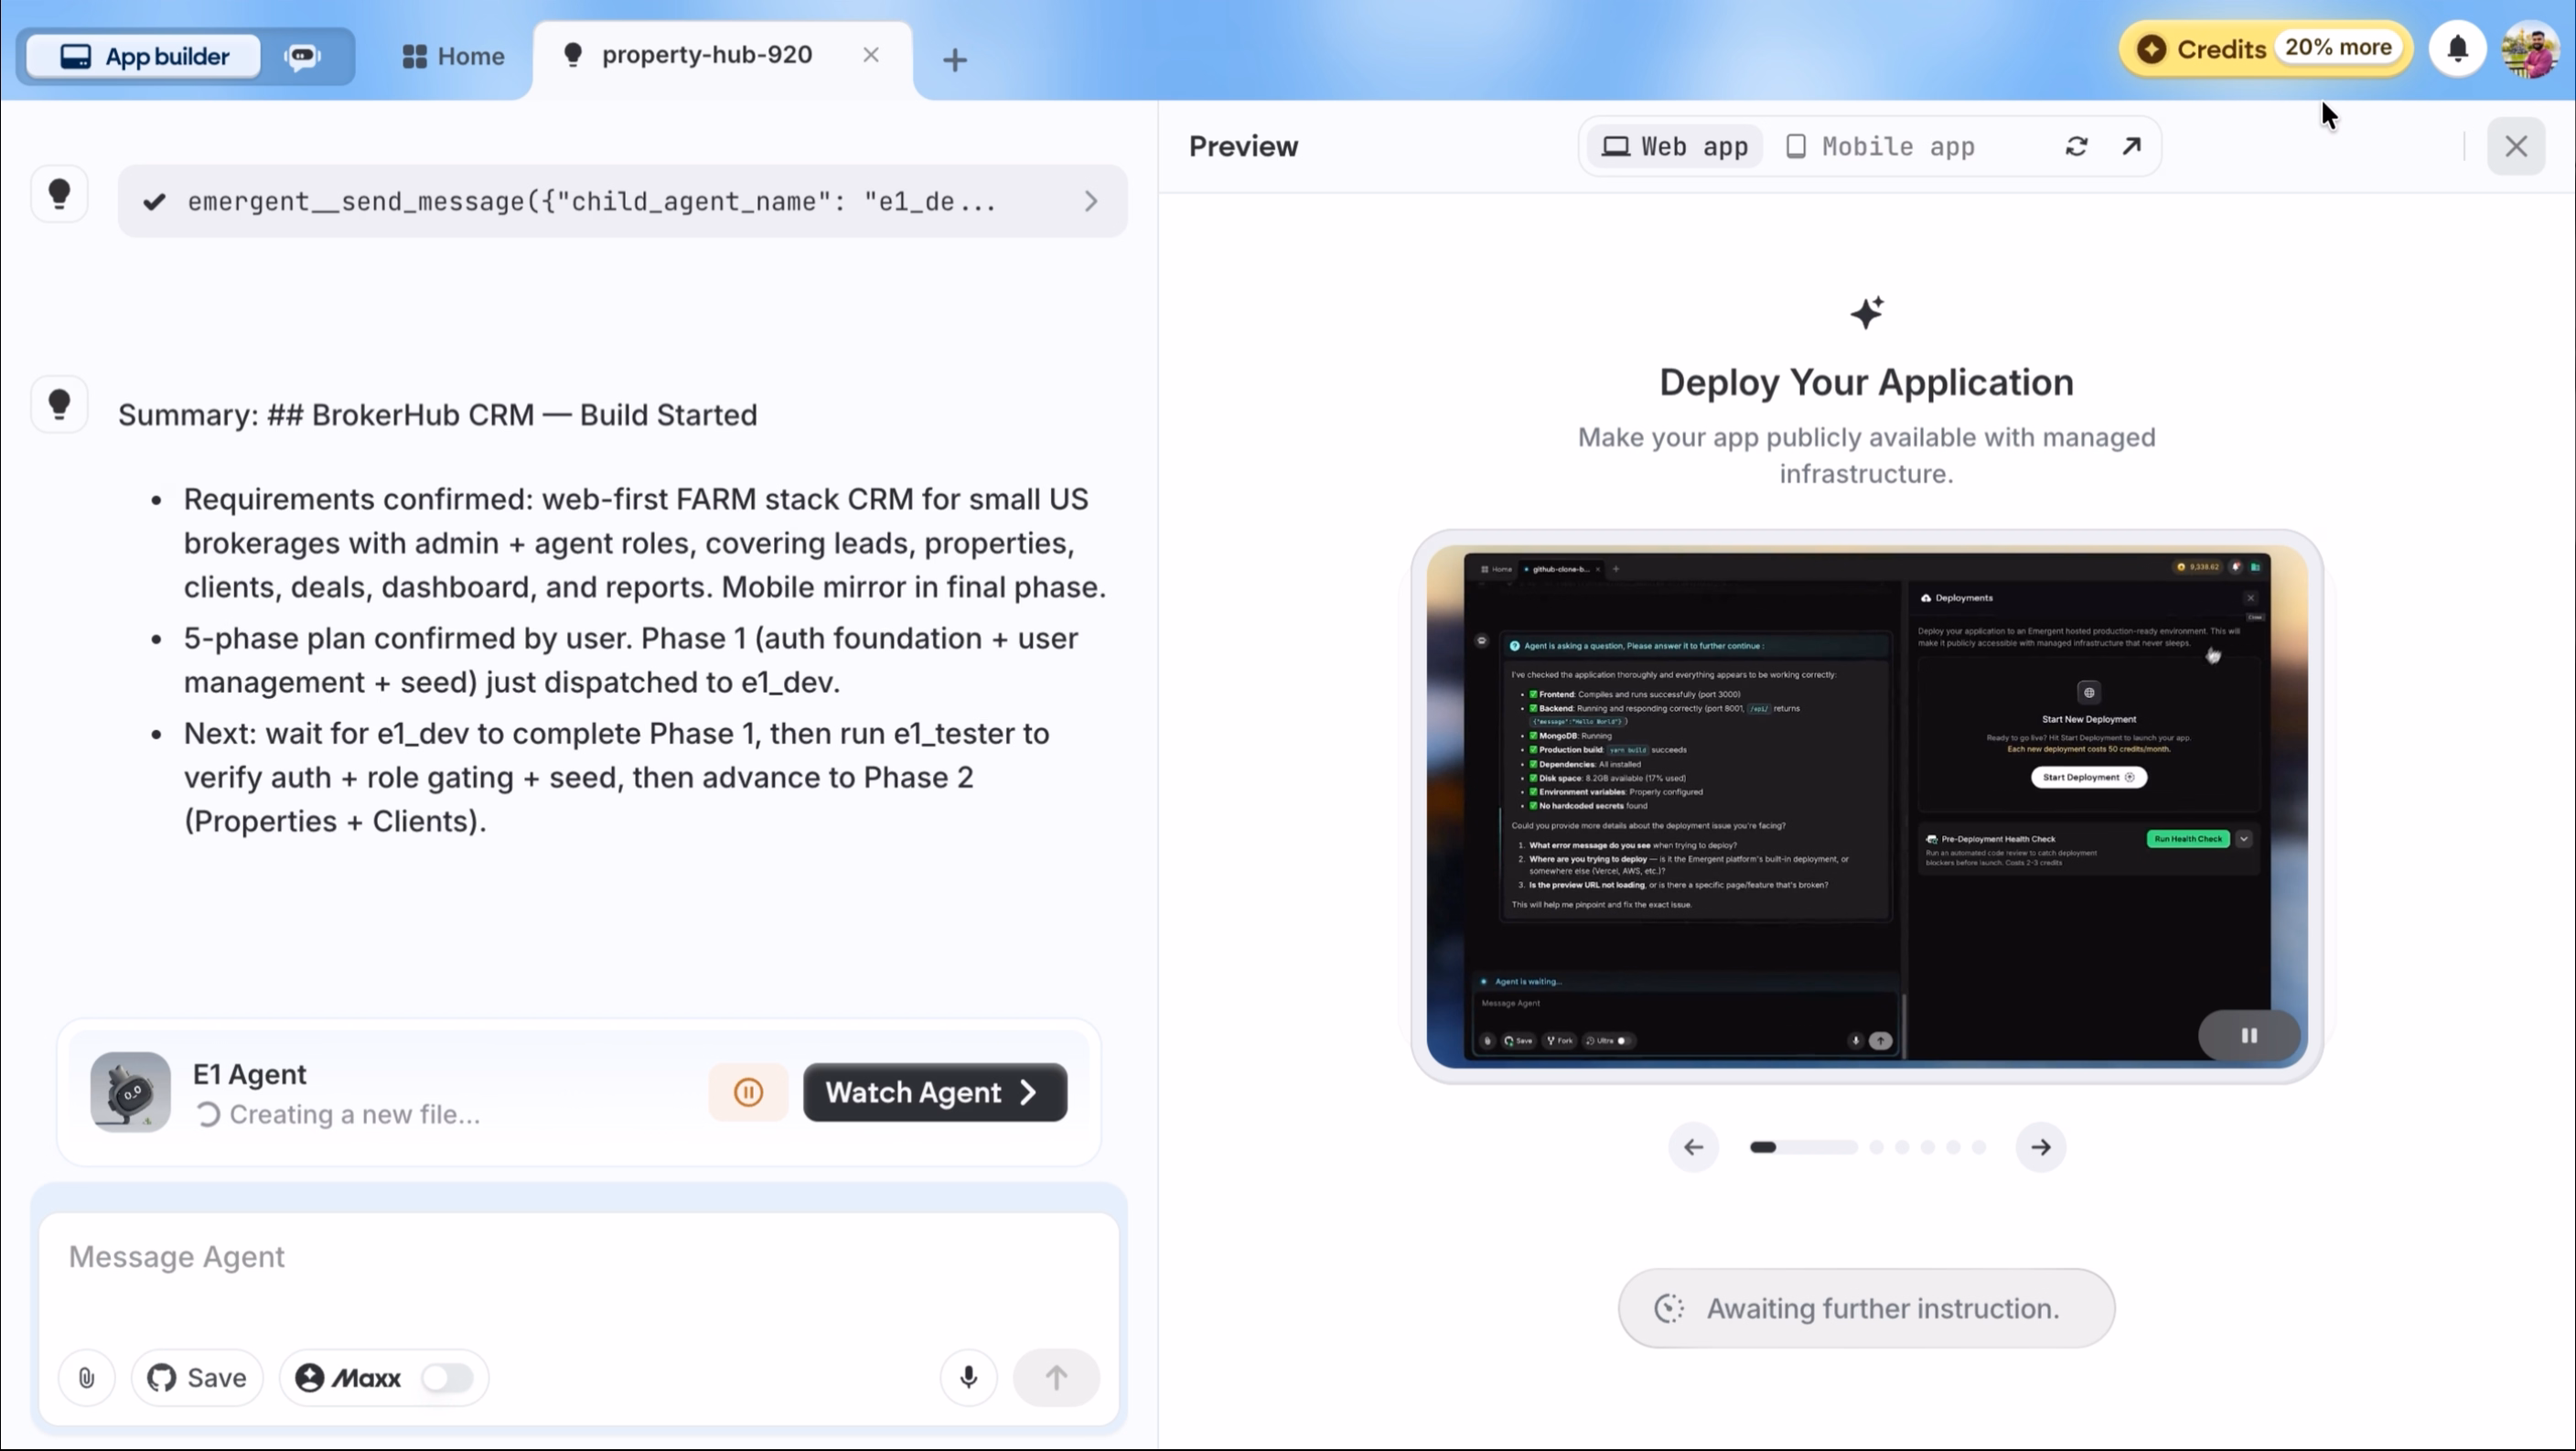
No interaction is required during this phase. You can step away and return when the agent finishes.
The build for this CRM took approximately 20 to 30 minutes. You will know it is complete when the agent posts a summary of the stack, the finished features, and any remaining items on a polish backlog.
Step 8: Preview the application
Click the Preview button in the top-right corner of the Emergent interface. This opens a live, interactive preview of your application.

The first screen is the BrokerHub CRM login page with email and password fields, branded styling, and the tagline: "The desk-first CRM built for real estate brokerages."
Log in with the admin credentials the agent provides in the chat summary.
Step 9: Explore the tool
After logging in as admin, you land on the main dashboard. Because we asked E-3 to seed demo data, everything is already populated.
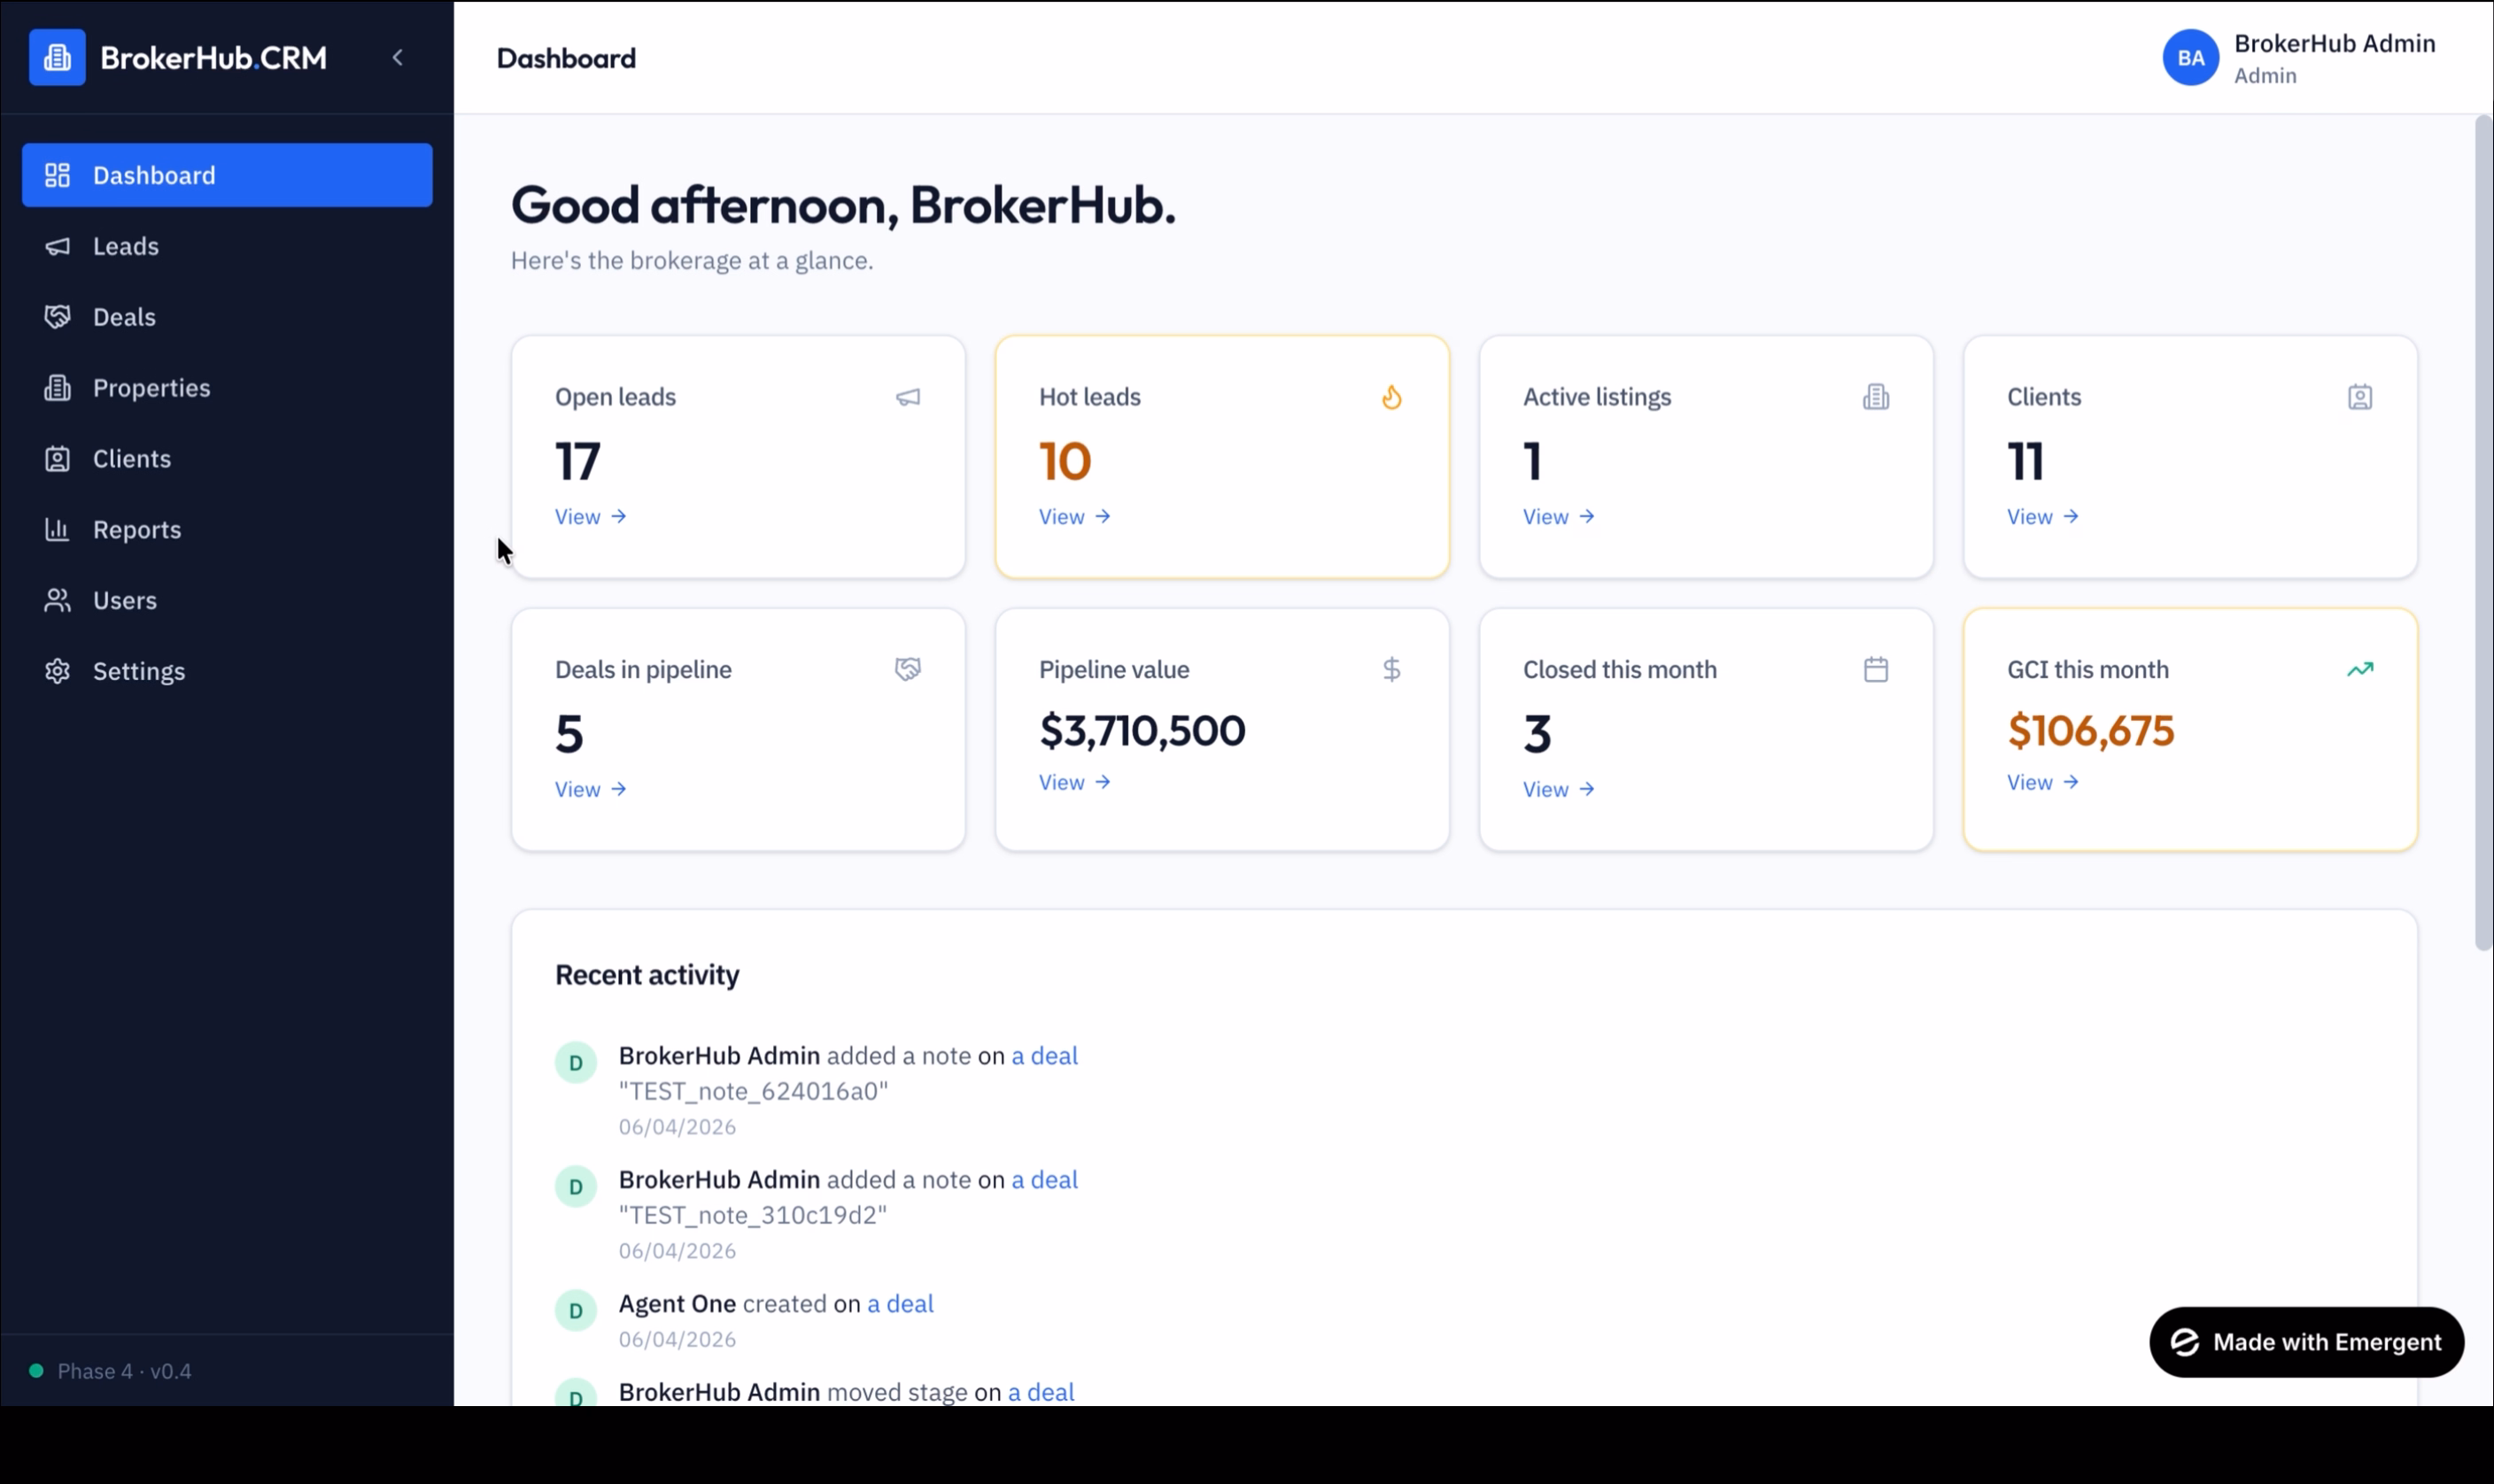
The dashboard includes KPI tiles for the metrics that matter most to a brokerage: open and hot leads, active listings, pipeline value, closed deals, and gross commission income. Because we asked E-3 to seed demo data, all of these are already populated with realistic numbers.
The sidebar gives you access to every module E-3 built: leads management, deal tracking, property inventory, client records, reports, user administration, and settings. Each section is fully functional with CRUD operations, filters, and role-based visibility.
A recent activity feed at the bottom surfaces the latest actions across the brokerage so admins can see what's happening at a glance.
Step 10: Deploy for persistence
To make your CRM accessible outside of the Emergent preview:
Click the Deploy button in the top-right corner of the Emergent interface.
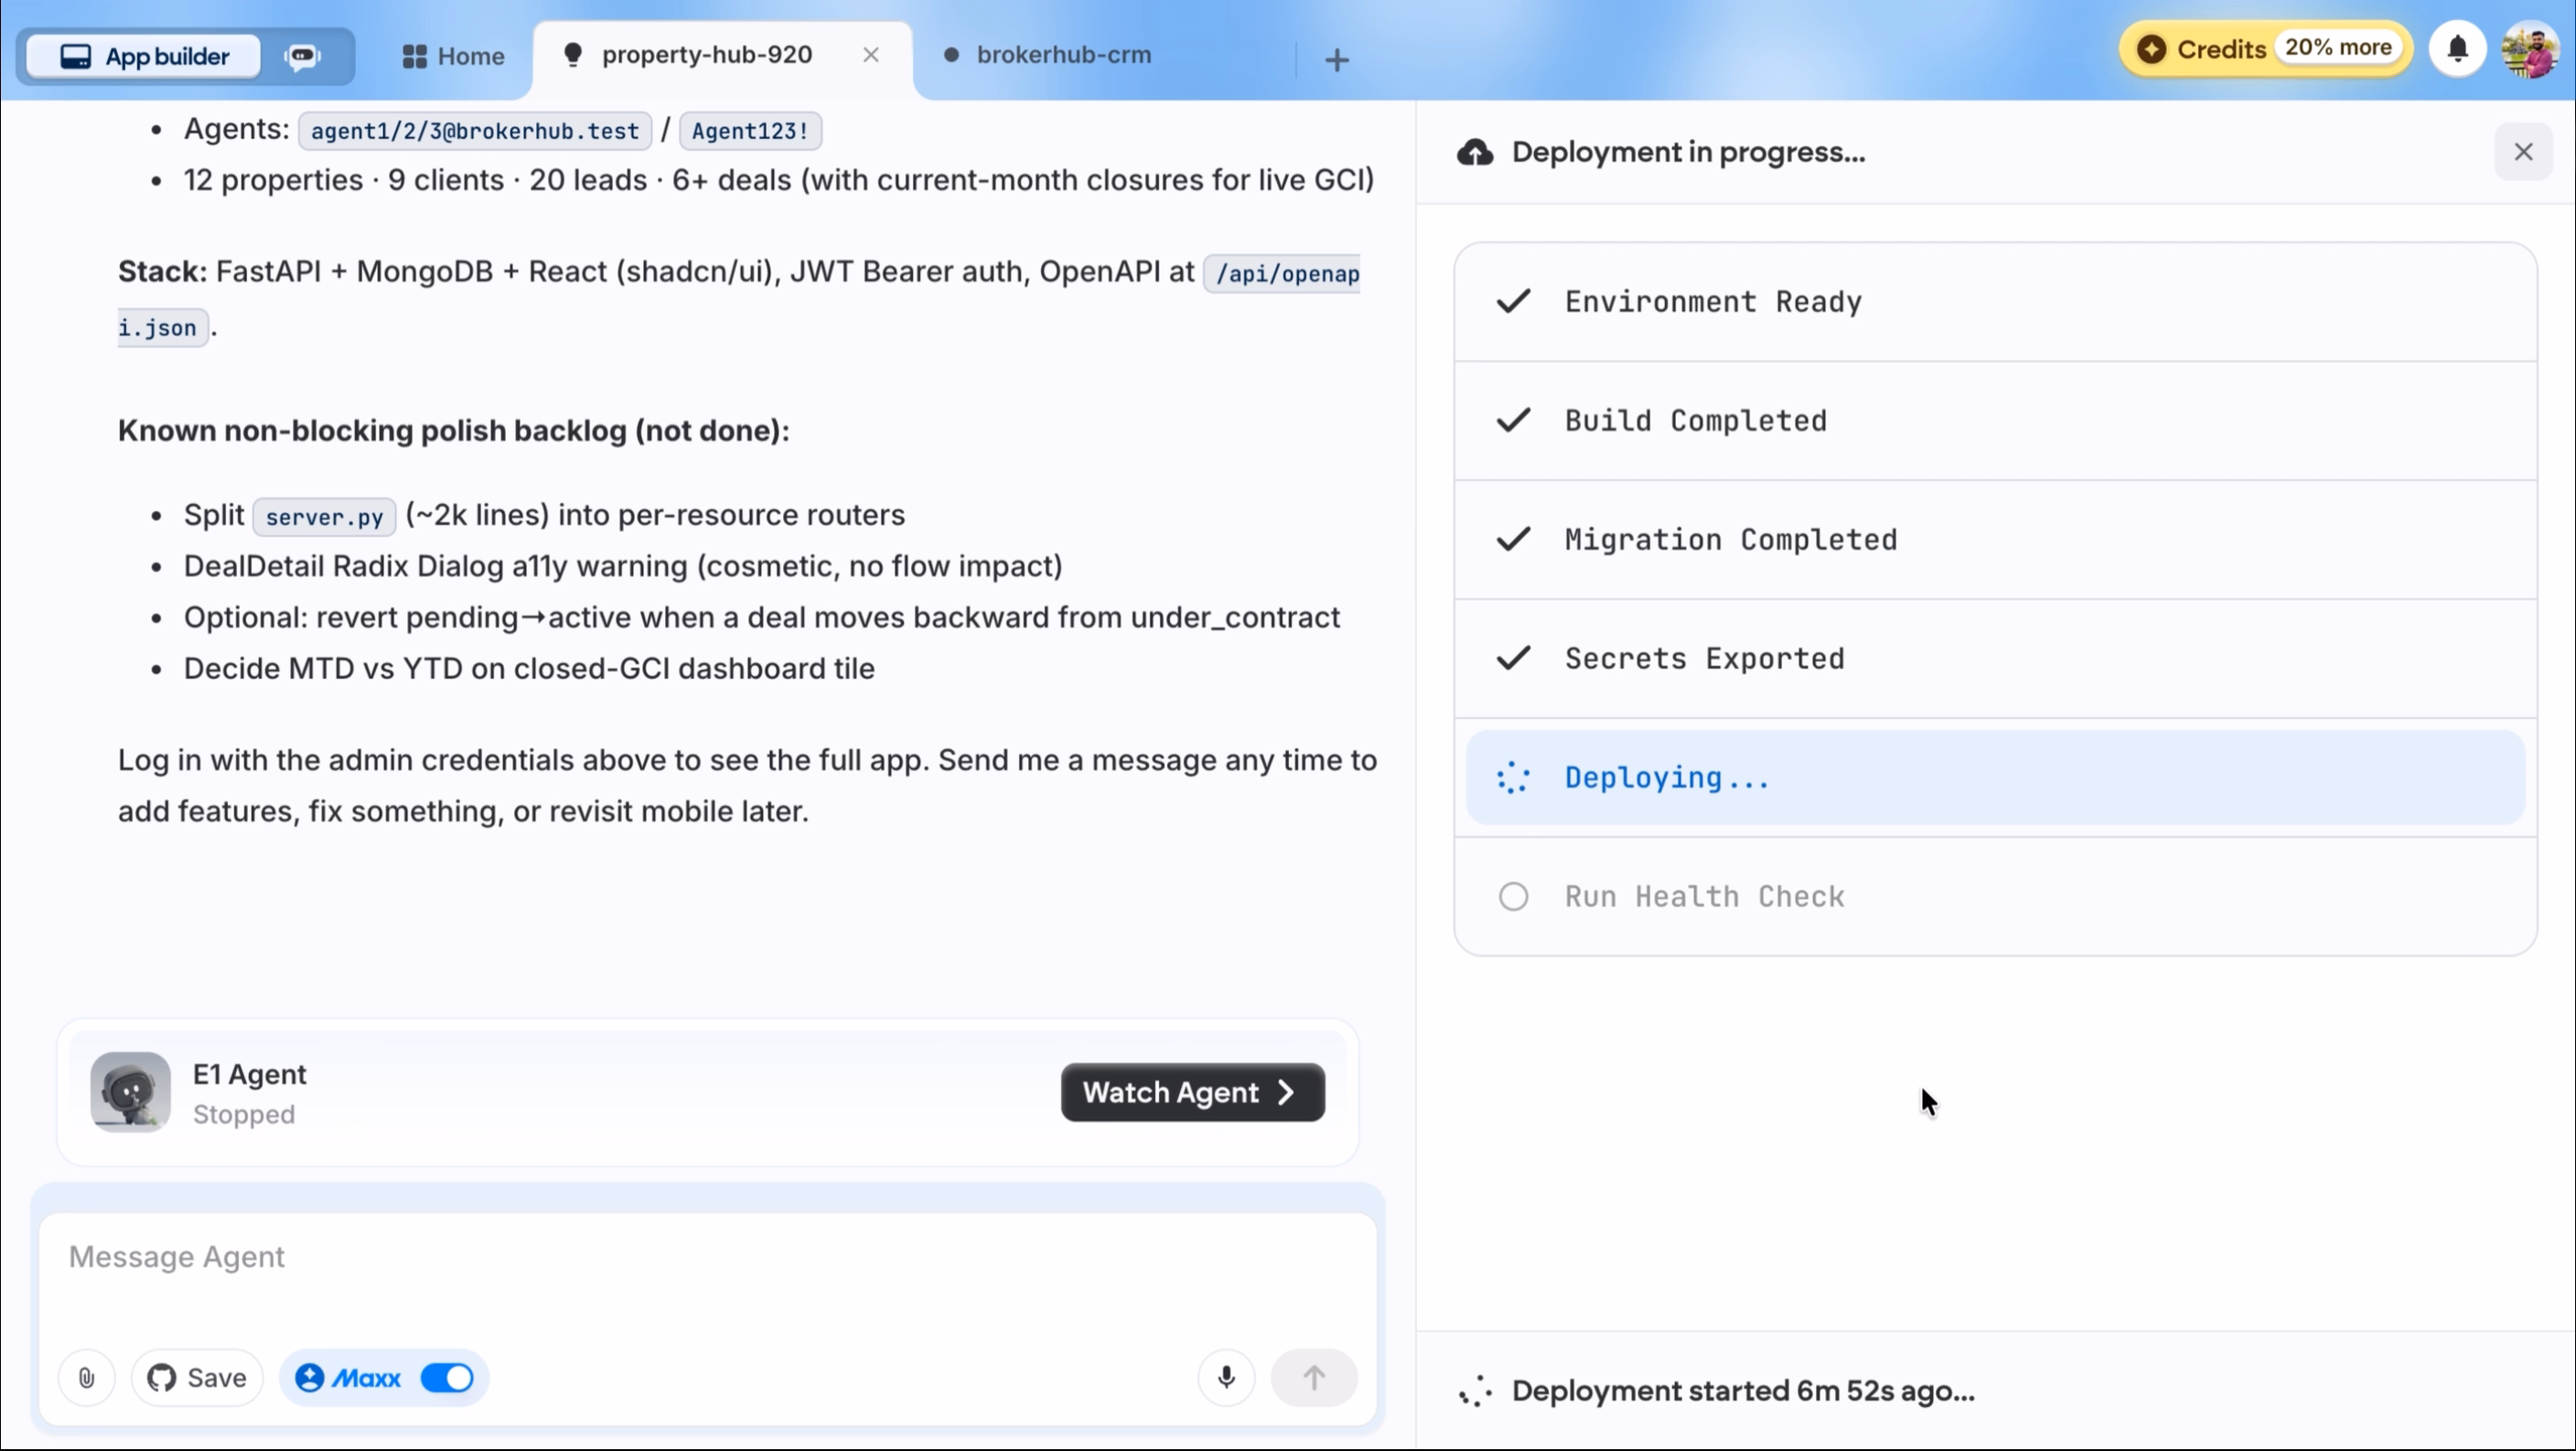
Deploying provisions a production environment with:
- A live URL accessible from any browser
- Managed MongoDB database
- Persistent backend and frontend hosting
First deployment costs 50 credits. Every update (redeploy) after that is free.
Without deploying, the app only runs during your Emergent session.
Step 11: Iterate and customize
The CRM is fully functional, but you can keep talking to the agent to add features or make changes.
Example prompts for next steps:
- Change the brand name from BrokerHub to [your brokerage name] and update the primary color.
- Add Google Calendar integration for scheduling site visits.
- Add a document upload feature so agents can attach contracts to deals.
- Add email notifications when a lead status changes.
- Build the mobile version now.
Each request builds on the existing application. The agent preserves everything already working.
What E-3 built
The CRM that E-3 built is not a mockup or a static prototype. It is a working application with real authentication, a live database, and interconnected modules.
Here is what you can do with it right away:
See your brokerage's performance at a glance
The admin dashboard shows KPI tiles for open leads, hot leads, active listings, clients, deals in pipeline, pipeline value, closed deals, and gross commission income. A recent activity feed surfaces the latest actions across your team without needing to check each module.
Capture and track leads through a visual pipeline
A kanban board with drag-and-drop columns (New, Contacted, Qualified, Tour, Offer, Won, Lost) lets you move leads through stages visually. Each lead card shows the source, buyer or seller type, budget range, and assigned agent. A table view is also available for list-based workflows.
Track deals from offer to close
Every active transaction is tracked with the property address, client, assigned agent, buyer or seller side, deal stage, offer and accepted amounts, commission, and expected close date. Filter by stage or agent to focus on what matters.
Build and browse your property inventory
Property listings include address, status (Active, Coming Soon, Pending, Sold, Off Market), type, beds/baths, square footage, list price, and listing agent. Filter by status, property type, city, or price range to find what you need quickly.
Keep buyer and seller records in one place
Every client record stores name, type (Buyer, Seller, or both), email, phone, and the agent who owns the relationship. Filter by client type or owning agent and search across all fields.
Monitor conversion rates and agent performance
Reports break down your pipeline by deal stage with dollar values, show lead-to-deal conversion rates and close rates over adjustable date ranges, and rank agents on a leaderboard by leads won, deals closed, and GCI.
Manage your team with role-based access
Admins can invite agents, view all accounts with their roles, check account status, and deactivate users. Each agent gets their own login and can only see their own leads, clients, and deals while browsing the shared property inventory.
Update account and security settings
Each user can update their display name and change their password from the settings page.
Recap
In this tutorial, you:
- Selected the E-3 (Beta) agent on Emergent
- Wrote a single-sentence prompt for a real estate CRM
- Answered two rounds of scoping questions to define the project
- Reviewed a four-phase build plan before code was written
- Watched the agent build the full application autonomously
- Previewed a working CRM with authentication, role-based access, leads pipeline, deal tracking, property listings, dashboard KPIs, and demo data
The entire process took under 90 minutes and required zero code.

Emergent turns your idea into a full-stack web or mobile app, no coding required.
 No coding required
- Web & mobile apps
- Deploys instantly


on Emergent today