

Building a Calendly-Style Scheduling App Introduction
Scheduling looks simple on the surface.
Pick a time. Send a link. Meet.
But once you start building it, you quickly run into hard problems: time zones, availability rules, race conditions, integrations, emails, edge cases, and UX clarity for non-technical users.
This project documents the journey of building a Calendly-style scheduling MVP where hosts can define availability, create event types, and invite others to book meetings seamlessly.
Unlike many scheduling tools that rely heavily on external calendars, this app was designed with a clear constraint:
All availability and scheduling logic must live inside the application.
This tutorial walks through how the product was planned, built, debugged, extended, and polished into a production-ready MVP using Zoom and Resend third-party integrations.
Problem Statement and Proposed Solution
The Problem
Scheduling products often suffer from:
- Fragile OAuth and permission flows
- Poor handling of time zones
- Limited customization for advanced workflows
- Weak internal visibility into bookings and contacts
- No CRM options to track relationships
For builders, this means shipping something that works only until an integration breaks.
The Solution
This scheduling app flips the model.
Availability is calculated internally.
Bookings are validated server-side.
Integrations enhance the flow to make it seamless.
The solution combines:
- An internal availability engine
- Public booking pages
- Automatic meeting creation
- Email confirmations
- Advanced features like single-use links, meeting polls, CRM views, and calendar visualization
The result is a robust scheduling system that works even without external calendar sync.
Learning Outcomes
By completing this tutorial, you will learn how to design an internal scheduling engine, model availability and bookings correctly, integrate Zoom meetings and transactional emails, build public booking flows, add CRM and calendar views on top of booking data, debug real-world production issues, and ship a polished MVP.
Step 1: Define the Scheduling Constraint
Owning Availability Logic
The project began with a single, non-negotiable requirement:
“All availability and scheduling logic should be self-contained within the application.”
To make this realistic, availability would be defined by:
- Weekly rules
- Manual time blocks
- Event durations
- Buffers (notice periods)
- Existing bookings
This decision made the system more complex internally, but dramatically more reliable long-term.
Step 2: Break Down the MVP Features
Host Capabilities
Hosts can:
- Sign in using Google OAuth
- Create a public profile with a custom URL slug
- Define weekly availability
- Create multiple event types
- Manually block time for vacations
- View all bookings
- See a CRM-style list of invitees
- View meetings in a calendar
- Configure integrations
Invitee Capabilities
Invitees can:
- Visit a host’s public page
- Book a meeting via an event link
- Select a time slot
- Receive confirmation emails
- Join meetings via generated links
Keeping the scope tight prevented early over-engineering.
Step 3: Design the Data Model First
Scheduling-Centric Schema Design
Three collections formed the core of the system:
- Users
- Event types
- Bookings
A critical design rule was established early:
All timestamps are stored in UTC. Always.
Time zone conversion happens only at the UI layer.
This single rule eliminated an entire class of bugs later.
Step 4: Authentication and Identity
Google OAuth Without the Pain
Authentication uses Emergent-managed Google OAuth.
This avoided:
- Manual OAuth setup
- Token refresh logic
- Redirect URL mismatches
Users authenticate once and receive a session-backed identity used across the app.
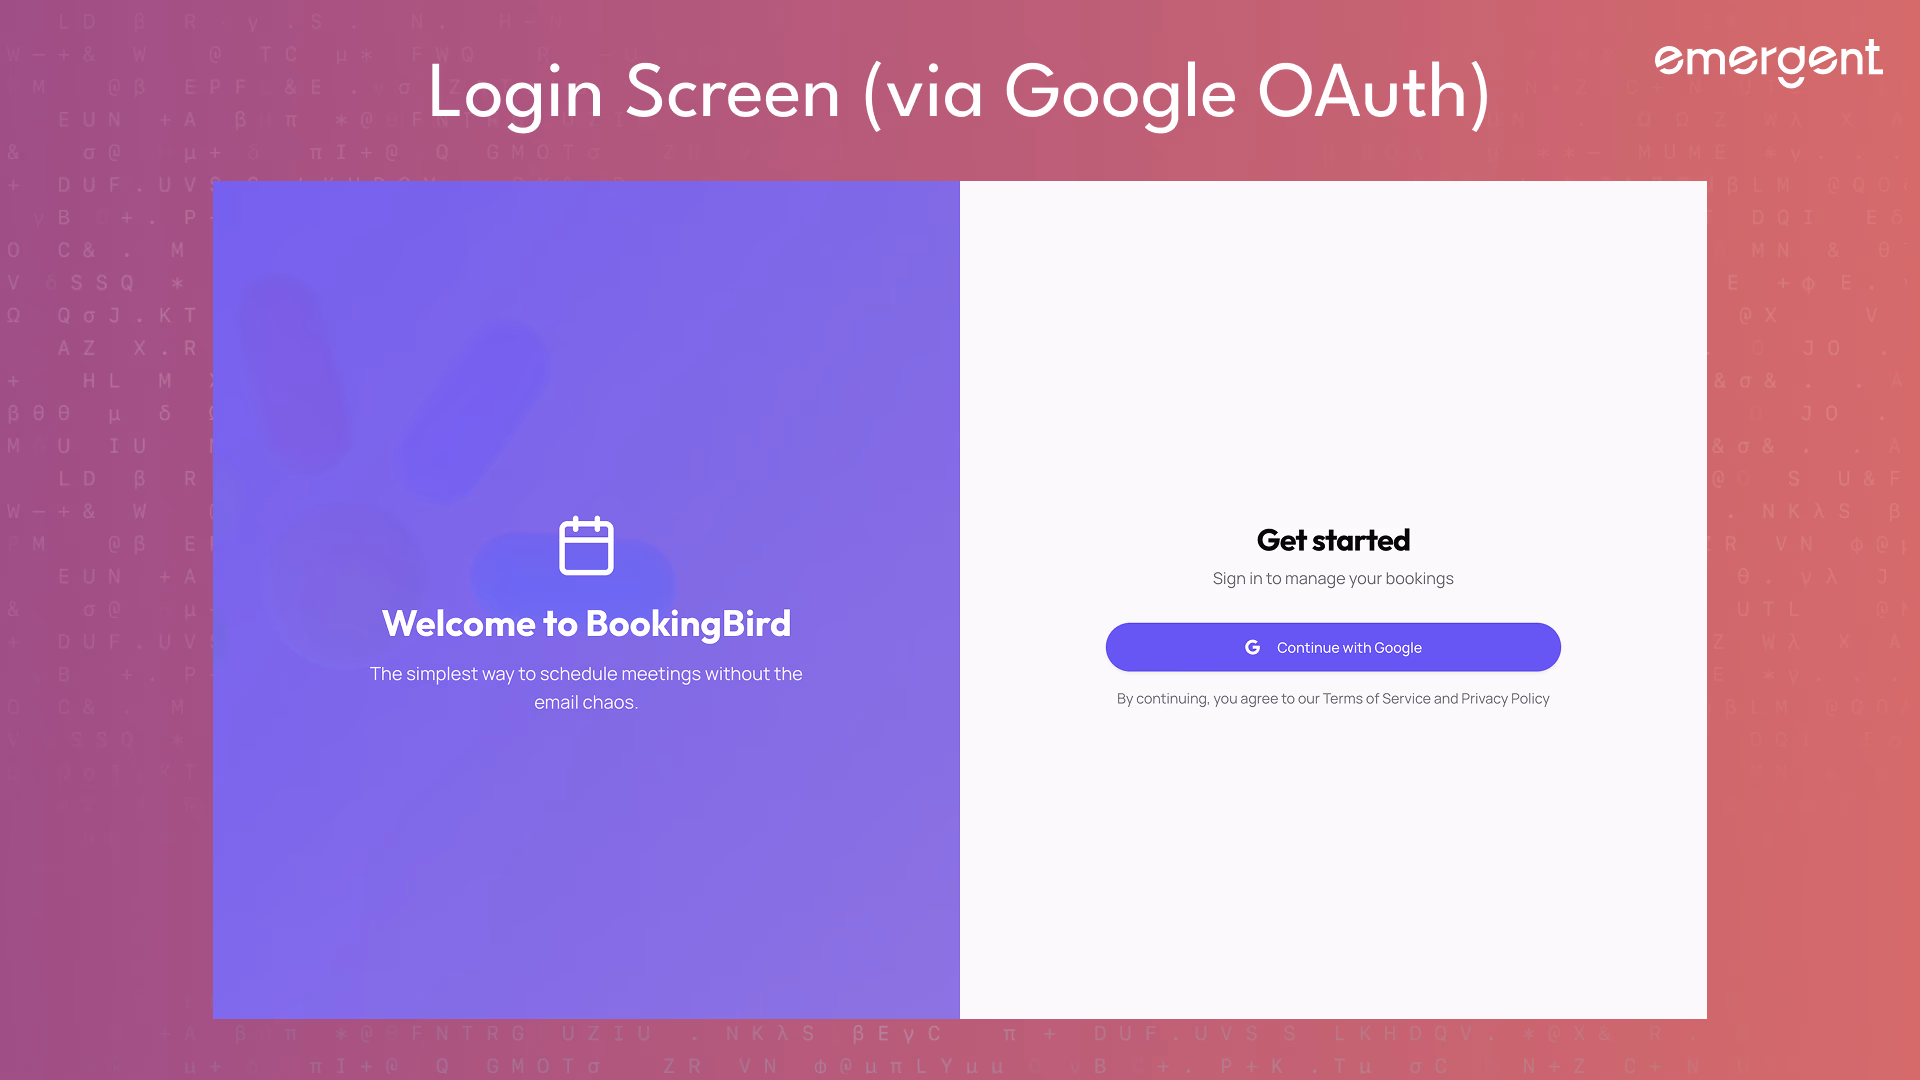
A key best practice here was testing login flows in incognito and with multiple accounts early.
Step 5: Build the Public-Facing Experience
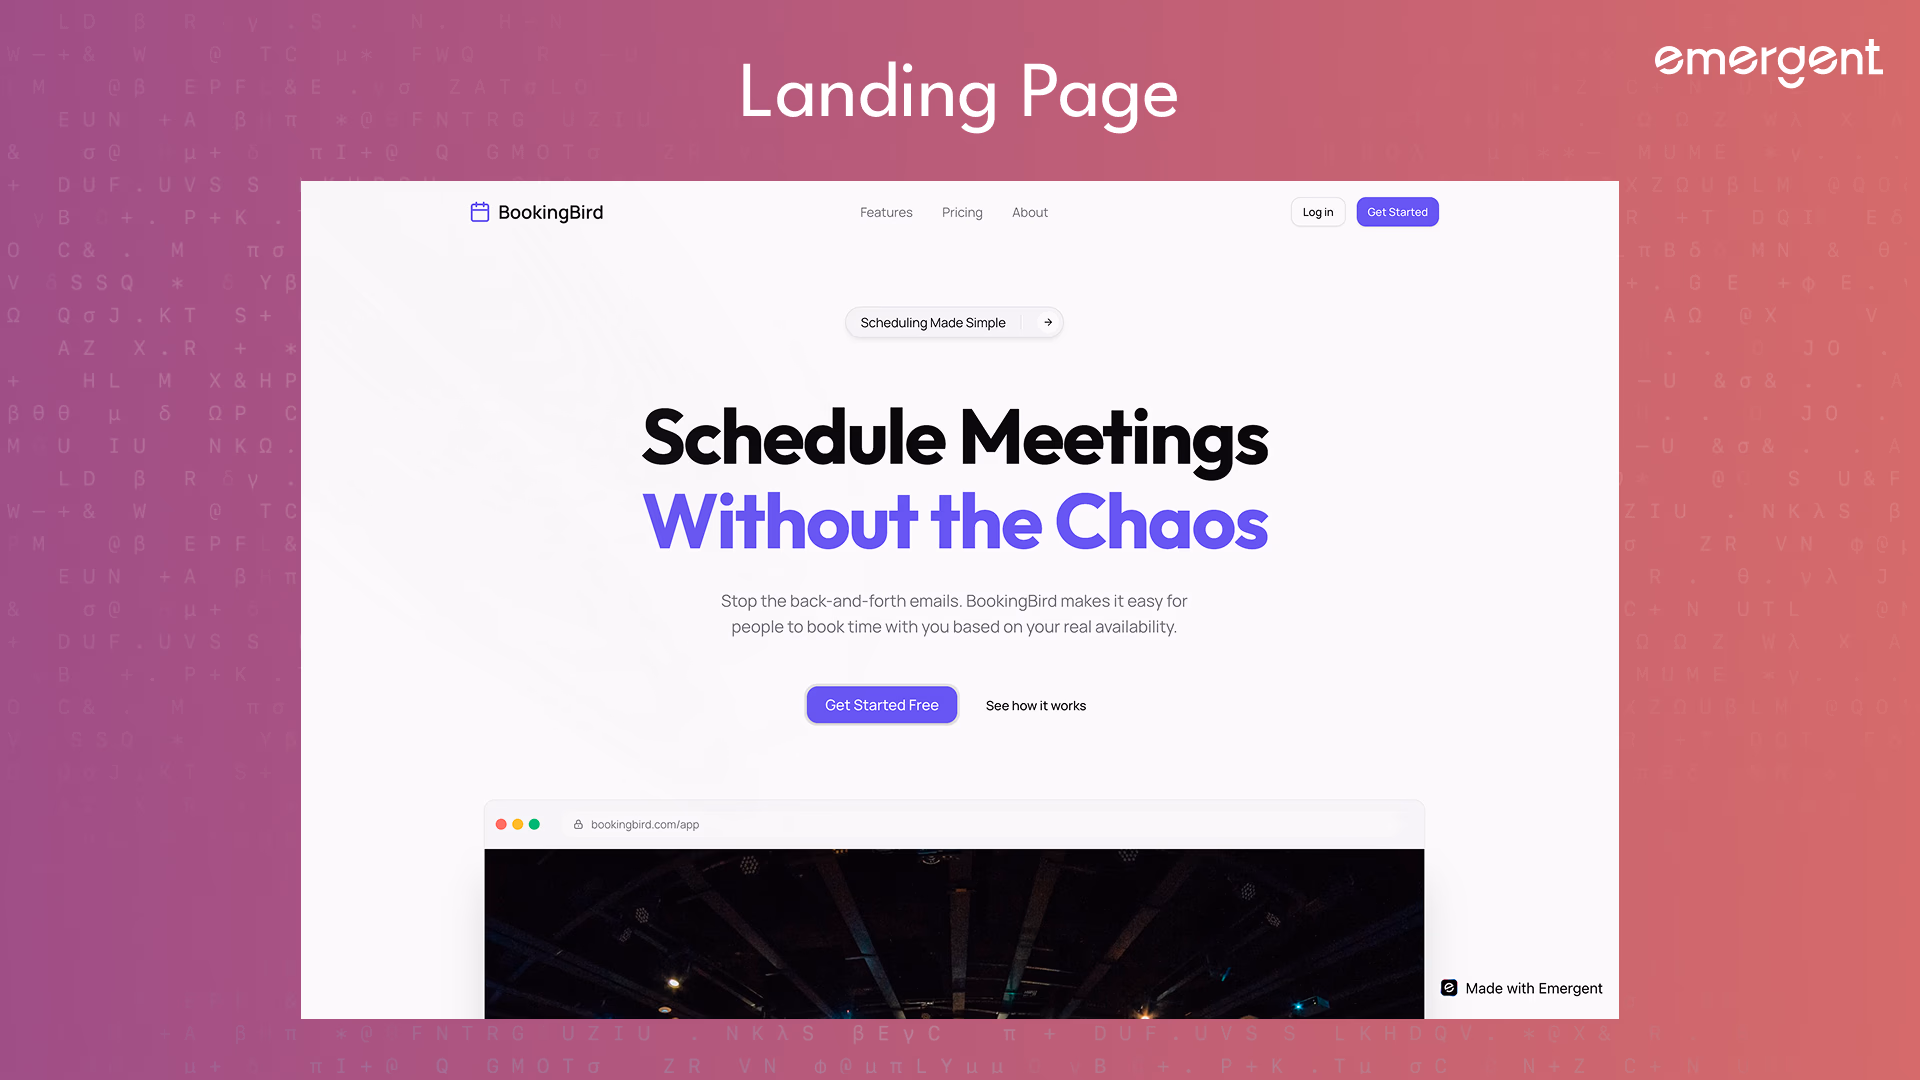
Landing Page and Trust
The landing page was designed to feel modern and reliable.
An early issue surfaced when company logos failed to load consistently due to external image hosting.
The fix was simple but important:
- Replace external images with inline SVGs
This improved reliability and perceived polish.
Step 6: Dashboard and Navigation
Making Power Features Discoverable
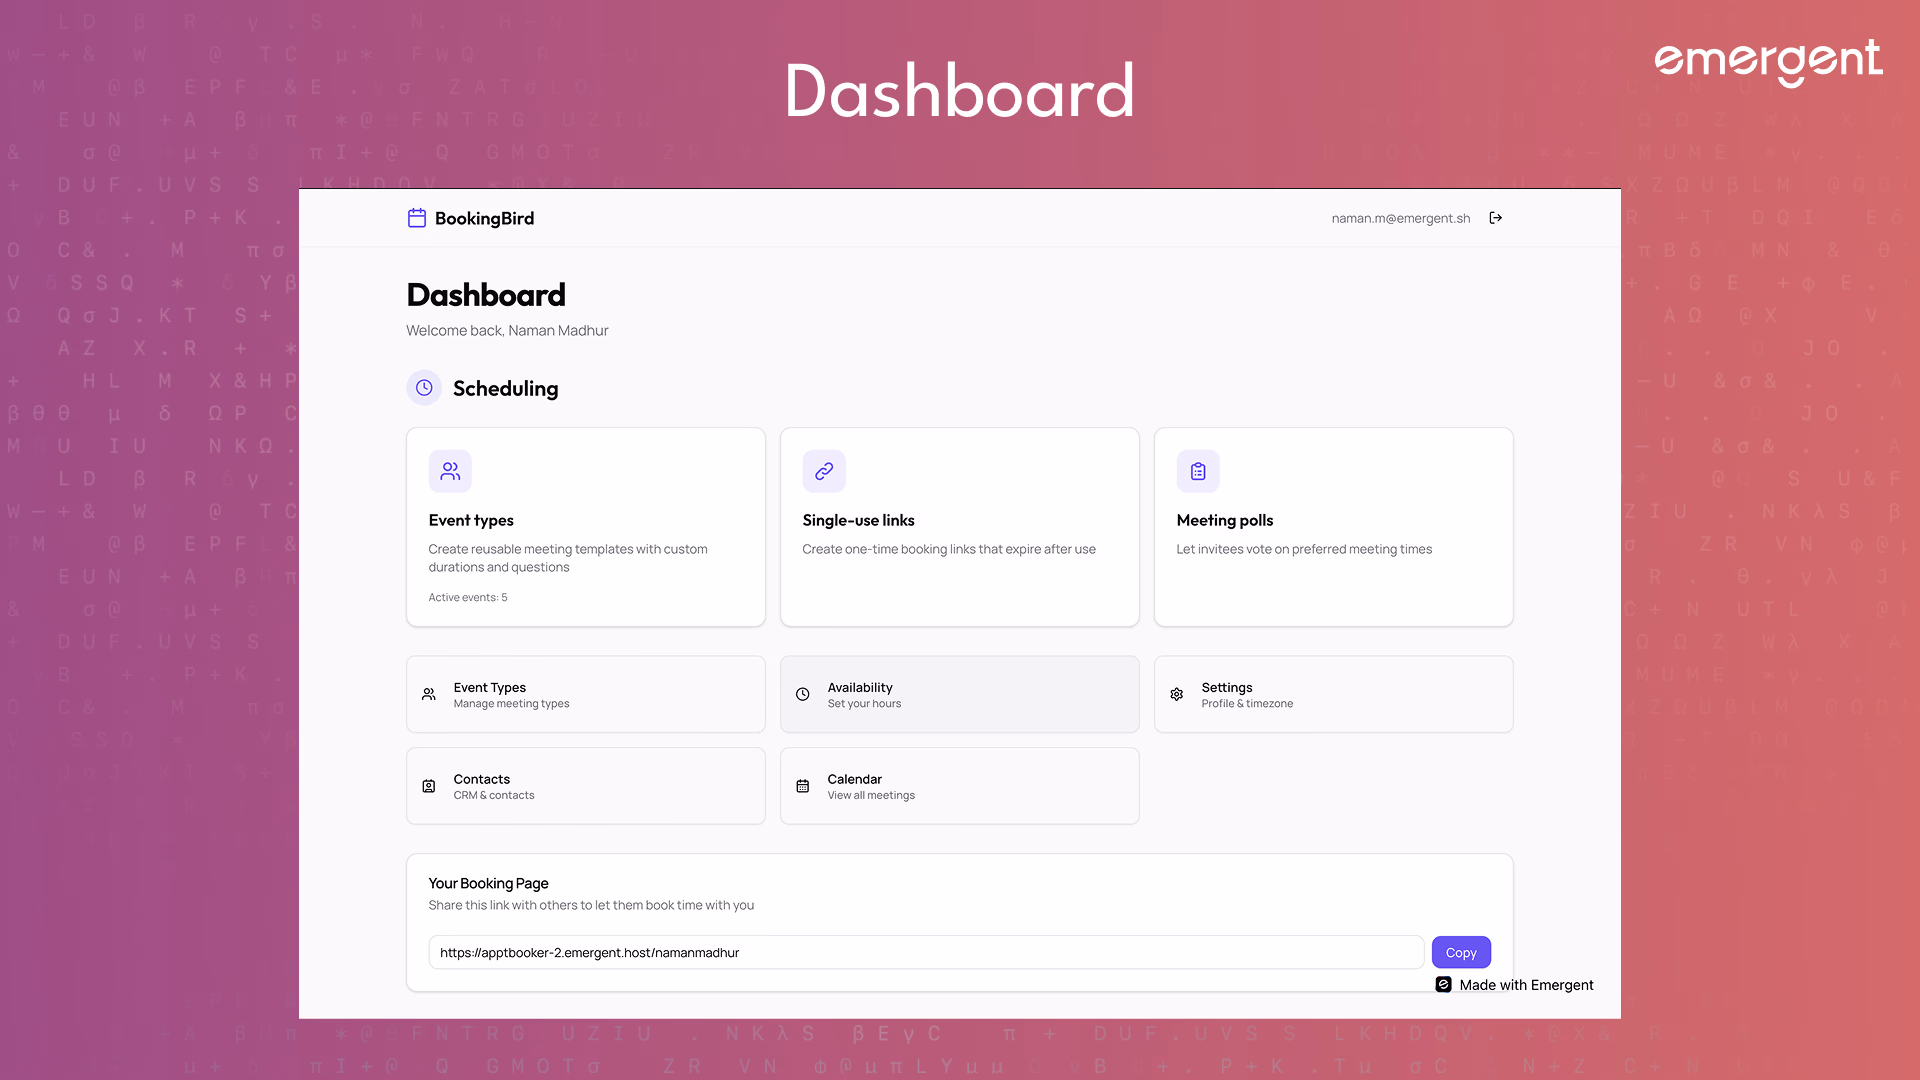
The dashboard acts as a control center.
It includes navigation to:
- Event types
- Availability
- One-time links
- Meeting polls
- Contacts (CRM)
- Calendar
- Settings
The goal was to keep navigation flat and obvious, avoiding nested menus that hide important functionality.
Step 7: Event Types as the Core Primitive
Defining Bookable Units
Event types define:
- Duration
- Public URL
- Booking behavior
Users can create, edit, copy links for, and delete event types.
A key learning here was that deleting event types has cascading effects.
If not handled carefully, orphaned data (like single-use links) can break public pages.
This was addressed later with cascade deletes and user-facing warnings.
Step 8: Availability Engine and Slot Calculation
Where Complexity Lives
The availability engine is responsible for:
- Applying weekly rules
- Generating time slots
- Removing already-booked times
- Applying buffers
- Respecting manual blocks
Even if the UI shows a slot as available, the backend re-validates availability at booking time to prevent race conditions.
This double-check is essential for real-world usage.
Step 9: Integration For Real World Use
The Stack
- Zoom for meeting creation
- Resend for transactional emails
This removed the dependency on calendar sync while preserving the end-user experience.
Step 10: Zoom and Email Integration
Meetings and Confirmations
On successful booking:
- A Zoom meeting is created programmatically
- Meeting details are stored with the booking
- A confirmation email is sent to the invitee
An early mistake was attempting to use deprecated Zoom JWT authentication.
This was fixed by switching to Server-to-Server OAuth, which is required for production apps.
Please Note: When trying to create your own booking page, remember to get your own OAuth credentials from https://marketplace.zoom.us/
The exact flow for this creation is mentioned in the app via integrations page (as you can see below)
Step 11: Public Booking Flow
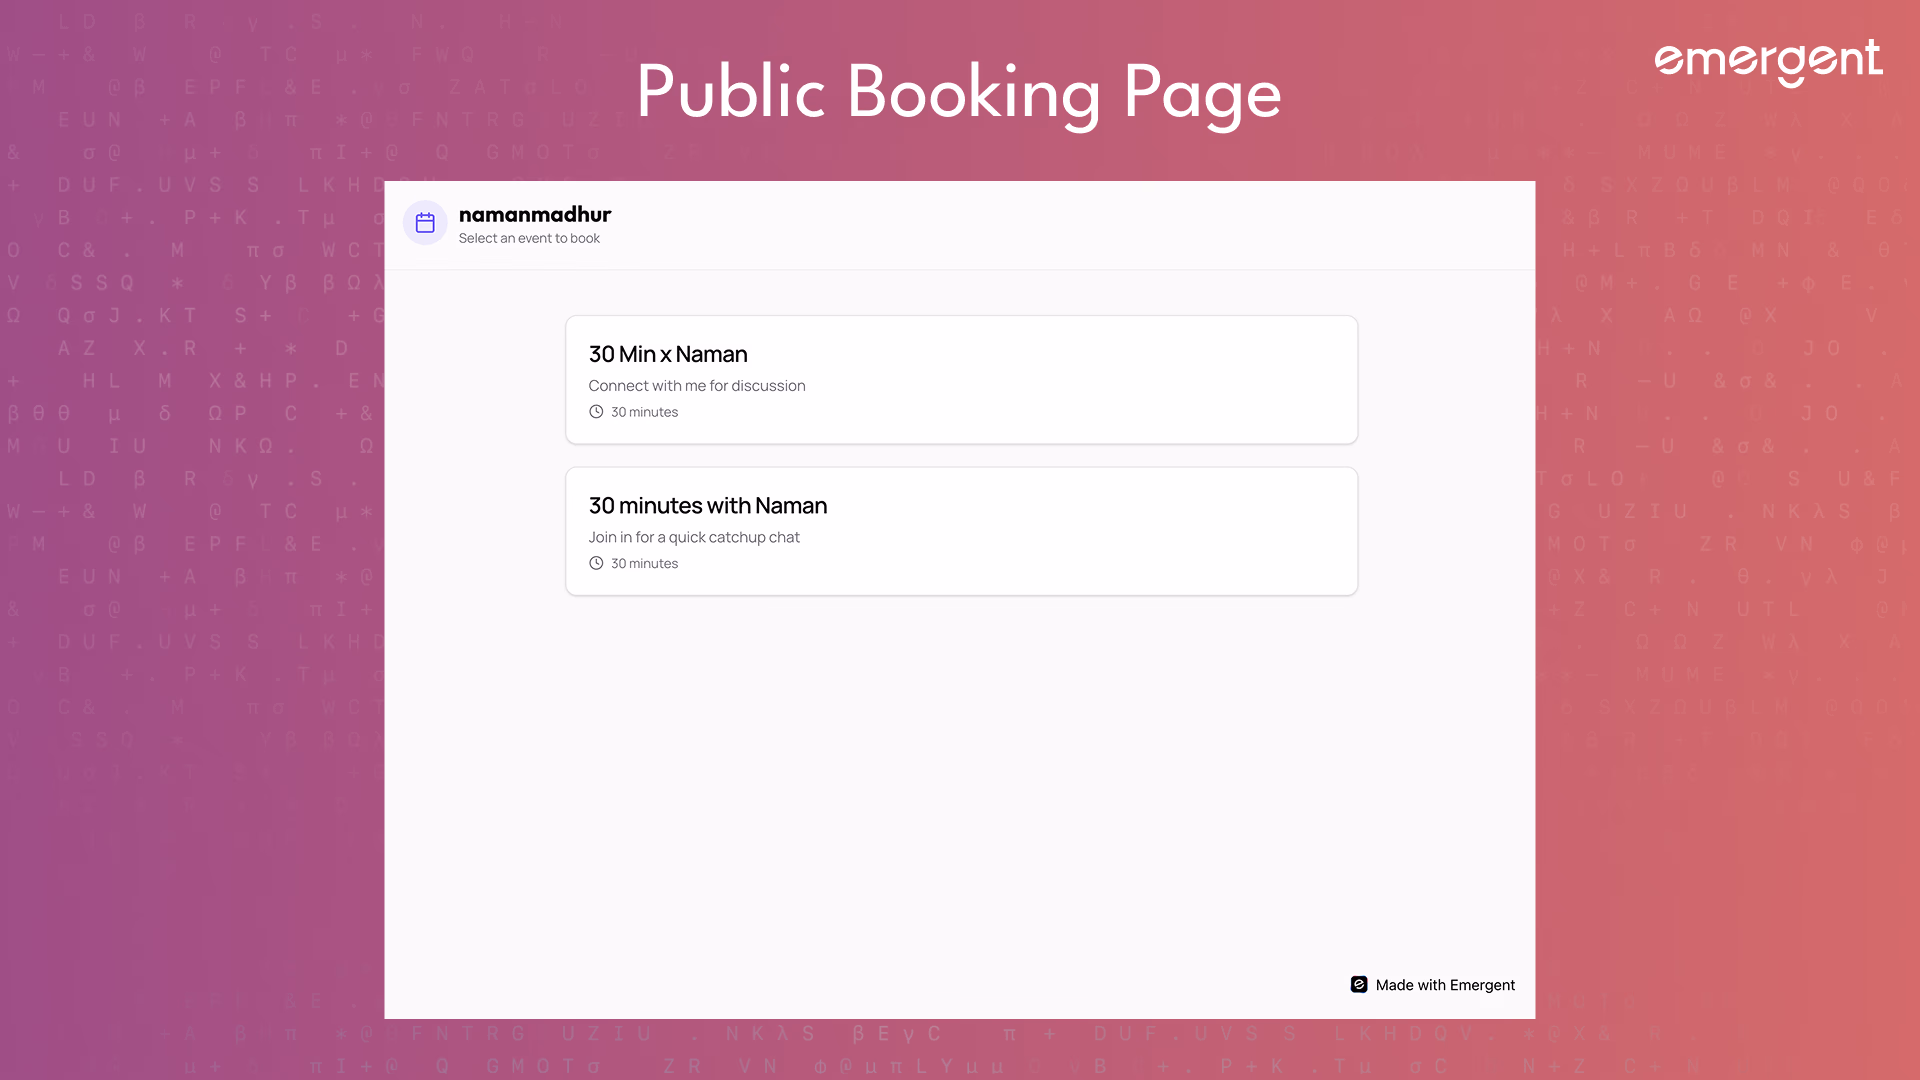
From Link to Confirmed Meeting
Public booking happens at:/:userSlug/:eventSlug
The flow is:
- Load event details
- Pick a date
- Fetch available slots
- Submit booking
- Create meeting
- Send email
A major bug occurred around time zone mismatches.
The fix reinforced the earlier rule:
- Store UTC
- Convert only for display
Step 12: Single-Use Booking Links
Controlled Access Scheduling
Single-use links allow hosts to generate one-time booking URLs.
A serious issue appeared when event types were deleted but links still existed.
This resulted in “Event not found” errors on public pages.
The fix included:
- Cascade deletion
- Better error messages
- Confirmation dialogs before destructive actions
Step 13: Meeting Polls
Scheduling Without Commitment
Meeting polls allow hosts to propose multiple times and let invitees vote.
Features include:
- Public voting
- Expiration dates
- Vote aggregation
- Manual poll closure
This feature demonstrated how booking infrastructure can support non-linear scheduling workflows.
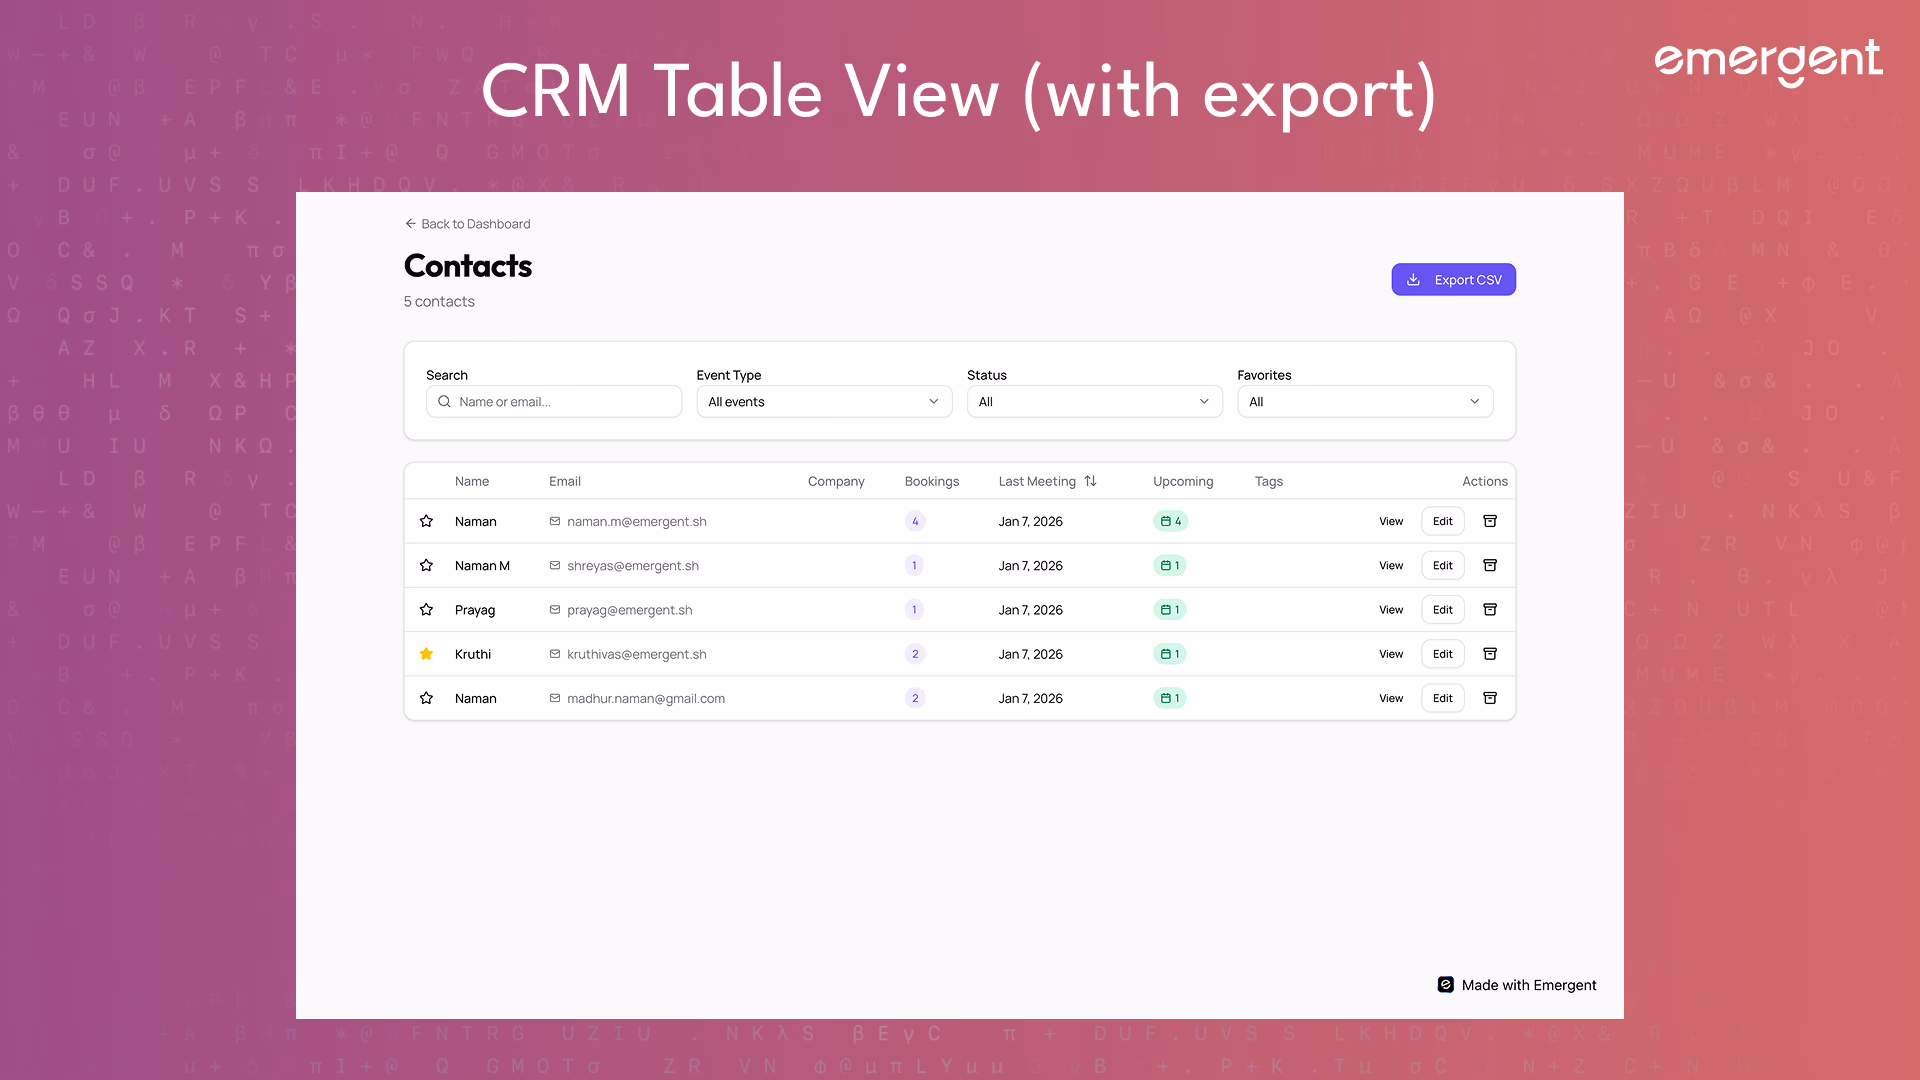
Step 14: CRM and Contacts View
Bookings as a CRM
An Airtable-style CRM was built on top of booking data.
Contacts are grouped by email and enriched with:
- Notes
- Tags
- Favorites
- Booking history
- Filters and sorting
- CSV export
This turned scheduling data into a powerful relationship management tool.
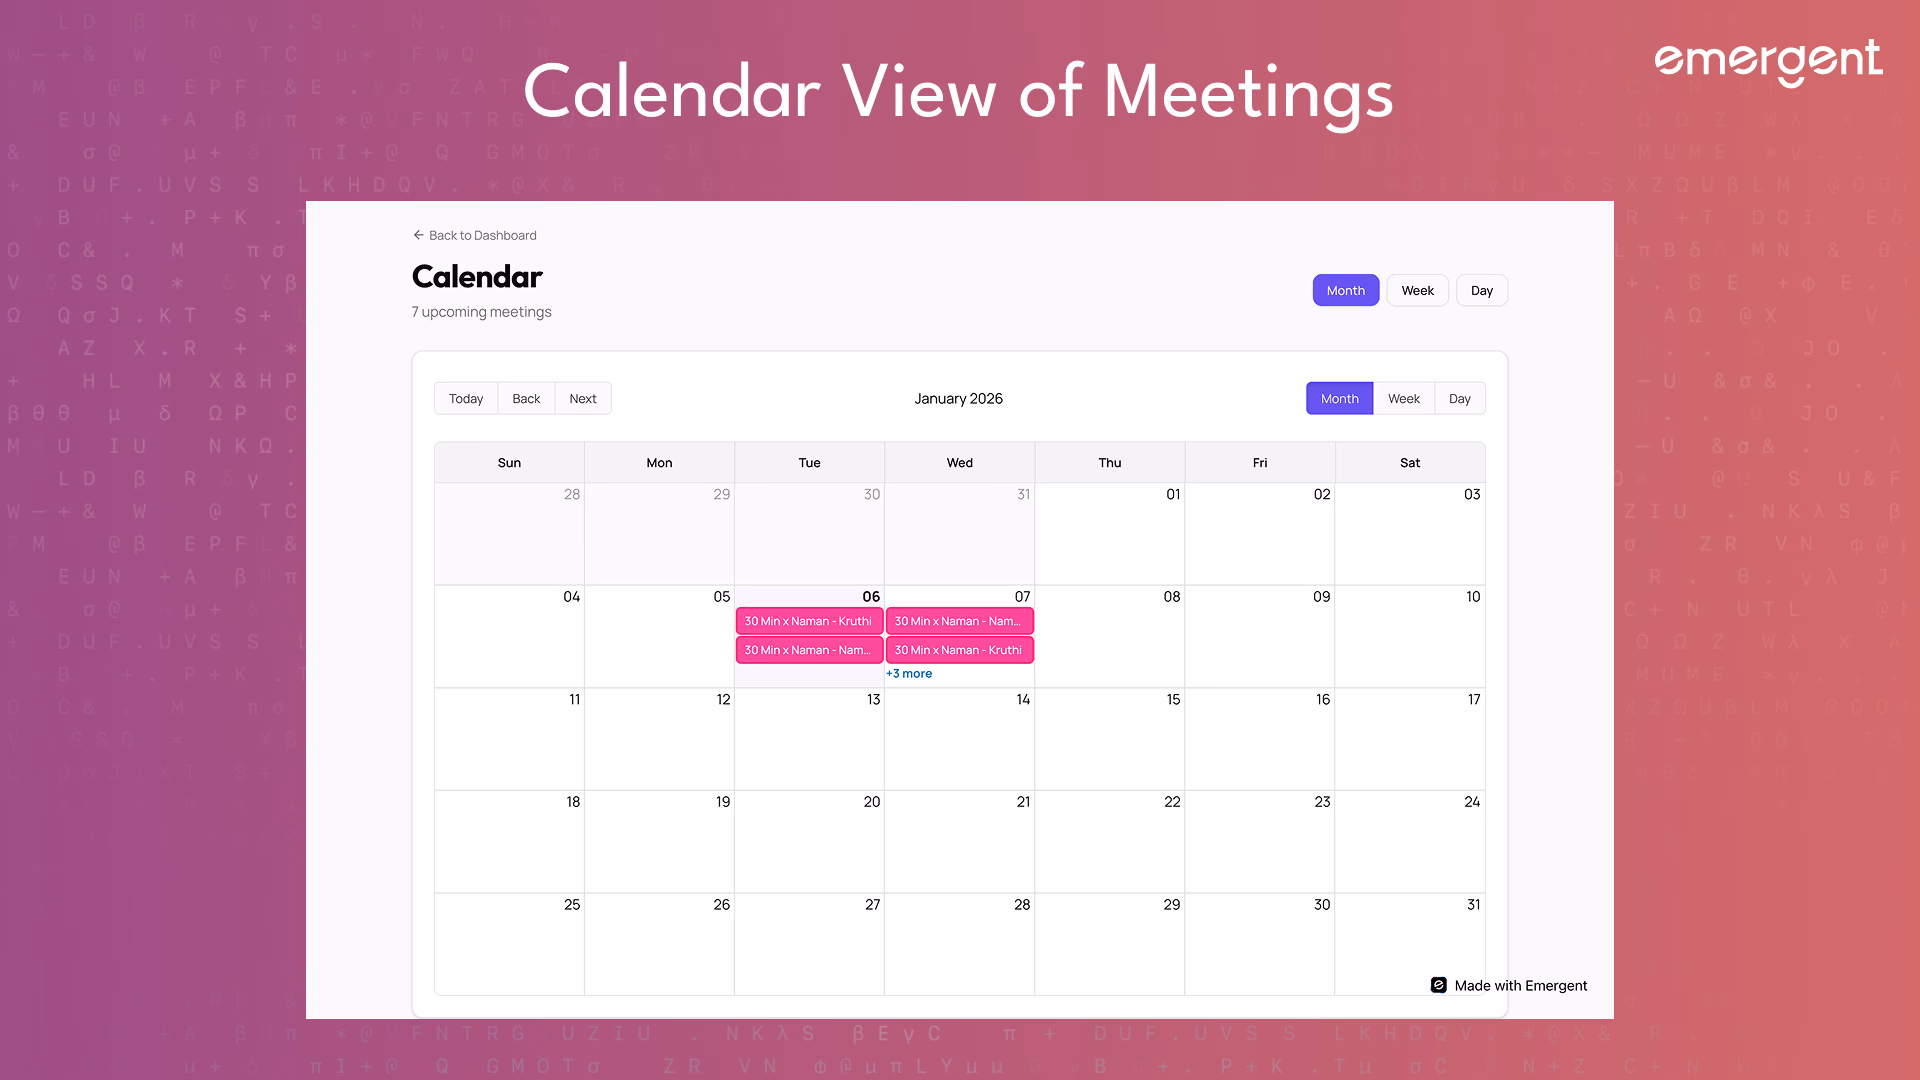
Step 15: Calendar View
Visualizing Time
A calendar view was added using a standard calendar library.
Features include:
- Month, week, and day views
- Color-coded events
- Click-to-view details
Drag-and-drop was intentionally excluded to avoid accidental changes.
Step 16: Integration Settings
Making Integrations Configurable
Users can:
- See integration status
- Add personal credentials
- Fall back to global defaults
- Test connections
Credential resolution follows a simple rule:
- User-specific credentials if present
- Global credentials otherwise
This balances flexibility with simplicity.
Troubleshooting and Key Hurdles
Several real-world issues surfaced:
- Time zone bugs fixed by strict UTC storage
- Zoom auth failures fixed by switching OAuth methods
- Email delivery limits fixed by domain verification
- Orphaned data fixed with cascade deletes
- UI crashes fixed by avoiding empty Select values
Each issue reinforced the importance of testing after every feature.
Deployment
Deployment involved:
- Building the React frontend
- Running FastAPI with environment variables
- Verifying OAuth redirect URLs
- Connecting MongoDB
- Testing bookings, emails, and integrations end-to-end
A final code health check removed console logs, validated APIs, and confirmed integration stability.
Here's a tutorial on deployment in particular.
Recap
You built a Calendly-style scheduling app that:
- Owns its availability logic
- Supports public booking
- Creates meetings automatically
- Sends reliable emails
- Includes CRM and calendar views
- Handles real-world edge cases
Key Learnings
- Scheduling is deceptively complex.
- Owning core logic improves reliability.
- Time zones must be handled rigorously.
- Integrations should enhance, not control, your product.
- Polish and error handling matter as much as features.
Extension Ideas
Future improvements could include:
- Payments
- Team scheduling
- Round-robin hosts
- Analytics dashboards
- Public availability embeds
Final Demo
The final application supports real users and real meetings. You can access the link (and use it) here.
If you’ve tried it out, share feedback or reach out and we’ll give you access to more behind-the-scenes builds and experiments.
Emergent turns your idea into a full-stack web or mobile app, no coding required.
 No coding required
- Web & mobile apps
- Deploys instantly


on Emergent today