

So you've made your first app on Emergent. The next step is to make it shareable with the world and show your stuff off! Emergent lets you deploy full-stack FastAPI + React + MongoDB apps without configuring servers.
You get:
- Automatic scaling
- Managed MongoDB
- Secure environment variables
- Preview & Production environments
- Custom domains
- One-click deployments
Pre-Deployment Checklist
Before you hit that deploy button, you need to ensure that it's ready to go. Here's the best practices to follow to ensure a smooth deployment:
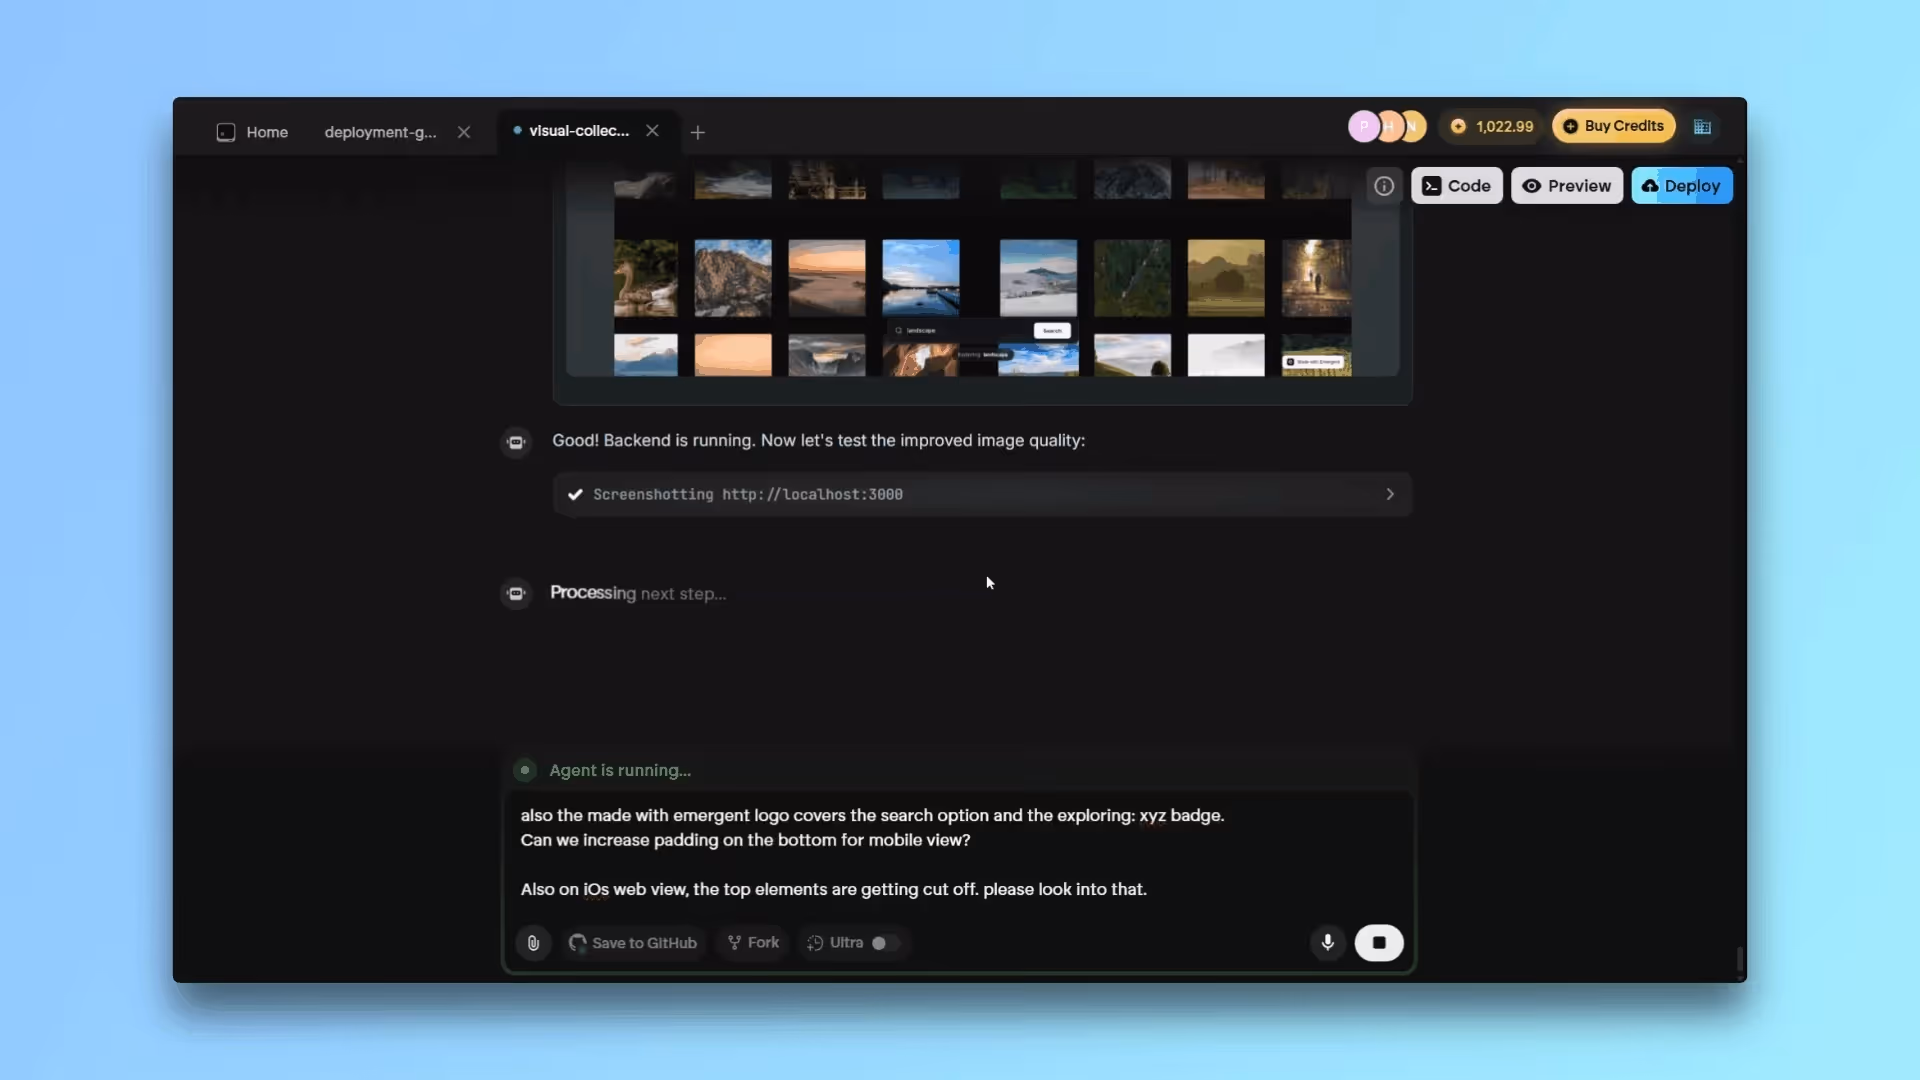
1. Live Preview
For viewing your app as you build it and check the responsiveness, design, and interactivity.
To preview your application in real-time:
- Click the Preview button in the Emergent interface.
- A preview window will open showing your application's current state.
- Interact with your application to test functionality.
- The preview automatically updates when you make changes to your code.

Best Uses:
- Test user interfaces before deployment.
- Verify that components render correctly.
- Check interactive elements like buttons and forms.
- Ensure responsive design works across different screen sizes.
- Debug visual issues in real-time.
Getting an error in the preview
When encountering errors in your Emergent project preview:
1. Use the agent's debugging capabilities: Copy the complete error message text, Paste it in the chat with a request like: "Please solve this error" The agent will analyze the error and provide solutions.
Alternatively, you should take a screenshot of the issue and upload that directly to the agent along with a description of the problem.
2. Why this works: The agent has deep knowledge of common development errors. By sharing the specific error, you enable precise troubleshooting This approach is faster than trying to describe the problem in general terms.
3. For persistent issues: If the agent cannot resolve the error, try providing additional context. Include information about when the error occurs and any relevant code sections.
Most preview errors can be resolved directly with the agent's assistance, as it has comprehensive understanding of web development issues.
2. Pre-Deployment Health Check
This is a handy feature where Emergent's Agent checks the readiness of your app for deployment, flagging any concerns before you commit to the deployment.
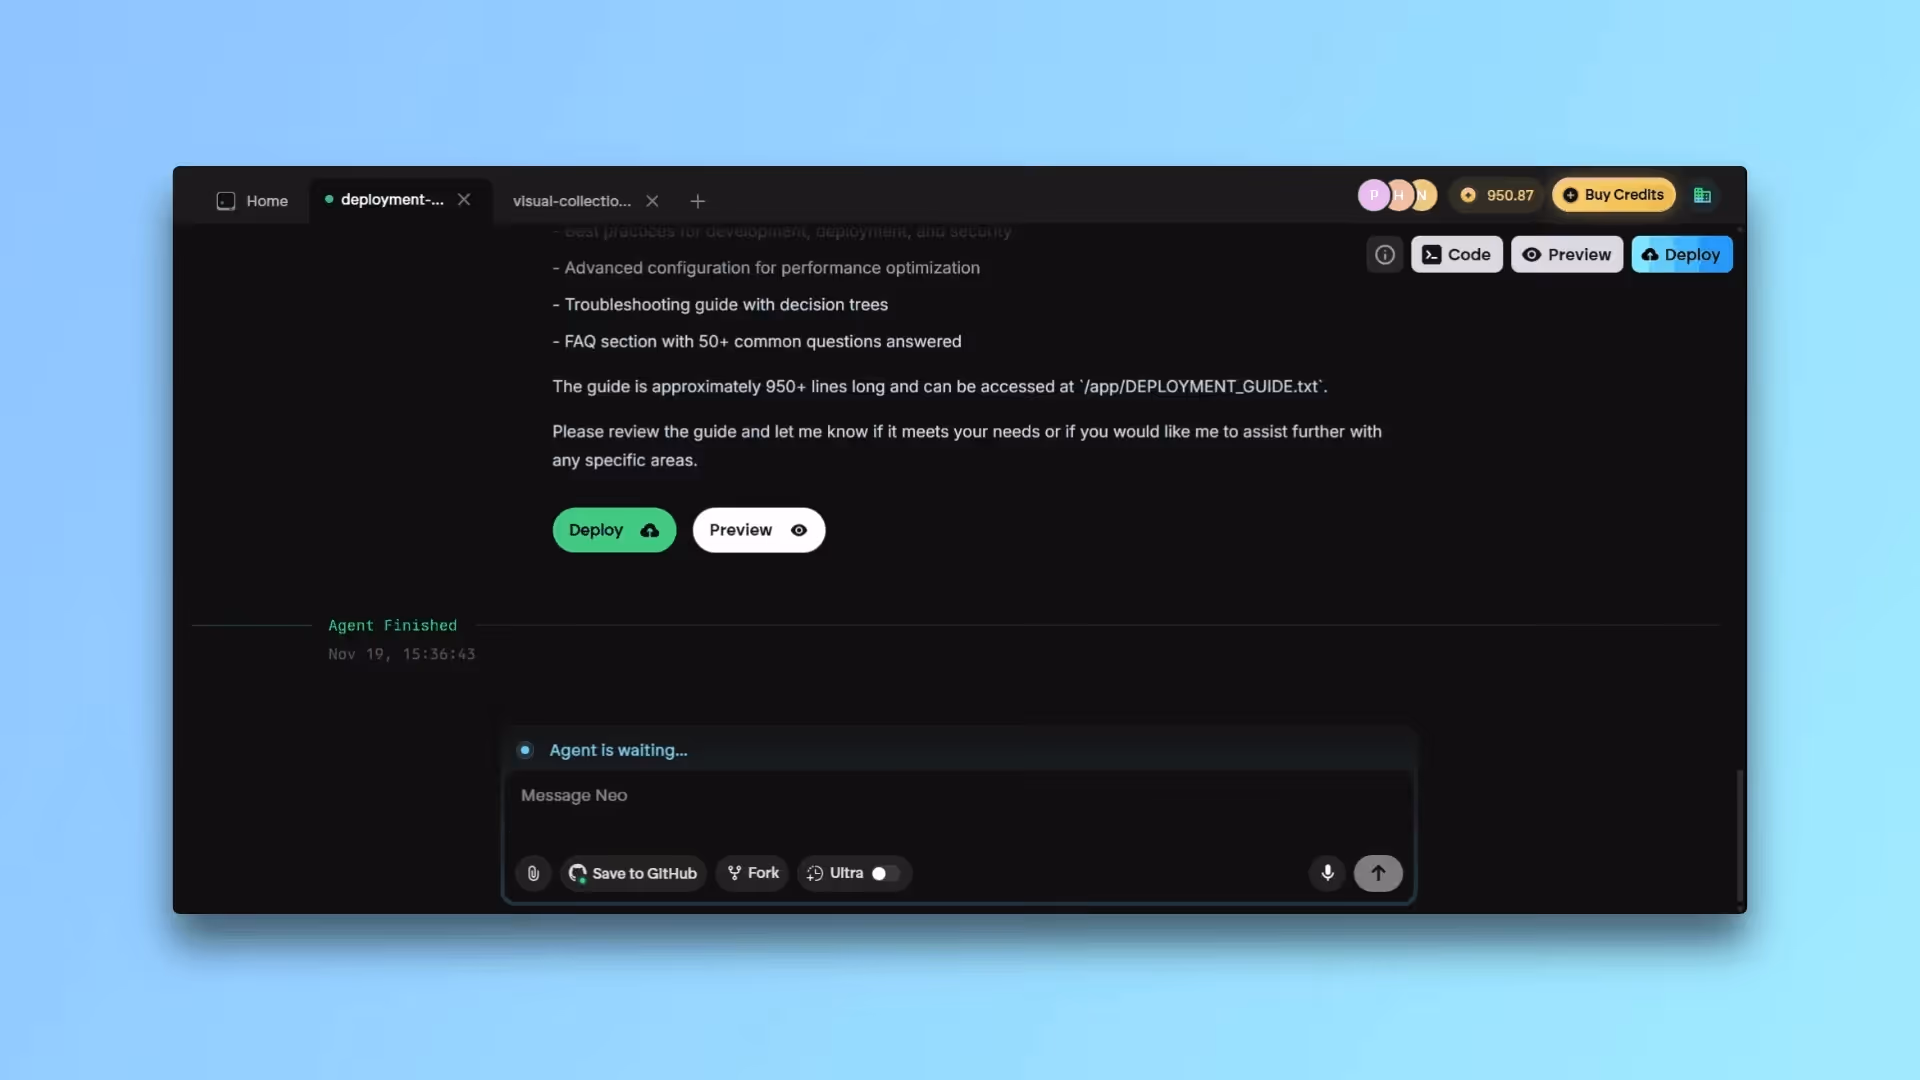
Deployment
To deploy your application to the web:
- First, use the Preview button to test your application and ensure it works correctly.
- Once you're satisfied with the preview, click the Deploy button in the Emergent interface.
- Click "Deploy Now" to publish your application.
- Wait for the deployment process to complete (typically 15 minutes).
- Once finished, you'll receive a URL where your application is live.
- After deployment, you can configure environment variables and custom domain settings if needed.
- Share this URL to allow others to access your application.
Important Notes:
- Always preview your application before deploying.
- Deployment creates a publicly accessible URL for your application.
- The deployment process typically takes 15 minutes.
- You can redeploy at any time to update your live application.
- Environment variables and domain settings can be configured after deployment.
- Deployment costs 50 credits per month per deployed app.
- Creates a production-ready environment with managed infrastructure that stays live 24/7.
- You can securely manage secrets and environment variables.
- Custom domains can be added, you just need to configure the A record with your DNS server and add Emergent IP listed in the Custom Domain Flow.
- You can relace your existing deployments with a new deployments without any additional charges, this will help you iterate on complex applications spanning across jobs.
- View all deployed apps from the Home tab.
- Apps can be rolled back to a stable version at no additional cost.
- You can shut down any deployed app anytime to stop recurring charges.
Adding a Custom Domain
Once deployed, you might want your creation to have a unique face for the internet. The process involves adding DNS records to verify domain ownership and direct traffic to your application.
Note: Custom domain works for web apps - mobile apps do not have a domain attached to them.
Prerequisites
- An active Emergent deployment
- Access to your domain's DNS management panel
- Your domain registrar login credentials (GoDaddy, Namecheap, Cloudflare, etc.)
Step-by-Step Process
Step 1: Initiate Custom Domain Setup
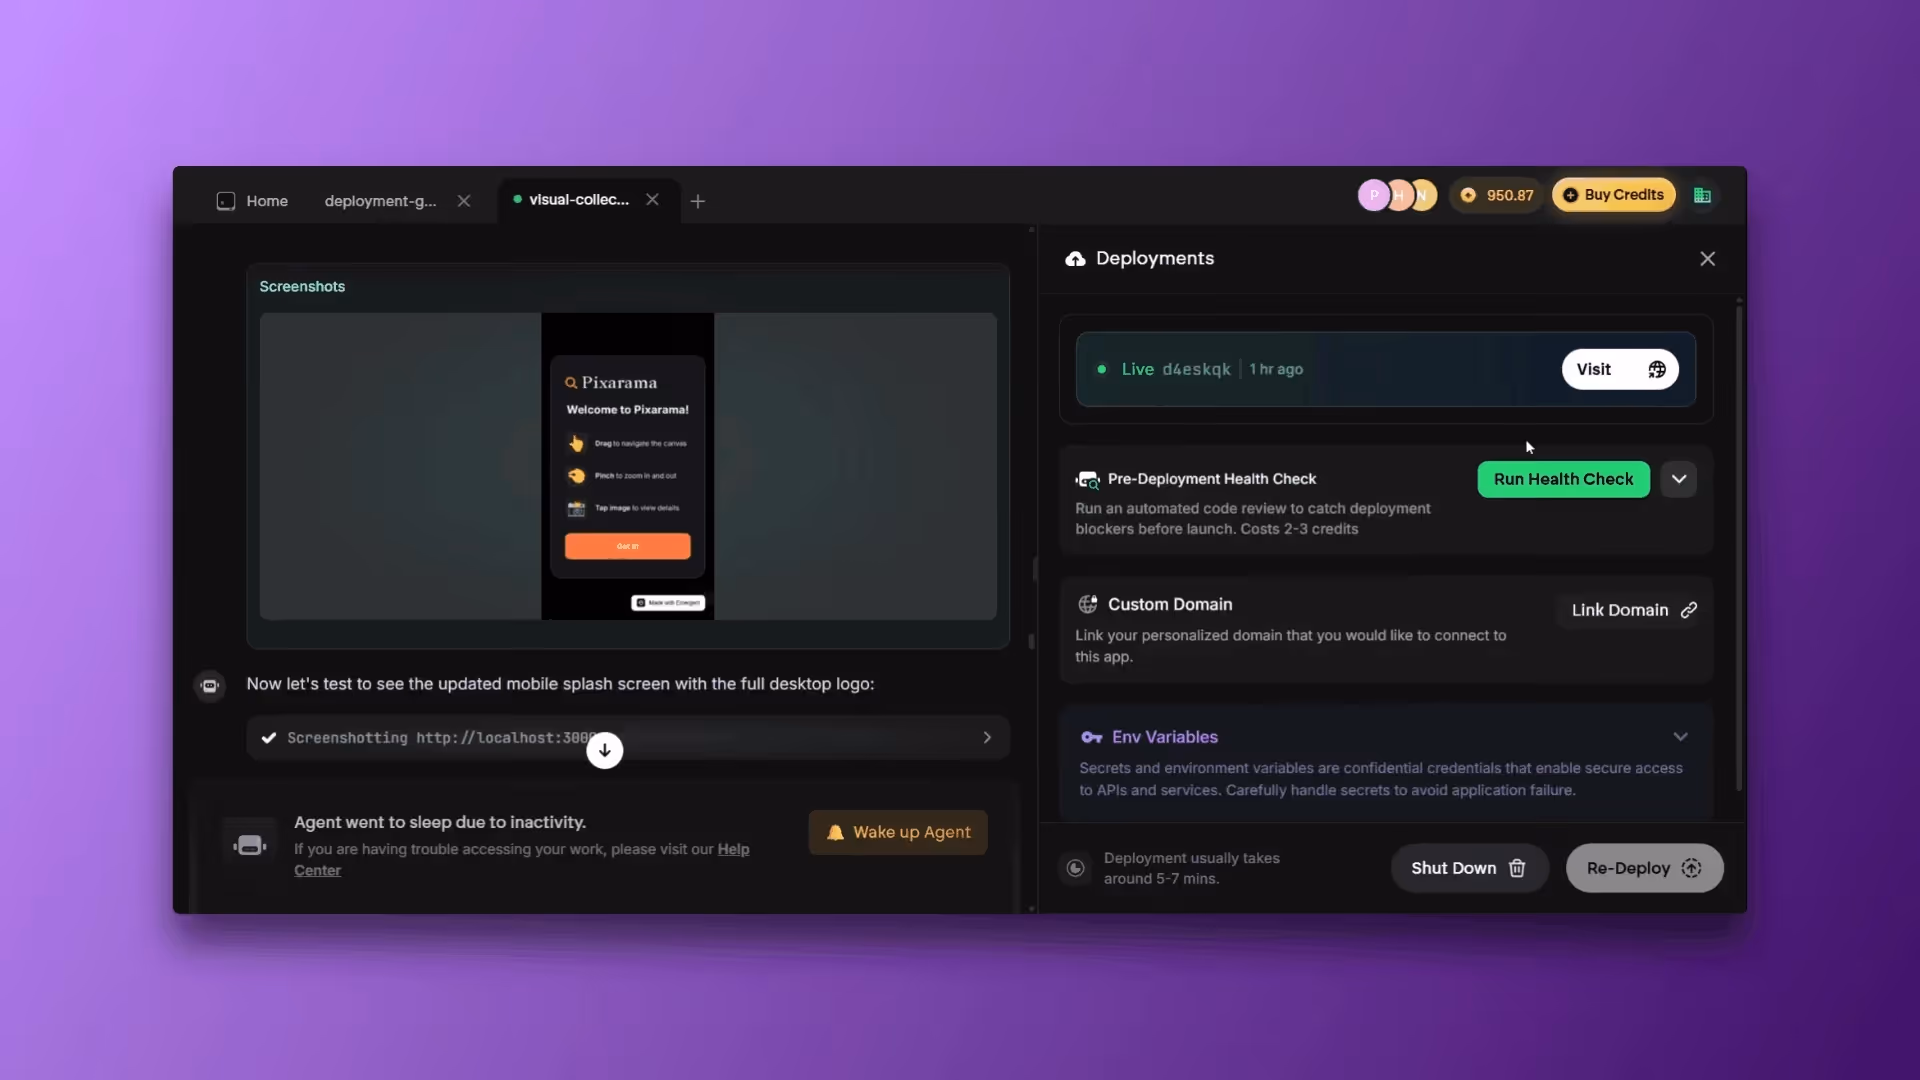
- Navigate to your Deployments section in Emergent
- Find the Custom Domain section
- Click "Link Domain" button
- Enter your domain name (e.g.,
emergent1.feelingcoding.xyz) - Click "Next"
Step 2: Configure DNS Records
After entering your domain, Emergent will provide you with DNS configuration details:
Required DNS Record:
- Type: A Record
- Host/Name: emergent1 (or your chosen subdomain)
- Value/Points to: 34.57.15.54 (IP address provided by Emergent)
- TTL: 300 seconds (or leave as default)
Step 3: Add DNS Records to Your Provider
For Popular DNS Providers:
Cloudflare:
- Log into Cloudflare dashboard
- Select your domain
- Go to DNS → Records
- Click "Add record"
- Select "A" as type
- Enter subdomain name (e.g., "emergent1")
- Enter the IP address: 162.159.142.117
- Add another "A" type entry with "@" host name and the value as 172.66.2.113
- Add a "CNAME" type entry with "www" host name and the value as your custom domain name.
- Set Proxy status to "DNS only" (gray cloud)
- Click "Save"
GoDaddy:
- Log into GoDaddy account
- Go to My Products → DNS
- Find your domain and click "Manage"
- Click "Add" in the Records section
- Select "A" record type
- Enter Host (subdomain name)
- Enter the IP address
- Click "Save"
Namecheap:
- Log into Namecheap account
- Go to Domain List
- Click "Manage" next to your domain
- Go to Advanced DNS tab
- Click "Add New Record"
- Select "A Record"
- Enter Host and IP address
- Click the checkmark to save
Step 4: Verify Domain Ownership

- After adding the DNS record, return to Emergent
- Click "Check Status" button
- Wait for verification (5–15 minutes)
- Once verified, you'll see a green "Verified" status
Step 5: Complete Setup
- Your custom domain is now active
- You can visit your application using your custom domain
- The domain will automatically point to your live deployment
Important Notes
DNS Propagation
- DNS changes typically take 5–15 minutes to propagate
- In some cases, global propagation may take up to 24 hours
- Use online DNS checker tools to verify propagation status
Critical Requirements
⚠️ Important: Ensure only ONE A record points to your domain
- Do not add multiple IP addresses for the same subdomain
- Remove any conflicting DNS records before adding the Emergent record
- Multiple A records can cause routing issues
Troubleshooting
Domain Not Verifying:
- Double-check the DNS record values
- Ensure TTL is set to 300 seconds or lower
- Wait 15–30 minutes and try again
- Use DNS lookup tools to verify the record exists
SSL Certificate Issues:
- SSL certificates are automatically provisioned
- Allow 5–10 minutes after verification for SSL setup
- If issues persist, contact support
Domain Not Loading:
- Verify the A record is correctly configured
- Check that no other A records conflict
- Ensure the domain is verified in Emergent
- Try accessing via incognito/private browsing mode
DNS Configuration Examples
Example 1: Subdomain Setup
Type: A
Host: @
Value: 162.159.142.117
Result: app.yourdomain.com → Your Emergent App
Example 2: Root Domain Setup
Type: A
Host: @ (or leave empty)
Value: 172.66.2.113
Result: yourdomain.com → Your Emergent App
Example 3: Multiple Subdomains
Type: A
Host: staging
Value: 162.159.142.117

Type: A
Host: prod
Value: 172.66.2.113
Support
If you encounter issues during setup:
- Verify all DNS records are correctly configured
- Wait for DNS propagation (up to 24 hours)
- Check our troubleshooting section above
- Contact Emergent support (support@emergent.sh) with:
- Your domain name
- Screenshots of DNS configuration
- Error messages (if any)
Emergent turns your idea into a full-stack web or mobile app, no coding required.
 No coding required
- Web & mobile apps
- Deploys instantly


on Emergent today