



So, you’ve decided to build a website. Bold move. Somewhere between “I should really get my life together” and “I could totally start a brand,” this idea was born.
The good news? Building a website in 2026 is no longer a cryptic, code-heavy nightmare.
Understanding how to build a website with AI has turned what used to take weeks of development into a structured, accessible process. You don’t need to be a developer, a designer, or even particularly tech-savvy. You just need a plan, a bit of patience, and the ability to Google responsibly.
This guide walks you through the entire process step by step, without fluff or jargon, and without pretending it's harder (or easier) than it actually is.
STEP 1: Choose how you want to build your website
Before you pick a platform or start designing anything, you need to make a foundational decision: how do you actually want to build this thing?
There are four main ways to build a business website, and the right one depends on your budget, technical comfort level, and how much control you need over the final result.
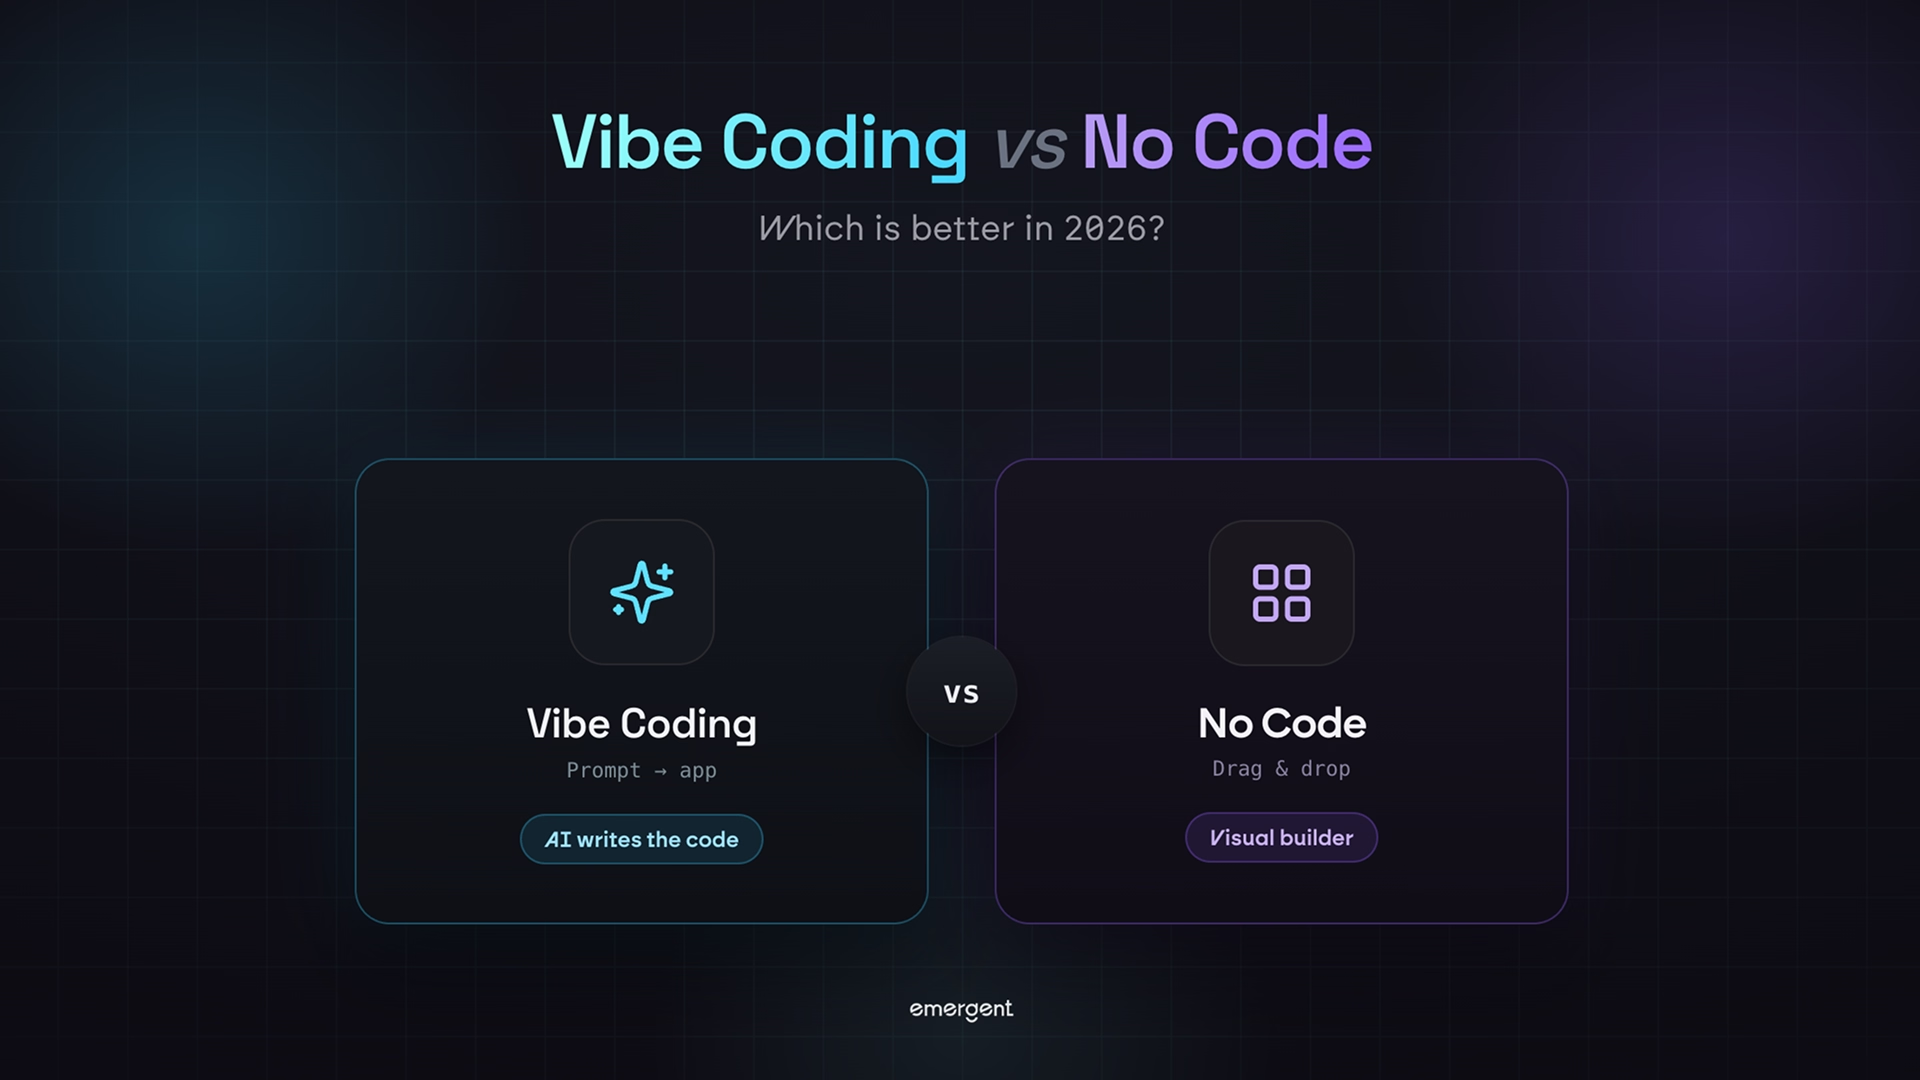
No-code website builders
These are the platforms that let you build a website visually by dragging and dropping elements onto a page, no coding required. You pick a template, customize it, and publish. Hosting is usually included.
A few popular tools you can use are Wix, Squarespace, Webflow, and Weebly.
CMS platforms
A Content Management System lets you create and manage your website content through a dashboard. You can install themes and plugins to extend functionality without writing code, though it requires separate hosting and more initial setup than a no-code builder.
You can use CMS platforms like WordPress, Joomla, Drupal, and Shopify to build your website.
AI website builders
You describe your business, and the platform generates a working website for you based on your input. You then refine and customize what it produces.
The best AI website builder in this category is Emergent. It can help you build your own website in minutes.
Custom development
Building your website from scratch using code, giving you full control over design, functionality, and performance. This requires developer skills or hiring one.
Tools like React, Next.js, Vue.js, and Laravel are popular custom development tools.
Take a moment before moving on and be honest with yourself about what your business actually needs right now. Pick the method that fits where you are today, knowing you can always migrate or rebuild later as your needs grow.
STEP 2: Register a domain name
Once you know how you're going to build your site, it's time to lock in your domain name. This is your address on the internet, and you want to get it right.
A good domain name is short, easy to spell, easy to say out loud, and ideally matches your business name. If your first choice is taken, try a different extension (.co, .net, .io) or tweak the name slightly. Just avoid making it so creative that people can't remember how to spell it.
Buying through a domain registrar
If you're going with WordPress, a drag-and-drop builder, or custom development, you'll likely purchase your domain separately through a registrar. Namecheap and Hostinger are both popular choices. They're affordable, easy to use, and give you full control over your domain settings. Once you buy the domain, you'll connect it to your website later (that's covered in Step 8).
Buying through your website builder
Some AI app builders let you handle domain registration without ever leaving the dashboard. Emergent's website builder is one of them: during deployment, you can search for and buy a domain through its built-in IONOS integration, with .com domains currently available free for the first year. Everything stays in one tab. Purchase, DNS configuration, and SSL all happen automatically.
If you already own a domain, Emergent supports that too. The same deployment panel lets you connect any existing domain from registrars like GoDaddy, Namecheap, or Cloudflare, either through a one-click auto-link flow or by adding a couple of DNS records manually.
The point either way: once you've picked a name, register it. Good domains do get taken, and securing yours early means you can ship the moment your app is ready.
STEP 3: Choose a website builder or CMS platform
Now that you've decided on your approach and registered a domain, it's time to pick your specific platform. This choice will shape everything that comes next, so it's worth spending a few minutes thinking it through.
If you're going the CMS route
WordPress.org is the dominant choice for CMS-based websites. It powers a huge portion of the web and has an enormous library of themes, plugins, and community support. You'll need to pair it with a hosting provider (Hostinger, SiteGround, and Kinsta are all solid options). For businesses in specific verticals, there are other CMS options worth considering, like Shopify if you're primarily e-commerce focused.
If you're going the drag-and-drop route
Wix is the most beginner-friendly option, with a large template library and a very visual editor. Squarespace is excellent for businesses where design matters a lot, like creative agencies, photographers, or high-end service providers. Webflow sits somewhere in between and gives you more design control without requiring code, though it has a steeper learning curve than the other two.
If you're going the AI builder route
Platforms like Emergent handle a lot of the decision-making for you. You describe your business, answer a few questions about what you need, and the platform generates a working site. This is a great starting point if you want to move fast and refine things as you go.
If you're going custom
You'll be working directly in code using frameworks like React, Next.js, or plain HTML/CSS. The platform is essentially whatever your developer or development environment uses. Make sure hosting and deployment are sorted early in the project.
STEP 4: Design and build your website
This is where the site actually starts to take shape. The design phase looks different depending on which method you chose, but the underlying goal is the same: a site that looks professional, loads quickly, reflects your brand, and makes it easy for visitors to do what you want them to do.
A few design principles apply no matter what platform you're using. Keep your color palette simple. Use fonts that are readable on screen. Make sure buttons and links are easy to find. And prioritize mobile layout from the start, not as an afterthought.
Designing with WordPress
Start by choosing a theme. There are thousands of free and premium options. Themes like Astra, Kadence, or GeneratePress are popular because they're lightweight and highly customizable. Pair your theme with a page builder plugin like Elementor or the built-in block editor (Gutenberg) to build out your pages visually. Customize colors, fonts, and layouts to match your brand.
Designing with a drag-and-drop builder
Pick a template that's close to what you want, then customize it. Don't try to build from a blank canvas unless you have a strong design eye. Start with a template, swap out the text and images, adjust the colors to match your brand, and remove any sections you don't need. These platforms make it easy to see exactly what you're changing as you go.
Designing with an AI builder
After the AI generates your initial site, go through each section and refine the copy, swap out any placeholder images for real photos of your business or product, and make sure the overall look matches your brand identity. AI builders are getting quite good at this, but they still need your input to feel personal and authentic.
Designing with custom development
This is where your developer (or your own skills) come in. Define your design system first: colors, typography, spacing, component styles. Tools like Figma are commonly used to create mockups before writing any code. Once the design is approved, build it out and get it into staging before touching anything live.
STEP 5: Create and structure your website pages
A website isn't just a homepage. It's a collection of pages that work together to tell your story, answer your visitors' questions, and guide them toward taking action. Before you start creating pages, think about what your visitors actually need to know, and in what order.
Most business websites need at least these core pages to function properly: a homepage, an about page, a services or products page, a contact page, and, depending on your business, a blog or resources section.
Creating pages in WordPress
In your WordPress dashboard, go to Pages and click Add New. You'll be taken into the block editor (or your page builder, if you installed one). Structure your page using blocks: headings, paragraphs, images, buttons, and columns. Create each core page separately and link them together through your navigation menu (found under Appearance > Menus or the Full Site Editor if you're using a block theme).
Creating pages with a drag-and-drop builder
Most builders have a Pages section in the sidebar or dashboard where you can add new pages. Click "Add Page," choose a layout or blank canvas, and start building. Your navigation is usually managed separately in a header/navigation settings panel. Some builders also let you set up page templates so that pages with similar layouts stay consistent.
Creating pages with an AI builder
After your initial site is generated, you can usually add new pages through the platform interface. Tell the AI what the page is for, and it will generate a starting structure you can refine. This works particularly well for adding a blog, a FAQ page, or a simple landing page.
Creating pages with custom development
Each page is typically its own file or route (depending on the framework). Set up your routing structure early so you know how pages connect. Use reusable components for things that appear on every page, like headers and footers, so you're not duplicating code.
Regardless of which method you use, spend time on your navigation structure. A confusing menu is one of the fastest ways to lose a visitor. Keep it simple, keep it logical, and make sure the most important pages are never more than one click away from anywhere on the site.
STEP 6: Optimize your website for SEO
Getting your site live is one thing. Getting people to actually find it is another. Search engine optimization (SEO) is the process of making your site visible to people searching for what you offer, and it starts from the moment you build your pages.
SEO can get deep, but the fundamentals aren't complicated. Here's what to focus on from the start.
Set up your page titles and meta descriptions
Every page on your site should have a unique title tag and meta description. These are what show up in Google search results. Your title should include your target keyword and be under 60 characters. Your meta description should give a clear, compelling summary of what the page is about, under 160 characters.
In WordPress, a plugin like Yoast SEO or Rank Math makes this straightforward. Drag-and-drop builders and AI platforms usually have SEO settings built into each page's settings panel. In custom builds, these are set in your page's HTML head section.
Use headings properly
Your H1 is the main heading of the page, and there should only be one per page. H2s and H3s structure the rest of your content. Search engines use these to understand what a page is about, so make sure your headings actually describe the content that follows.
Optimize your images
Large, uncompressed images slow your site down, which hurts both user experience and search rankings. Before uploading, compress your images using a tool like TinyPNG or Squoosh. Also add alt text to every image: a brief description that tells search engines (and screen readers) what the image shows.
Create URLs that make sense
Your page URLs should be clean and readable. Something like yourbusiness.com/services is much better than yourbusiness.com/page?id=47. Most platforms let you customize this in the page settings. Use your target keyword in the URL where it fits naturally.
Build internal links
Link between your pages where it makes sense. If you mention a service on your about page, link to your services page. Internal links help visitors navigate and also help search engines understand the relationship between your pages.
Check your site speed
A slow site ranks lower and frustrates visitors. Use Google PageSpeed Insights (pagespeed.web.dev) to test your site and follow their recommendations. Common fixes include compressing images, enabling caching, and using a CDN (content delivery network).
STEP 7: Add features and integrations
A website that just sits there looking nice isn't doing its job. The real power of a business website comes from connecting it to the tools that run your business. Here's a rundown of the most important integrations to consider, depending on what your business does.
Payment gateways
If you're selling anything online, whether products, services, or appointments, you need a payment processor. Stripe and PayPal are the most widely used. Most e-commerce plugins and builders have direct integrations with these. Make sure your checkout process is smooth and secure.
Inventory management tools
For product-based businesses, connecting an inventory management system ensures your website stays in sync with your actual stock levels. Tools like Cin7 or other modern inventory systems can integrate with platforms like Shopify or WooCommerce to automate this.
CRM (Customer Relationship Management)
A CRM helps you track leads and customers who come through your website. HubSpot has a free CRM tier that integrates well with most website platforms. Salesforce is an option for larger businesses. Connecting your contact forms and lead capture tools to your CRM means no lead gets lost.
Communication tools
Live chat widgets, chatbots, and email capture forms all fall into this category. Tools like Intercom, Tidio, or even a simple Mailchimp signup form let you engage with visitors and build your contact list. These are usually added via a code snippet or a native plugin integration.
Analytics tools
You'll set up Google Analytics in the next step, but there are other analytics and heatmap tools worth considering too. Hotjar and Microsoft Clarity both let you see recordings of how real visitors interact with your site, which can tell you a lot about what's working and what isn't.
Add what you need now, and don't overcomplicate it. You can always add more integrations later as your business grows.
STEP 8: Connect your domain and configure DNS
You registered your domain in Step 2. Now it's time to actually connect it to your website so that when someone types your domain into a browser, they land on your site.
This process involves updating your DNS (Domain Name System) settings. It sounds more technical than it is.
What DNS does
DNS is essentially the Internet's phonebook. It takes your domain name and points it to the server where your website lives. When you connect your domain to your website, you're telling DNS: "This domain goes to this server."
Connecting your domain in WordPress
If you bought your domain from a registrar like Namecheap or Hostinger, log into your registrar account and find the DNS settings. You'll need to either update the nameservers to point to your hosting provider, or add specific A records and CNAME records that your host provides. Your hosting provider will give you the exact values to enter. Once saved, DNS changes can take anywhere from a few minutes to 48 hours to fully propagate.
Connecting your domain with a drag-and-drop builder
Platforms like Wix and Squarespace have step-by-step domain connection guides in their dashboards. You go to your domain settings within the builder, choose "Connect a domain I own," and follow the instructions. They'll tell you exactly which DNS records to update in your registrar account.
Connecting your domain with an AI builder
If you bought your domain directly through a platform like Emergent, this step may already be handled for you. If you bought your domain elsewhere, the process is similar to drag-and-drop builders: go to your domain settings in the platform and follow the connection instructions.
Connecting a custom-built website
Point your domain to your server's IP address using an A record in your DNS settings. If you're using a service like Vercel or Netlify for deployment, they'll provide specific DNS records or nameservers to use. Their documentation covers this clearly.
Once your domain is connected and DNS has propagated, visit your domain in a browser to confirm everything is working.
STEP 9: Test and launch your website
Before you hit publish on anything, test it thoroughly. A website with broken links, slow load times, or a checkout that doesn't work will do more harm than no website at all.
Here's a practical pre-launch checklist to work through:
Check every link
Click every navigation link, every button, every call to action. Make sure nothing leads to a 404 error or a placeholder page. Pay special attention to your contact forms: fill them out and confirm the submissions actually land somewhere.
Test on multiple devices and browsers
Your site might look great on your laptop in Chrome and completely broken on someone's iPhone in Safari. Test on at least a few different devices and browsers before launching. Most builders have a mobile preview built in, but always check on a real phone too.
Confirm forms and integrations work
Submit a test inquiry through your contact form. Make a test purchase if you have e-commerce set up. Confirm that everything flows through to wherever it's supposed to go: your email inbox, your CRM, your payment processor.
Run a speed check
Use Google PageSpeed Insights (pagespeed.web.dev) to test your site and follow their recommendations. A fast site is a basic expectation today, not a competitive advantage.
Proofread everything
Read every page. Look for typos, awkward sentences, placeholder text that never got replaced, and any inconsistencies in your branding or messaging.
Publishing with WordPress
Make sure your site is set to public (check Settings > Reading and confirm "Search Engine Visibility" is not set to discourage indexing). Your pages should already be published, but double-check that nothing is sitting in Draft status that shouldn't be.
Publishing with a drag-and-drop builder
Most builders have a prominent "Publish" or "Go Live" button in the main dashboard. Click it. The platform handles the rest.
Publishing with an AI builder
Similar to drag-and-drop platforms, publishing is usually a single button in the interface. The platform will confirm your site is live and accessible at your domain.
Publishing a custom-built site
Deploy to your hosting environment or cloud platform (Vercel, Netlify, AWS, etc.) and confirm the build succeeds without errors. Do a final check against your live domain once deployment is complete.
Once everything checks out, go live. You can always iterate after launch. A live, functional website is better than a perfect website that never ships.
STEP 10: Set up analytics (Google Analytics and Google Search Console)
Your website is live. Congratulations. Now, the work of understanding how it's performing begins.
Two free tools from Google will give you the most important data you need: Google Analytics 4 (GA4) and Google Search Console. They serve different purposes and work best together.
Google Analytics 4
GA4 tells you what's happening on your website: how many people are visiting, where they're coming from, which pages they're spending time on, and where they're dropping off. It gives you a clear picture of user behavior, which you can use to make smarter decisions about your content and design.
To set it up, go to analytics.google.com and create an account if you don't have one. Set up a new property for your website, and you'll be given a Measurement ID (it starts with "G-").
Now you need to add that tag to your website:
In WordPress, the easiest way is to use a plugin like Site Kit by Google or MonsterInsights. Both let you connect GA4 without touching any code.
In Wix, Squarespace, and most other builders, there's a dedicated section in settings for adding your Google Analytics ID. Go to your site settings, find the analytics or integrations section, and paste in your Measurement ID.
In an AI builder like Emergent.sh, check the integrations or settings panel for a Google Analytics field.
In a custom build, add the GA4 script tag directly in the <head> section of your site's HTML, or through your framework's head management system (like Next.js's _document.js).
Once the tag is added, go back to Google Analytics and use the real-time view to confirm it's receiving data. Visit your own site and see if it shows up.
Google search console
While GA4 shows you what's happening on your site, Search Console shows you how your site appears in Google search results. It tells you which search queries bring people to your site, which pages are indexed, whether there are any crawl errors, and how you can improve your visibility.
Go to search.google.com/search-console and add your website as a property. You'll need to verify ownership, which you can do by adding a meta tag to your homepage, uploading an HTML file, or connecting through Google Analytics (if GA4 is already set up, this is the easiest route).
Once verified, submit your sitemap. Most SEO plugins (like Yoast) generate a sitemap automatically at yourdomain.com/sitemap.xml. In Search Console, go to Sitemaps and submit that URL. This helps Google discover and index all your pages faster.
Check Search Console regularly, especially in the first few months after launch. It will flag any issues that might be preventing your pages from ranking.
Readmore: Our how to build an online course platform guide covers that build, and why hosted platforms take up to 7.5% of every sale.
Conclusion
Building a business website is one of the most worthwhile things you can do for your business, and it's genuinely more accessible now than it has ever been. Whether you go with a CMS, a drag-and-drop builder, an AI platform, or custom development, the fundamentals are the same: get clear on your goals, build something that works for your visitors, optimize it for search, and keep improving it over time.
Don't wait until it's perfect. Get it live, get it indexed, and let real visitors tell you what needs to change. The best business websites are never "done." They're just continuously getting better.

Describe what you want and Emergent builds it. A real, production-ready app you can launch the same day.
- One prompt to build
- Zero code required
- Deploy in minutes