


Once your app is built and tested, plan on two to three weeks to launch it. Lock your money model and success metrics first, build a small waitlist while you finish testing, run a beta with a handful of real users, then submit to the App Store and Google Play. Push every launch channel on the same day, and start building an audience weeks before you submit.
You spent weeks getting your app to work the way it's supposed to. The screens load, the buttons do what they should, and you've stopped finding new bugs every time you open it.
Then you go hunting for how to launch an app, and the plan runs out about two steps in.
This guide picks up exactly where building your first working app ends. Your build has to be finished and tested first.
I spent 16 days on a test app called Trailhead, a simple crowdsourced trail-conditions app. That covered writing the store listing, catching a rejection-worthy mistake before submitting, and running it past a small internal test group on TestFlight and Google Play.
This guide covers the full sequence from a finished, tested build to a validated first cohort of real users, well past the app-store submit button.
What You'll Need Before You Launch
Skip any one of these five, and the gap shows up mid-launch, right when it's hardest to fix. Before you dive into how to launch an app, make sure each one is done.
Prerequisites:
A finished, tested build: If you've already gone through app design and development and it holds up under normal use without crashing, you're ready for this stage. If it isn't there yet, get it there first.
An active Apple Developer Program account: You'll need this before you can submit anything to the App Store. Apple charges $99 annually for enrollment, with no monthly billing option.
An active Google Play Developer account: You'll need this to register as a developer on Google Play. Registration costs a one-time $25 fee.
Store-listing assets in progress: A draft description, screenshots, keywords, and an icon. You don't need these finished, but you do need them started.
A monetization decision and defined success metrics: More on both in Step 1. Don't wait until launch day to figure this out.
Time required: Realistically, budget 2 to 3 weeks from a finished build to your first signal. My own Trailhead timeline landed at 16 days total, covering store prep and internal testing. Yours might run shorter or longer.
How to Launch an App: Step-by-Step
The sequence below follows the same backbone that holds up across every launch. Lock your numbers, build some buzz, test small before you go wide, submit carefully, launch loud, then watch and adjust.
Step 1: Lock Your Monetization Model and Success Metrics Before You Build Buzz
Free status boards don't have much of a monetization decision to make. Trailhead is one, a three-trail Clear/Muddy/Closed status board with nothing to buy, so that choice took about 30 seconds once I looked at what the app was.
Your app probably won't be that simple, which is why this step comes before anything else. Free, paid upfront, and freemium are the three broad ways apps make money, and each one changes what you build toward from here.
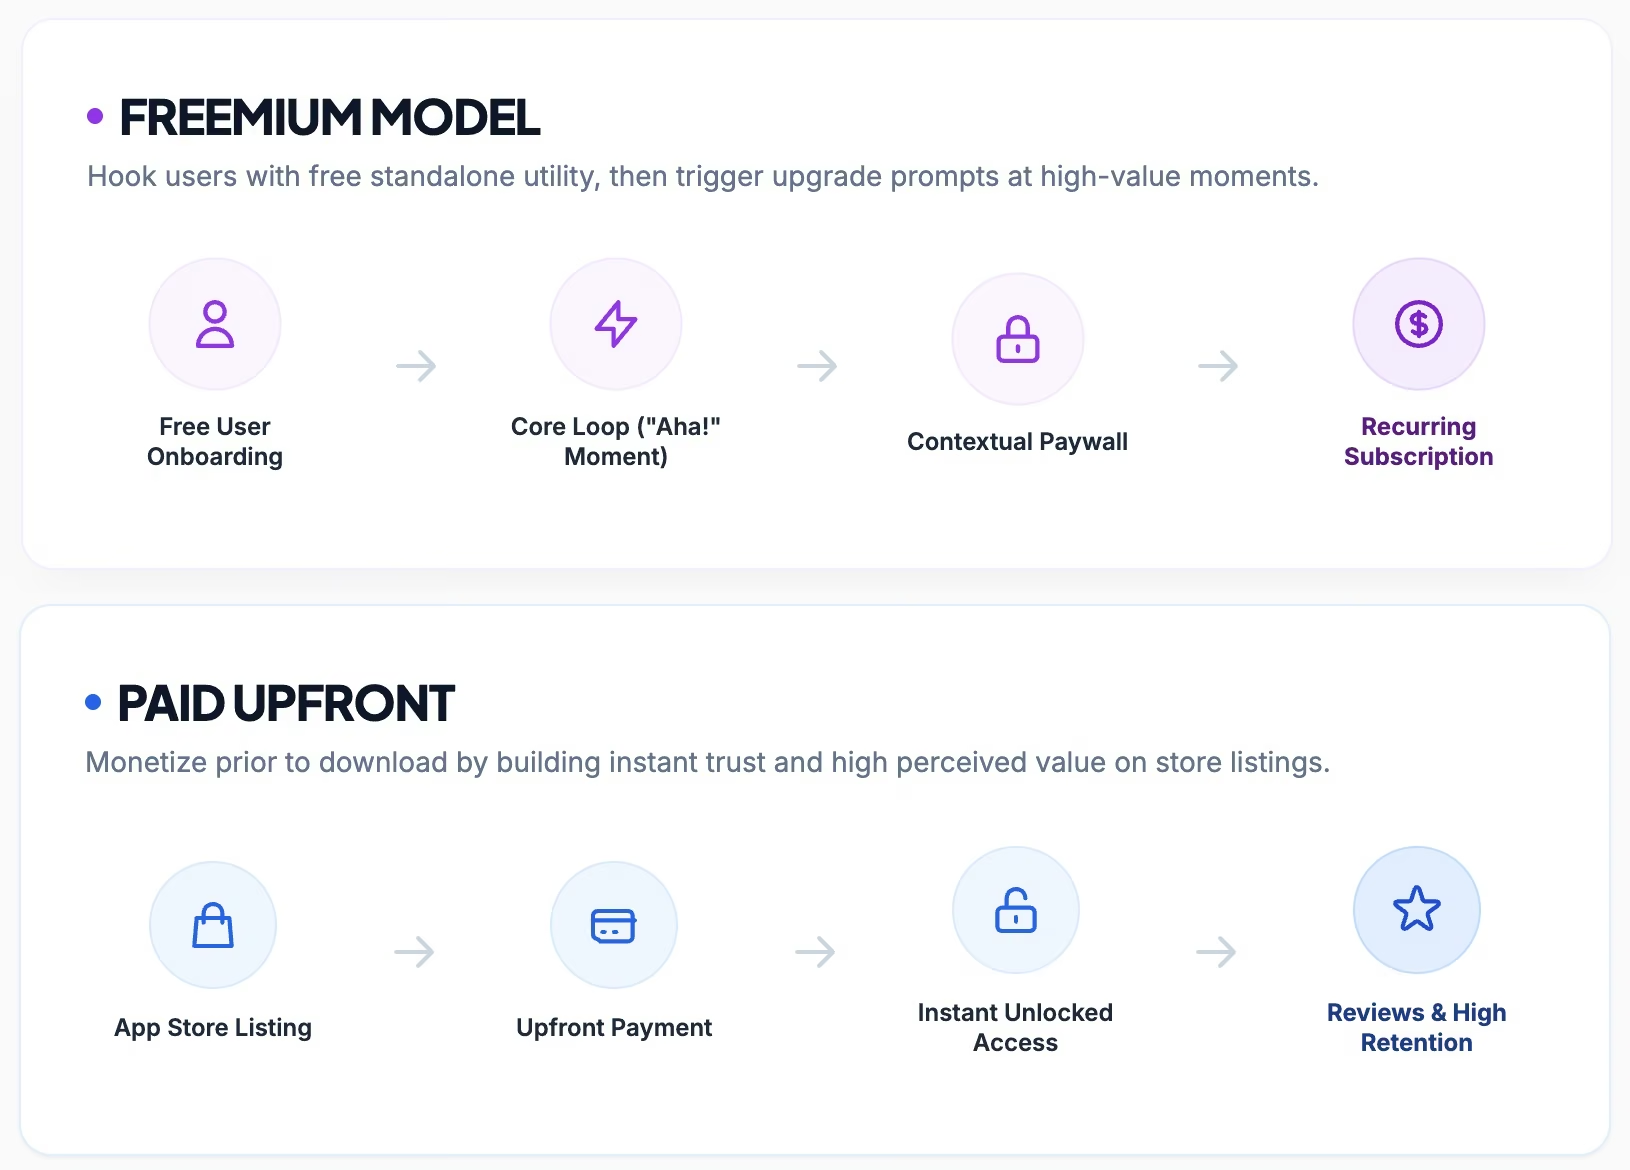
A freemium app needs a free tier worth using on its own, plus a clear reason to upgrade. A paid app needs a store listing that justifies the price before anyone opens it. Pick wrong, or pick late, and you end up building screens around a model you abandon a few weeks later, which means rebuilding them.
Decide now. Retrofit monetization after launch, and you're retraining users who already formed habits around a different deal.
A grocery-list app that launches free and later gates its shared-list feature behind a subscription trains its existing users to expect the old, free version. A chunk of them stop opening the app entirely, unwilling to pay for something they already had for free.
Pair that decision with the numbers you'll watch. Install rate, activation rate, day-seven retention, and churn are worth defining before a single outside person sees your app.
I wrote down a working day-seven retention target of 25% for Trailhead before internal testing started, even though that number meant almost nothing for a three-trail status board with five testers.
Write down what "good" looks like for each metric now, while you're not staring at a live dashboard trying to guess if a number is fine or terrible.
Step 2: Build Pre-Launch Buzz While You Finish Testing
Trailhead was a closed test with five people I already know, so there was no landing page or waitlist to build before internal testing started.
Your app needs one, and it should start now, while you're still finishing testing. A simple landing page built with a free landing page builder can give you a list of people to email the moment you go live. Skip it, and you launch to silence.
A waitlist works the same way and adds a little scarcity on top, since a numbered spot in line feels more worth having than a plain signup confirmation ever does. A dozen names on that list beats zero names by launch day, even if the list stays small the whole time.
Keep the page itself simple. One line on what the app does, one reason to want it, and a signup field. That's enough to start collecting names while you're still fixing the last few bugs. Wait until the app is finished to think about your audience, and you start from zero on launch day, with nobody to tell when you're ready.
Pick one community where your future users already hang out, such as a subreddit, a Discord, or a niche forum. Start showing up before you need anything from them, answering questions and adding something useful. Showing up early earns you the credibility to post about your launch later without it reading like a stranger dropping a link.
Give it two to three weeks before launch, at minimum. A profile that appeared yesterday and posted about its own app today looks like a plant, and communities notice that fast.
Step 3: Run a Beta Before You Submit
You stop noticing your own bugs after enough time with the same build in front of you. That's what outside testers are for.
I built Trailhead's core loop with one prompt in Emergent, one of several AI mobile app builders designed for prompt-based development:
"Build a simple mobile app called Trailhead. Show a list of three trails: Ridge Loop, Creek Trail, and Overlook Path. Under each trail, show a status (Clear, Muddy, or Closed) and the time it was last updated. Add three buttons under each trail so I can tap Clear, Muddy, or Closed to update that trail's status. When I tap a button, update the status and the timestamp immediately so the next person who opens the app sees the latest report."

That took 14 minutes and burned 11 credits. It worked on the first pass. Each tap updated the status and the timestamp right away.
Then I found the collision bug. During an early test, two people tapped a status button on the same trail within the same minute. The app showed whichever tap loaded last on screen. That wasn't always the same as the most recent report.
A follow-up prompt that compared the two timestamps directly, ignoring display order entirely, fixed it cleanly.
That's the case for testing with real people before you submit anything. I added five testers to TestFlight's internal testing group and Google Play's internal testing track. They were a coworker, a friend who hikes the same three trails, and three neighbors.
Over nine of the 16 days I spent on this project, the group found a timestamp display bug I had missed. It still read "Updated just now" after closing and reopening the app until someone tapped a status again. The app still worked, but the displayed update time was wrong.
Five testers were enough. I'd cut other corners to save a few days before submitting, but I wouldn't skip outside testing. The collision bug alone would have gone unnoticed if nobody but me had touched Trailhead first.
Pro Tip
Pro tip: Ask your testers to use the app the way they would. That's often different from how you designed it to be used, and that's where the real bugs show up.
Step 4: Soft Launch to One Platform First, or Go Wide?
Once your internal testing is clean, you've got a real choice to make. Soft-launch to one platform or one region first, or go wide on day one.
Soft-launch first if you've got unknowns left to lower the risk on. That's often an untested pricing model, an onboarding flow you haven't watched a stranger navigate, or a feature you built on a hunch.
A release to one platform, or one region on both platforms, for 1 to 2 weeks, gives you a smaller, lower-stakes group to learn from before your full audience sees anything.
That window is long enough to catch a broken onboarding step or a pricing model nobody converts on, and short enough that you're not sitting on a finished app while a handful of regional users decide its fate without much attention on it.
Go wide immediately if your build is simple and low-risk, especially when it's also time-sensitive. A seasonal app, a news-hook app, or anything tied to a date that won't wait doesn't have room for a slow soft launch. Your internal testing from Step 3 is already lowering the risks a soft launch would otherwise cover.
If the same five testers who caught Trailhead's timestamp bug had already caught your real issues, a soft launch after that mostly delays the day you find out how the app performs with people who don't already know you.
Trailhead stopped at internal testing, so from here on I'm describing what a full launch looks like, not what I ran. Every real launch eventually hits this fork. A closed group can tell you the app works, but only a soft launch or a full one tells you whether strangers stick around.
Step 5: Prepare Your Store Listing and Submit for Review
Store-listing prep took me about 3 hours for Trailhead. That covered writing the description, capturing four screenshots of the trail list and status buttons, picking keywords, and completing Apple's App Privacy questionnaire. The questionnaire was short, since the app collects almost nothing beyond the status taps themselves.
Before submitting anything, I read through Apple's App Store Review Guidelines and Google Play's policies. I was looking specifically for the mistakes that cause avoidable rejections, like a broken privacy-policy link, a placeholder screenshot, a crash on first open, or incomplete metadata.
That read-through caught a missing privacy-policy link, the kind of thing that shows up in a rejection notice if you miss it.
Apple and Google run two separate review pipelines, each with its own turnaround and its own reasons for a rejection.
Apple reports that on average, 90% of submissions are reviewed in less than 24 hours.
Google Play's own review timeline varies more by app and account history, so check Google's current guidance for the real number, since it may differ from Apple's.
Use Apple's 24-hour figure as a reference point, but build your target launch date around the current guidance from both stores.
Apple's current rating system carries your summary rating from one version to the next by default. Developers can reset the visible rating when releasing a new version, though Apple recommends using that option sparingly. Written reviews remain visible after a reset. So ship fixes as soon as they're ready, and don't hold updates back just to protect the summary rating.
Pro Tip
Pro tip: Read the privacy section of the guidelines twice before you submit.
Step 6: Coordinate Your Available Launch Channels
This step is entirely informational, built for your real launch.
A launch day works best when you coordinate every available channel on the same day. Owned channels are the email list and waitlist you built in Step 2. Message them the moment you're live.
Earned channels are press, community posts, and word of mouth. The credibility you built by showing up early pays off here. Paid channels, where you have budget, add reach on top of the other two, but they work better alongside owned and earned than alone.
All three together, on the same day, beat spacing them out. Each one makes the others look more credible to someone checking you out for the first time. A press mention with no email or community activity behind it reads like a one-off. The same mention landing alongside your other channels reads like a real, coordinated launch.
Fire in this order: Email your list first because the people on it have already opted in, and the channel does not depend on an algorithm or a stranger's attention.
Follow with your community posts and any press placement within 2 to 3 hours, that same day. A delay between your email and your public post leaves room for someone to stumble onto the app with nothing else backing it up yet.
The goal is to make the first day look like more than one person hitting publish alone. A short, unified push beats a long one.
24 to 48 hours of genuinely coordinated attention across owned, earned, and paid channels does more than the same effort stretched over 2 weeks. You don't need to keep it up forever, only long enough to make that first impression feel crowded.
Step 7: Find Your First Users as an Indie Builder (No Ad Budget, No Press List)
If you're launching for real with no ad budget and no press list, these are the channels that work for a solo or small-team build.
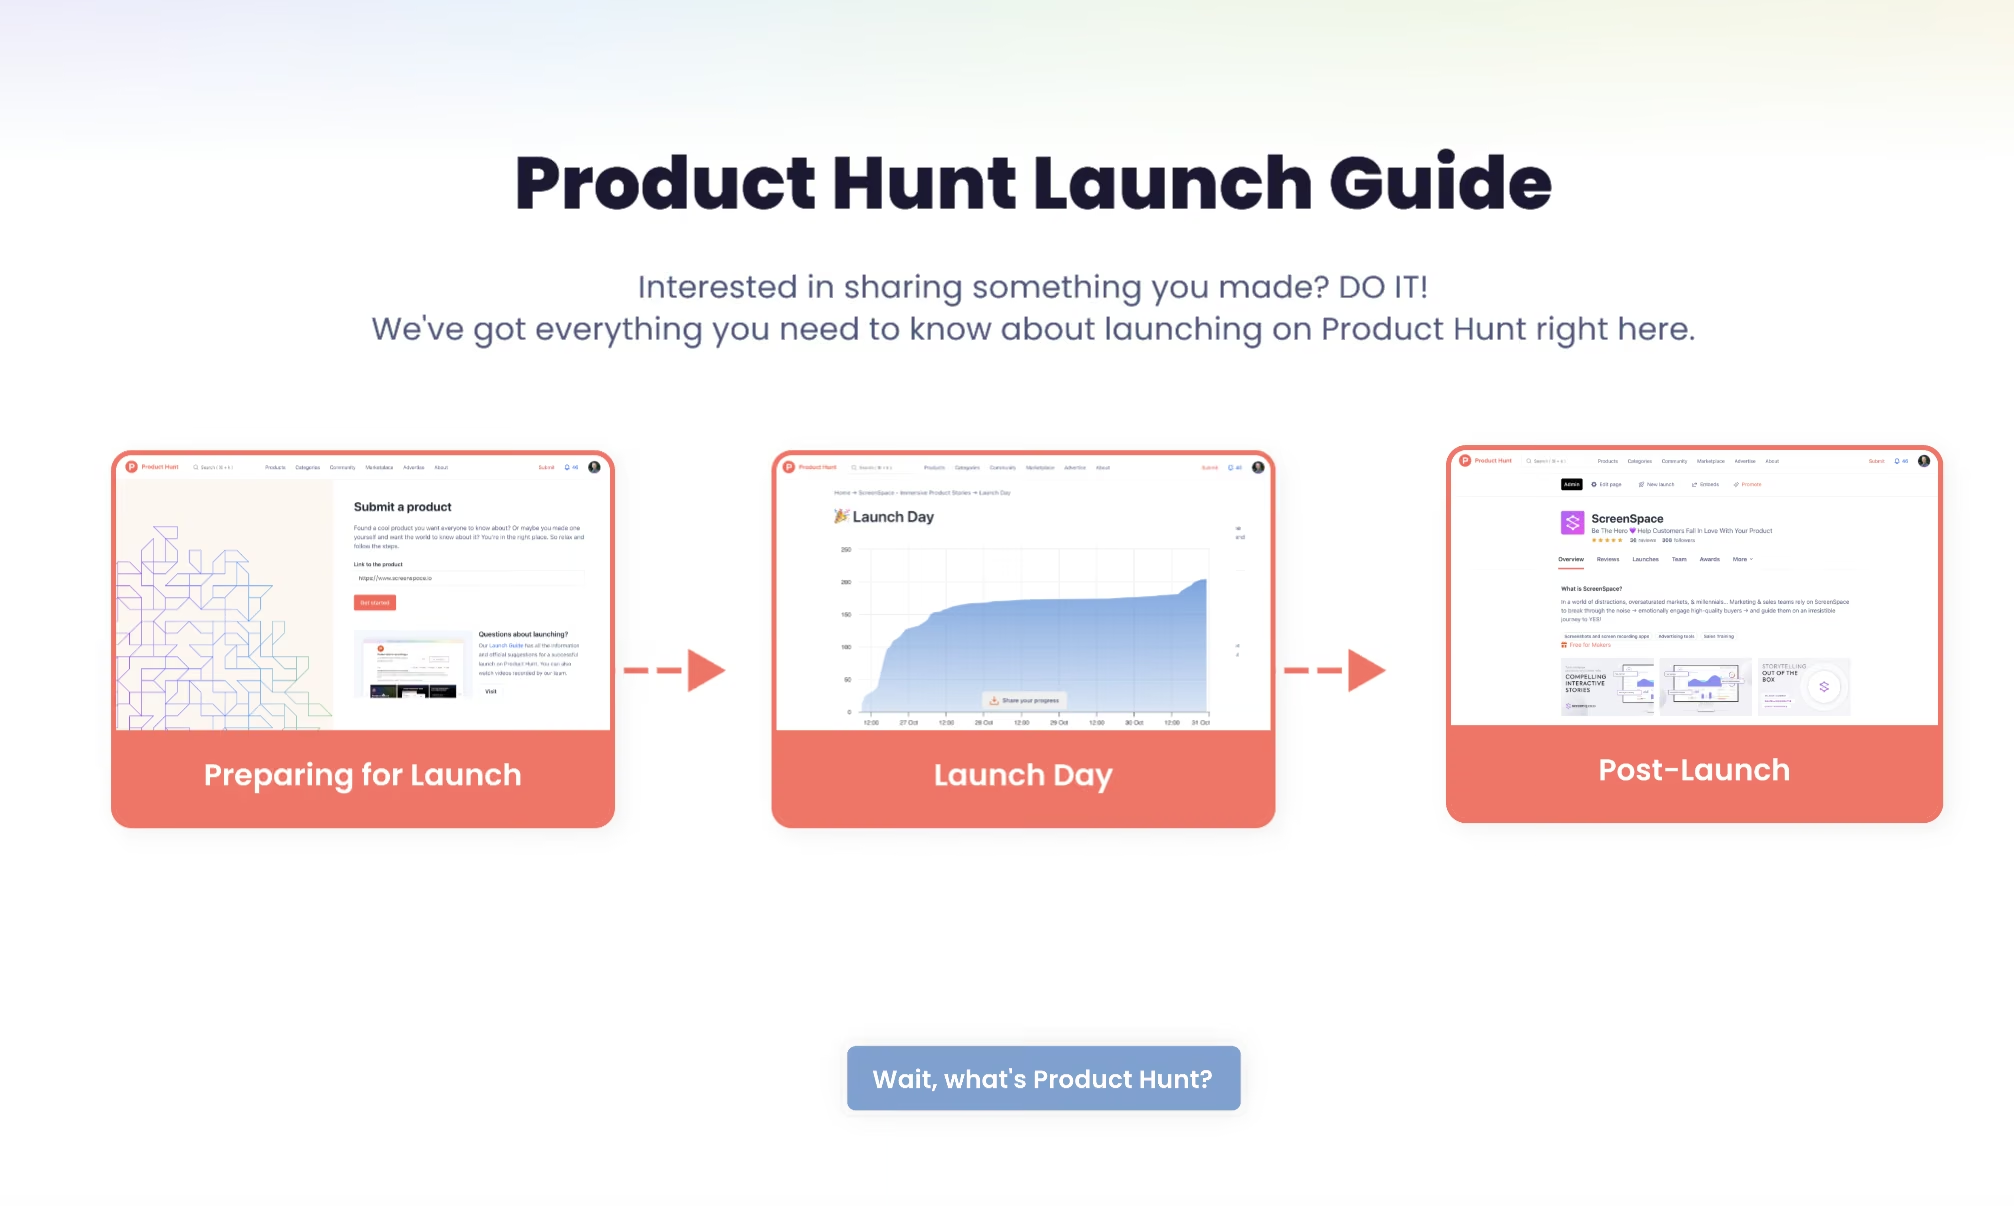
Product Hunt gives you a concentrated spike of attention on one launch day. Its leaderboard runs on a 24-hour cycle, so wherever you land by the time the day resets is the ranking that sticks to your launch page. Make sure your listing and support channels are ready before you post. That spike fades fast once the day ends, so plan for what happens the next morning too.
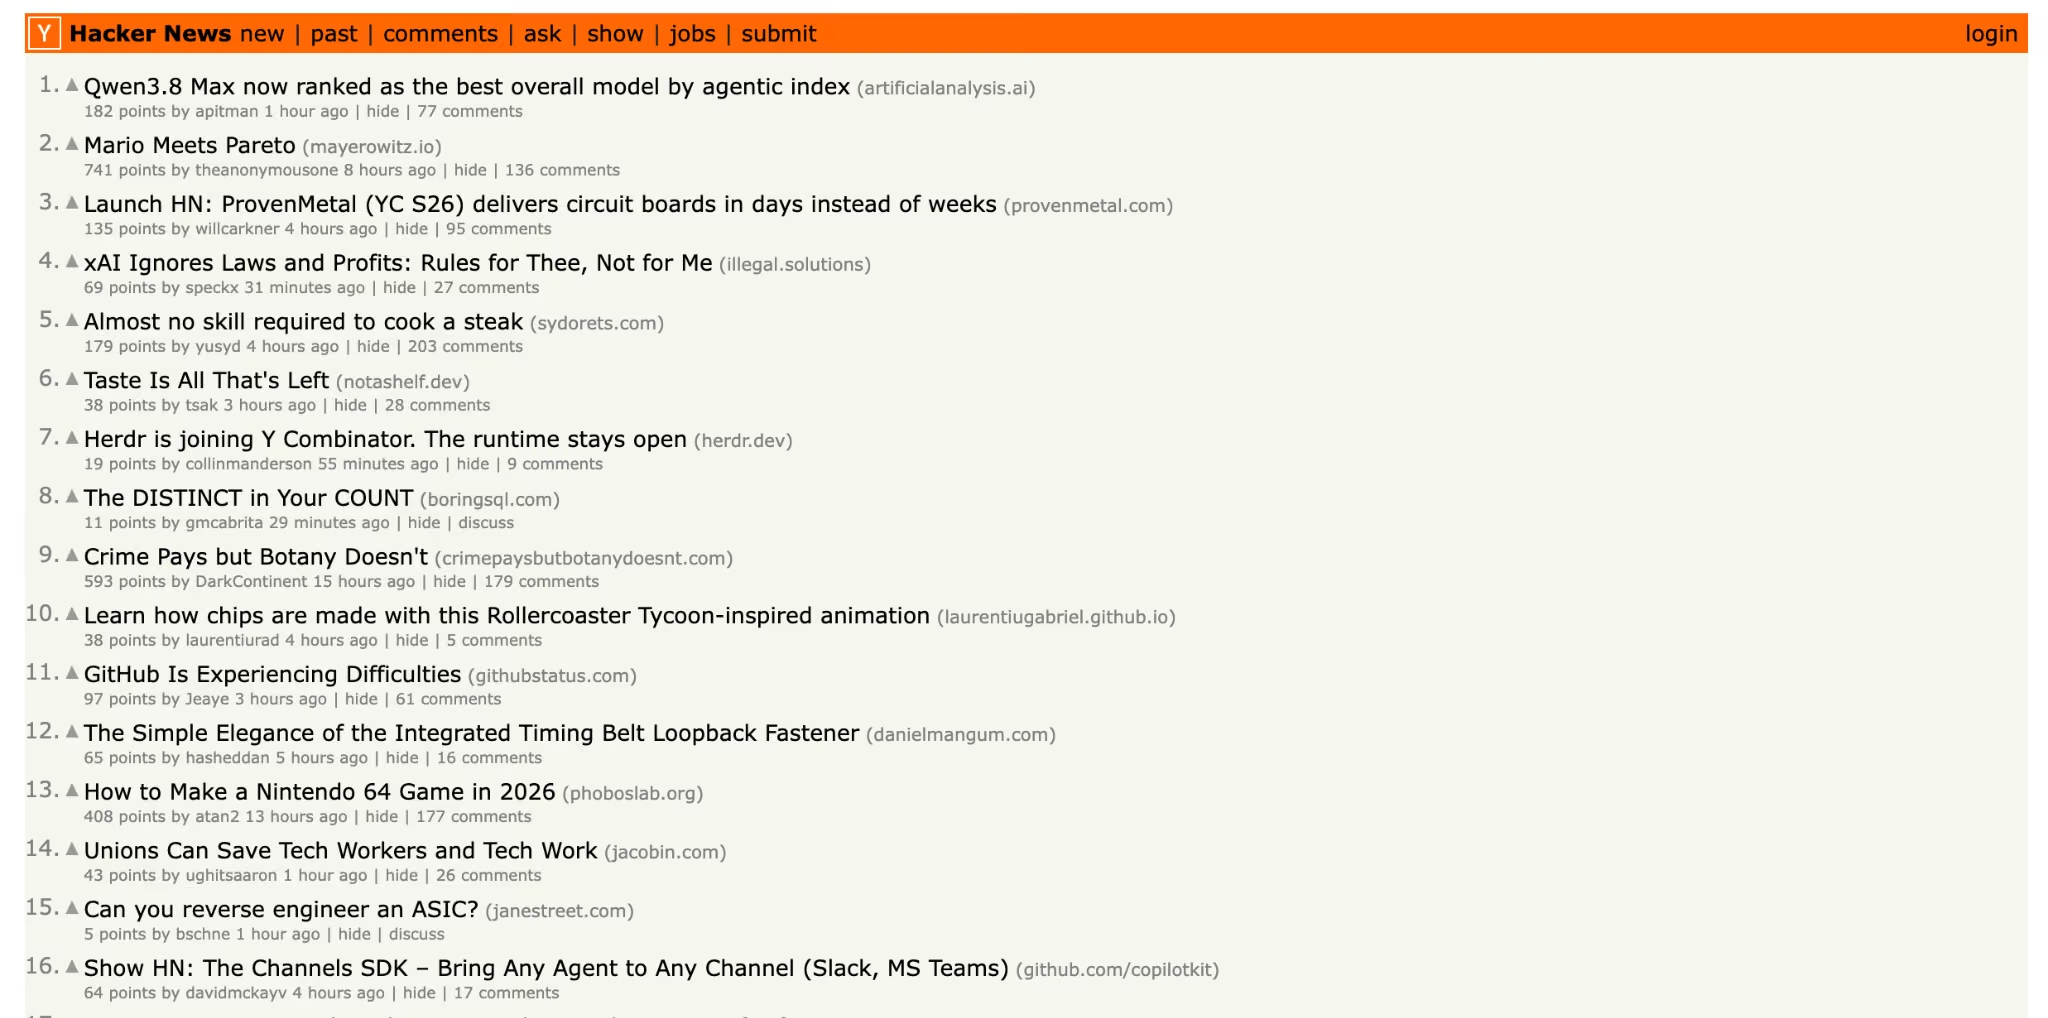
Hacker News, through a "Show HN" post, reaches a skeptical, technical crowd. It works well if your build has a genuine hook or an interesting technical angle, and works badly if it reads like a pitch.
Answer every comment yourself, quickly and plainly, ideally within the first hour or two while the thread is still near the top. That thread is often the only place this crowd will ever engage with you directly.
Indie Hackers and relevant subreddits are worth posting in only where self-promotion is already welcomed, so check the community rules first. A post that looks like an ad gets removed fast, so lead with what you learned building it before you ever mention downloading it.
Building in public on X or wherever your audience gathers compounds slowly, so treat it as an ongoing habit. Start it weeks before launch so people are already paying attention when you go live.
Each channel serves a different purpose.
Product Hunt can create a one-day spike, Hacker News can reach a skeptical crowd if your build earns it, and a well-chosen community can bring a smaller but warmer group. Building in public compounds the other three over the weeks before launch. Use more than one channel, since a single channel with no backup is a bet on one shot, nothing more.
Step 8: Track Your Early Metrics and Iterate on What You Find
The only signal I got was from internal testing, the one copy issue those five testers caught, so there are no post-launch numbers to show here.
Once your app is live for real, four numbers deserve your attention first, and each one tells you something different. Install-to-open rate shows whether anyone who downloaded the app ever opens it, catching an oversold listing. Day-one and day-seven retention tells you whether the people who opened it come back. Watch crash rate and early ratings too.
Treat any crash rate above 1% as a reason to pause new features, marketing, and the next update until you fix the crashes. A crash on first open can turn an install into an uninstall before the app gets a real chance.
Retention compounds more than raw download counts suggest. A cohort that keeps coming back is worth more than a bigger cohort that opens the app once and disappears. That's part of why day-seven retention deserves more of your attention than total downloads alone.
Push notifications are worth A/B testing early, since no single cadence works for every app.
More notifications can re-engage people who drifted away. Past a certain frequency, they drive the fatigue-driven uninstalls you were trying to prevent. Cap your starting cadence at one notification every two to three days, hold off on daily pushes, and watch the uninstall rate before you push it any harder.
Build a lightweight in-app feedback channel from day one, even something as simple as a feedback button. Issues that reach you directly get fixed fast. The ones that only surface as a one-star review get read by everyone else first, before you ever see them.
If you want to build an app without getting into the technical side of development, How to Build an App Without Coding walks through a simpler approach from idea to working app.
Pro Tip
Pro tip: Set up crash reporting and basic analytics before launch day. You want data from minute one instead of piecing it together after the fact.
Common Mistakes to Avoid
That's the full sequence. Most launch problems come from a handful of recurring mistakes layered together. Watch for the following issues.
Treating submission as the finish line: Approval makes your app downloadable, while discovery still depends on your launch work.
Building the app first and thinking about an audience later: Waiting until submission to start a landing page or waitlist means launching to an empty inbox.
Waiting until after launch to decide monetization: Retrofitting a price or a paywall onto an app people already use for free trains them to expect the old deal.
Skipping or under-scoping your beta test: A handful of real testers catches what a solo builder, staring at the same screens for weeks, stops noticing.
Getting rejected for something the guidelines already warned you about: A missing privacy-policy link is easy to miss without a deliberate re-read, but just as easy to catch with one.
Going silent, or over-notifying, right after launch: Going silent drains the momentum you built. Notification overload causes the opposite problem, driving off the users you were trying to keep in the first place.
If you want to add AI capabilities to your app, How to Build an AI App explains how to turn an idea into a working AI-powered application.
How Emergent Helps Builders Get to a Finished, Testable App Faster
Everything in this guide assumes you already have a finished, tested build. That part is its own hurdle, and it's the one place I can talk about Emergent directly, since building Trailhead is what I used it for.
Back in Step 3, I described a timestamp bug in plain language and Emergent rewrote and tested the fix before handing it back, without my writing any of the logic myself.
That's the gap this guide can't close on its own. You still have to write your own store listing, read the guidelines yourself, and handle your own testing round. That work is on you, not the tool.
But getting from an idea to a working, testable app fast is exactly what Emergent is built for. Tell it what you want the app to do, and its agents scope the build, put it together, and check the result before it lands back in your hands.
That means your limited launch runway goes to the store listing and the beta group, with the app itself already built for you.
A few things make that build phase faster if you're picking a tool:
Outcome-first prompting: Describe the outcome in plain language, and the system builds toward it without asking you to specify every technical piece yourself.
Built-in testing before handoff: The system checks its own output first, so the build is already verified working by the time you see it.
Fast iteration: A plain-language follow-up prompt changes behavior or fixes a bug without starting the build over.
One complete, working app: You end up with a single app that's ready to try, already assembled, with no scattered pieces left for you to connect.
Emmy, a built-in build assistant: A free chat assistant that already knows what you're working on, so you can screenshot a confusing screen or ask what's left in your credit balance without leaving the build to find out. Learn more about Emmy.
You still handle store submission, launch-day marketing, and App Store guideline review. Emergent can help when the build is using up your launch runway.
Try Emergent free. The free plan comes with 10 credits a month, which is enough to get most of the way through a first draft before you commit to anything paid.
Whatever you build with, that's only the first half of the job. You still have to build buzz, run the beta, submit for review, and find your first users, regardless of which tool got you to a finished build.
Most AI app builders stop at prototypes. Emergent creates production-ready apps you can actually launch.
- Production-ready apps
- Web & mobile apps
- Deploy in minutes