


TL;DR
- Scope version one to one user and one workflow: you can build an app without coding, but only after cutting payroll, inventory, scheduling, and everything that isn't the core task.
- Build a web app first unless the idea needs the phone itself: camera, location, push notifications, offline use, or app-store discovery justify native, otherwise a browser app tests the workflow faster.
- Review the AI's plan before it builds, not after: fixing scope at the plan stage costs less time and fewer credits than deleting finished screens.
- Test the happy path, then try to break it: run the workflow in order, then submit blank forms, negative amounts, duplicate invoice numbers, and invalid emails.
- Native publishing is where the real bill lands: a web prototype takes under an hour, while store distribution adds $99 a year for Apple and a one-time $25 Google Play fee on top of the $20 per month plan.
An app idea usually feels simple until you try to name every screen, rule, and piece of data. You can build an app without coding, but the first version works best when you keep one user and one core workflow in scope.
I reviewed the current flows and official pricing for Emergent, Figma Make, Glide, Thunkable, and Power Apps, then reworked the documented Northstar Invoice Tracker test into one consistent walkthrough. These seven steps give you a copy-paste prompt, a failure-testing checklist, and a clear point where you should bring in technical help.
What You’ll Need Before Starting
Start with a simple web app unless your idea depends on phone hardware, push notifications, offline use, or app-store distribution. A browser-based app is faster to test and gives you useful feedback before you add mobile publishing work.
Prerequisites:
- One clearly defined user.
- One workflow that the person needs to complete.
- Fake names, email addresses, amounts, and records for testing.
- An account with your chosen app builder.
- Three to five people who match your intended audience.
- A written list of features that version one will exclude.
Time required: Set aside one afternoon for a focused first build. Emergent’s documented example shows that a small web app can come together in under an hour, while logins, payments, or more involved rules can extend the work to a full day or several days.
Which App Builder Is Best? 5 Tools Compared
The right app builder depends on what you need to publish. Choose Emergent for a prompt-built app with connected workflows, Figma Make for a design-led web experience, Glide for apps built around structured data, Thunkable for native mobile publishing, and Power Apps for internal Microsoft workflows.
Best app builder by use case:
- Emergent: Best for building connected web or mobile apps from a plain-English prompt.
- Figma Make: Best for design-led web apps and functional prototypes.
- Glide: Best for portals and internal tools built around structured business data.
- Thunkable: Best for native iOS and Android apps built through a visual editor.
- Power Apps: Best for internal company apps connected to Microsoft 365 and Dataverse.
Best fit and entry price:
| Tool | Best Fit | Free Plan | First Practical Paid Plan |
|---|---|---|---|
| Emergent | Prompt-built web and mobile apps | $0, 10 monthly credits | Standard: $20/month month-to-month; $17/month billed annually |
| Figma Make | Design-led web apps and functional prototypes | Starter, $0, up to 500 AI credits/month | Professional (full seat): $20/month monthly; $16/month annually |
| Glide | Spreadsheet-backed portals and internal tools | $0 | Explorer: $25/month monthly; $19/month annually |
| Thunkable | Native iOS and Android apps | $0, three public projects and five screens per project | Builder: $59/month monthly; $37/month annually |
| Power Apps | Internal apps for Microsoft-based companies | Developer Plan, $0 for building and testing | Premium: Month-to-month price not listed; $20/user/month paid yearly |
Prices above come from official vendor pages and were checked on July 19, 2026.
Thunkable’s lower Accelerator tier supports prototype apps, so the table uses Builder as the first tier that includes a live published app. Power Apps’ free Developer Plan is for development and testing rather than production use.
My App Builder Recommendations
Emergent: Best for Prompt-Built Apps
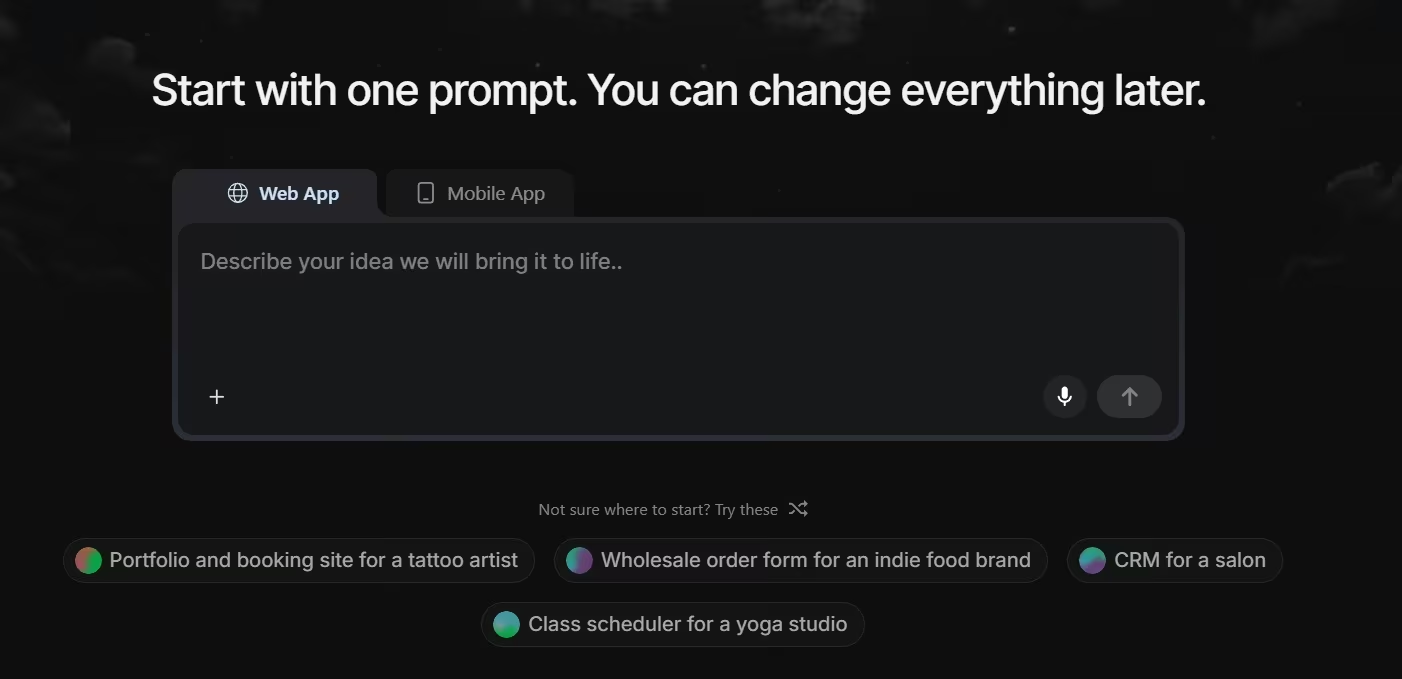
Choose Emergent when you want to describe an app in plain English and generate its screens, stored records, workflow rules, testing, and hosted preview in one place. It fits founders and business owners who need more than a visual prototype but don’t want to assemble several separate tools.
Choose another builder when you only need a simple interface mock-up or a basic data viewer. Those narrower projects don’t need a full app-building workflow.
Figma Make: Best for Design-Led Web Apps
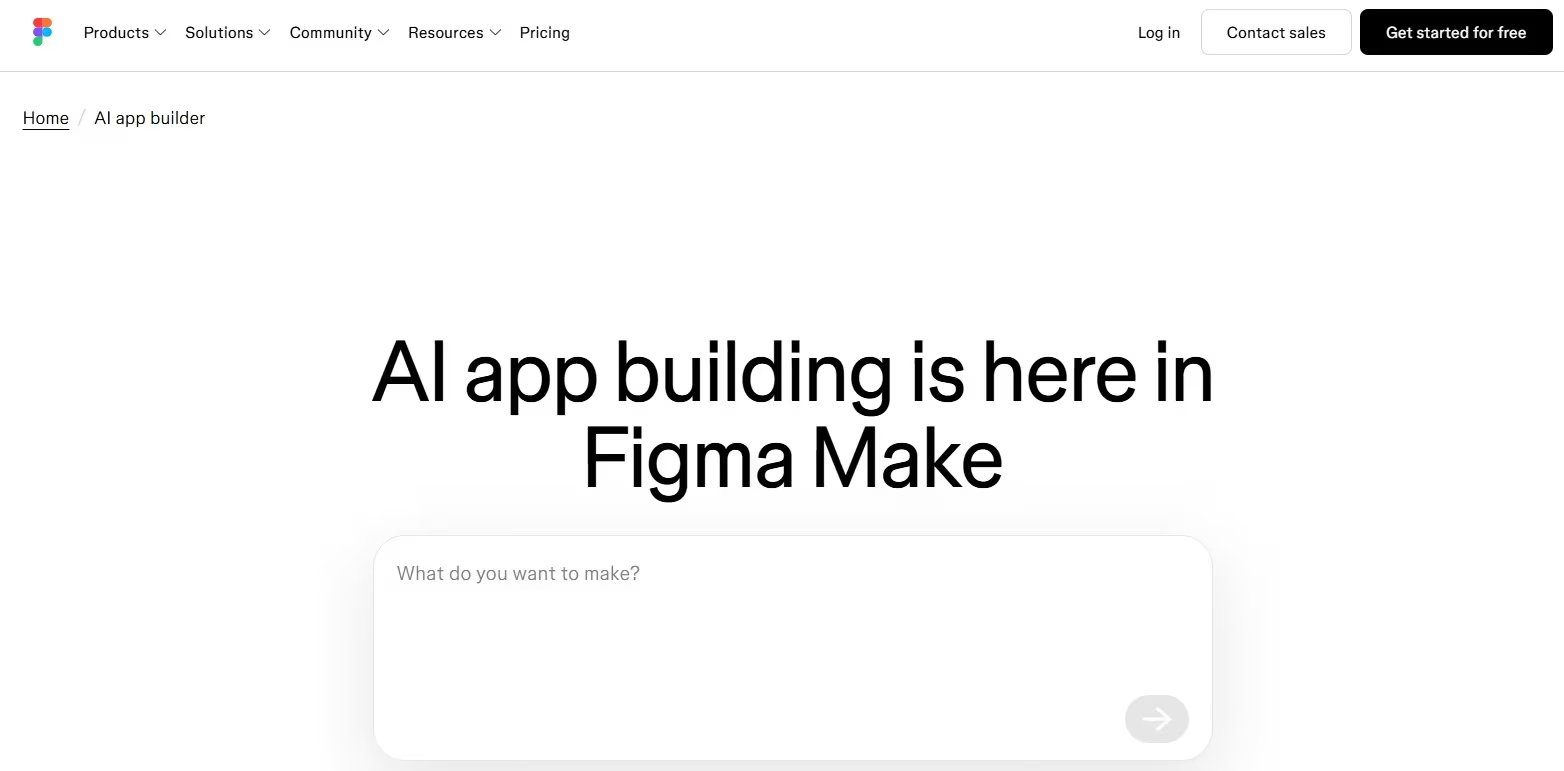
Choose Figma Make when visual design, brand consistency, and interface details are the main priorities. It works well for functional web experiences and prototypes that need to stay close to an existing Figma design system.
Choose another builder when your main goal is native app-store publishing or a complex data-driven business workflow.
Glide: Best for Structured Business Data
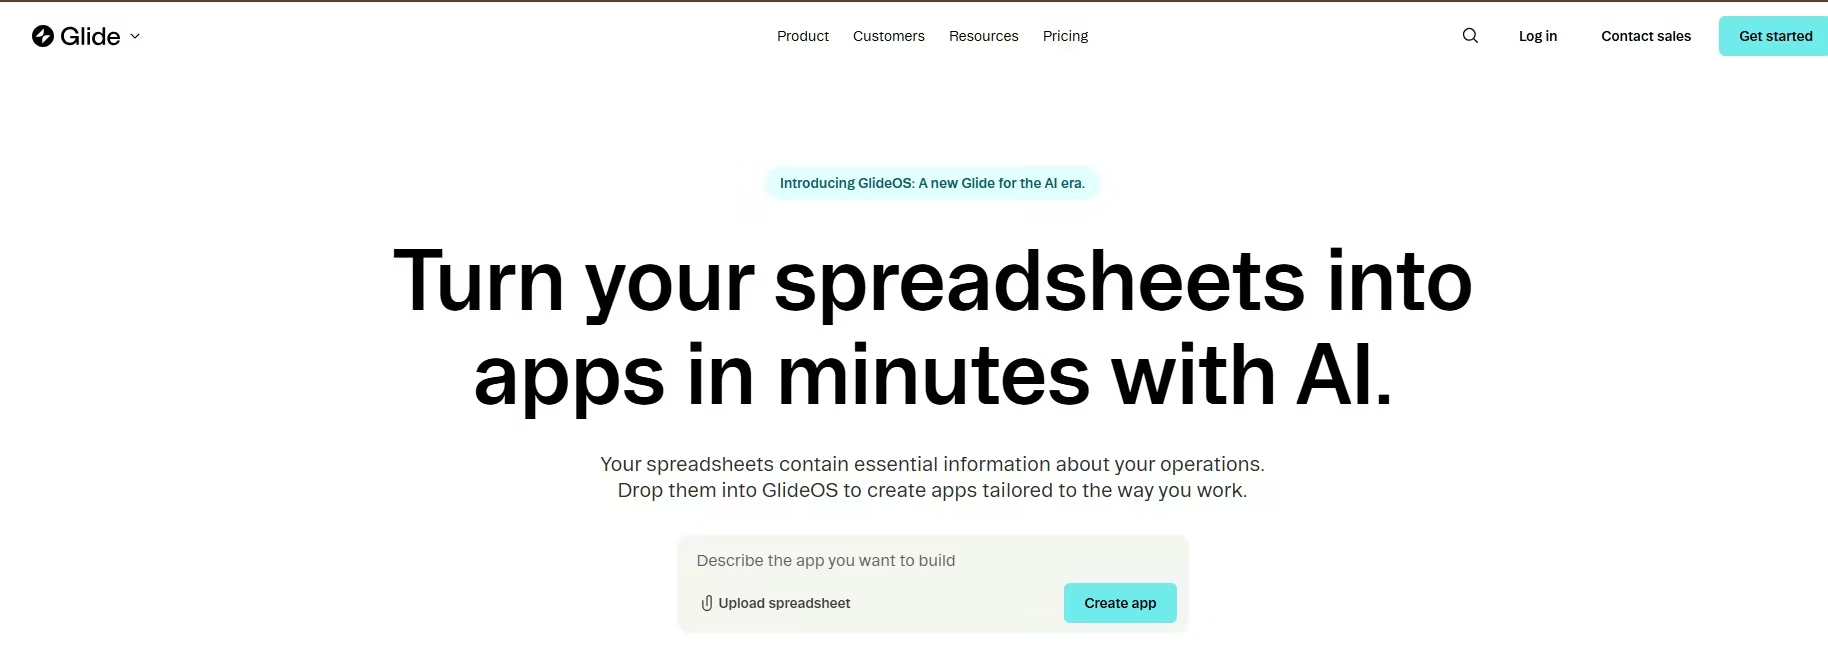
Choose Glide when your app centers on customers, jobs, invoices, inventory, approvals, or other information that fits naturally into rows and columns. It is a strong fit for client portals, directories, dashboards, and internal operations tools.
Choose another builder when the app needs highly custom interactions or a consumer experience that doesn’t follow a data-record structure.
Thunkable: Best for Native Mobile Apps
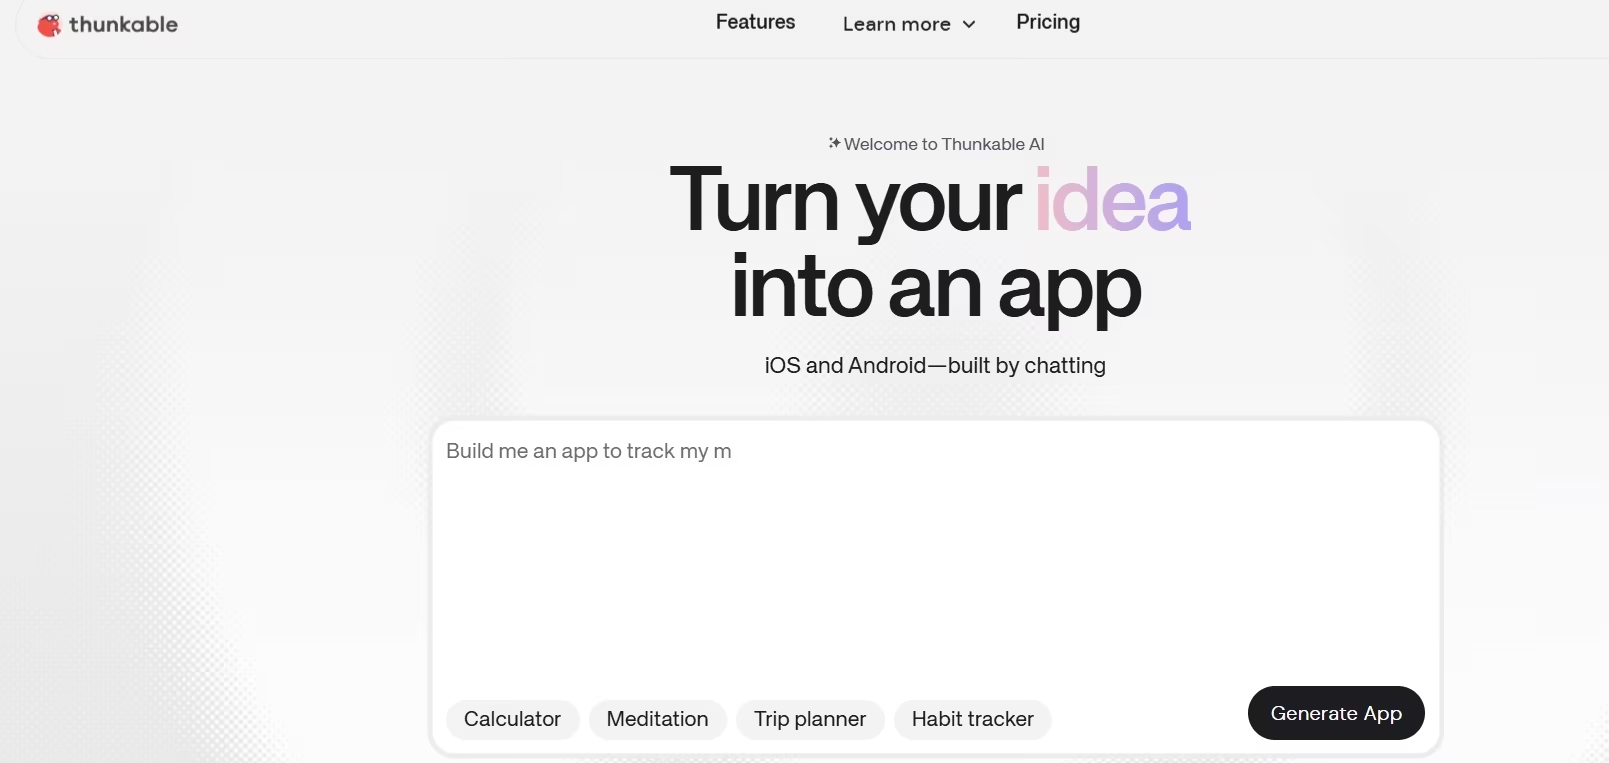
Choose Thunkable when publishing to iOS and Android is a requirement from the start. Its visual editor is designed for mobile screens, device functions, and app-store distribution.
Choose another builder when a responsive browser app can support the whole workflow. Native publishing adds testing, developer accounts, and store-review work.
Power Apps: Best for Microsoft Workflows
Choose Power Apps when your company already works in Microsoft 365, SharePoint, Excel, Teams, or Dataverse. It is designed for internal apps that use existing company data, permissions, and Microsoft connectors.
Choose another builder for a public consumer app or when your organization doesn’t already use the Microsoft Power Platform.
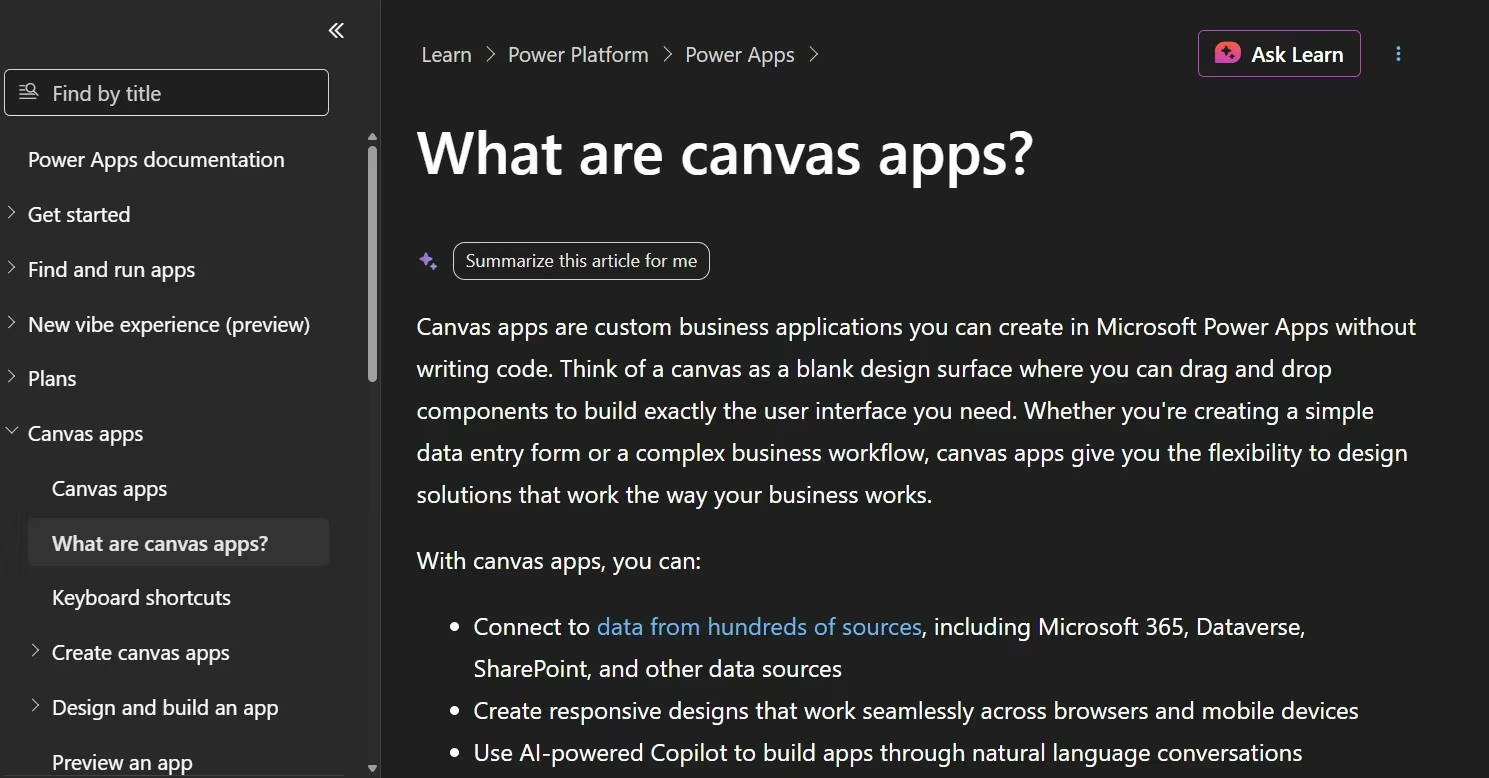
Also read our guide on what is no-code app development to understand where Power Apps fits in the broader landscape of builders.
How to Build an App Without Coding: Step by Step
Step 1: Pick One User and One Costly Problem
Describe your app in one sentence before opening a builder:
This app helps [specific person] complete [specific action] without [current frustrating process].
For this walkthrough, the sentence is:
Northstar Invoice Tracker helps a specialty contractor’s office administrator create and track invoices without managing separate spreadsheets and email threads.
This definition rules out payroll, inventory, job scheduling, route planning, quotes, and bookkeeping reports. Those jobs could each become separate apps or later releases.
Expected result: You can identify the primary user, the action they need to complete, and the current process the app will replace.
Choose a task that happens every week. A frequent, irritating process gives testers enough opportunities to tell you whether the app saves real effort.
Step 2: Map the Smallest Complete Workflow
Write the steps your user must complete from beginning to end. Keep each step observable, so you can test whether it worked.
The Northstar workflow is:
- Add a customer.
- Create an invoice for that customer.
- View the invoice as unpaid.
- Open a customer-facing payment page in test mode.
- Mark the invoice as paid.
- See the dashboard totals update.
Version one needs four screens:
- Dashboard: Total invoices, unpaid amount, paid amount, and recent activity.
- Customers: Customer records and contact details.
- Invoices: Invoice form, amount, due date, and payment status.
- Payment Page: A customer-facing test page for one invoice.
Keep the underlying data equally small:
- Customer name
- Customer email
- Invoice number
- Amount
- Due date
- Status
- Created date
Expected result: You have one uninterrupted path from the first action to a measurable outcome.
Read the workflow aloud. Any step that requires "and then it also…" probably contains a second feature. Move it to a later release.
Step 3: Choose Web or Native Mobile
Build a web app first so that people can complete the task in a browser. Client portals, dashboards, request forms, trackers, booking tools, and administrative apps usually fit this route.
Choose native mobile when the app depends on:
- Camera or photo access
- Location data
- Push notifications
- Sensors
- Offline use
- App-store discovery
- A mobile-first experience that people use throughout the day.
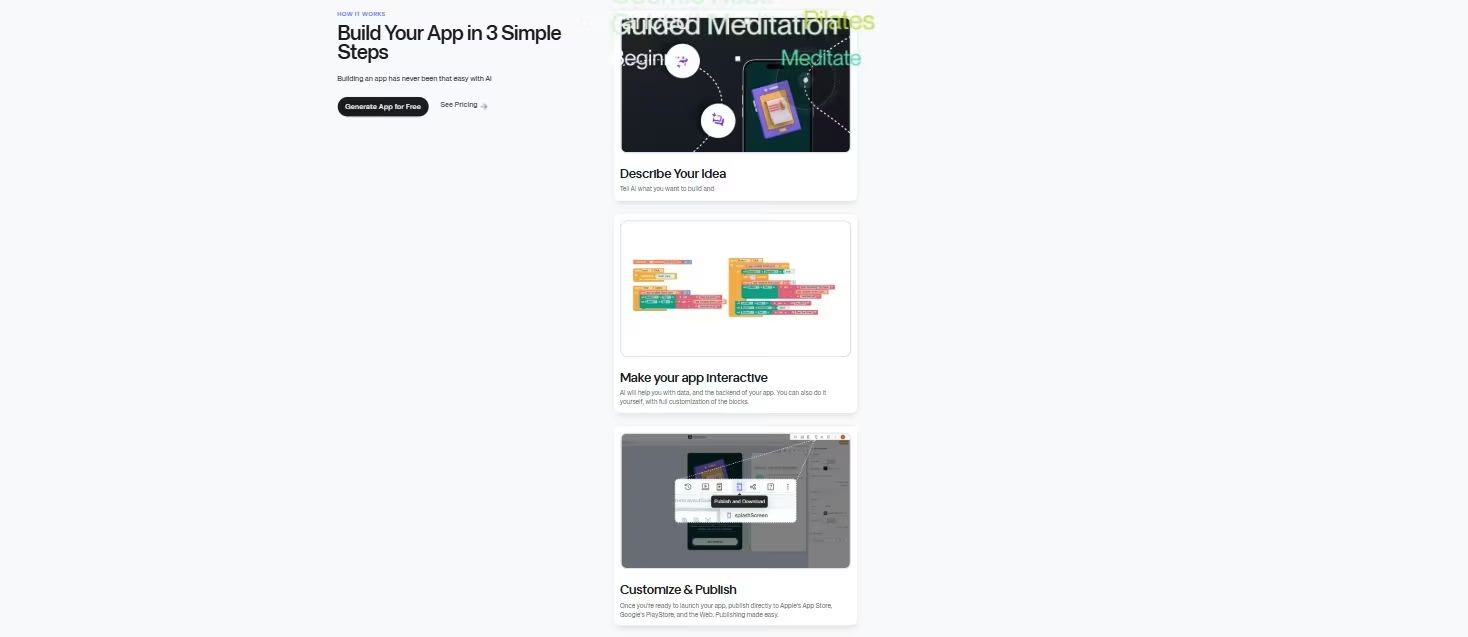
For Emergent, the regular web-app flow is available from the main builder. Its Mobile Agent uses Expo and React Native, supports iOS and Android from one codebase, and requires a paid plan starting at $20 per month.
For Northstar, I’d start with a responsive web app. An office administrator will usually create and manage invoices on a computer, while customers can open the payment page from a phone browser. Native store distribution adds work without improving the first test.
Expected result: You know whether you need a browser link or an installable iOS and Android app.
Step 4: Write a Prompt That Describes Behavior
A strong build prompt names the user, workflow, screens, data, visual direction, exclusions, and testing conditions. Feature labels alone leave too much room for interpretation.
Use this prompt:
Build a responsive web app called Northstar Invoice Tracker for a small specialty contractor. The primary user is an office administrator.
The app must let the administrator add customers, create invoices, view unpaid invoices, open a customer-facing payment page in test mode, mark an invoice as paid, and see the dashboard totals update.
Use fake demo data only.
Create four screens: Dashboard, Customers, Invoices, and Payment Page.
Keep version one to one administrator role. Store the customer name, customer email, invoice number, invoice amount, due date, payment status, and created date.
Use a clear business interface that works on desktop and mobile browser widths.
Exclude quotes, payroll, inventory, route planning, vendor management, recurring billing, accounting exports, and real payment processing.
Before building, show me the proposed screen list, data fields, and user flow. Ask a question about anything that is unclear.
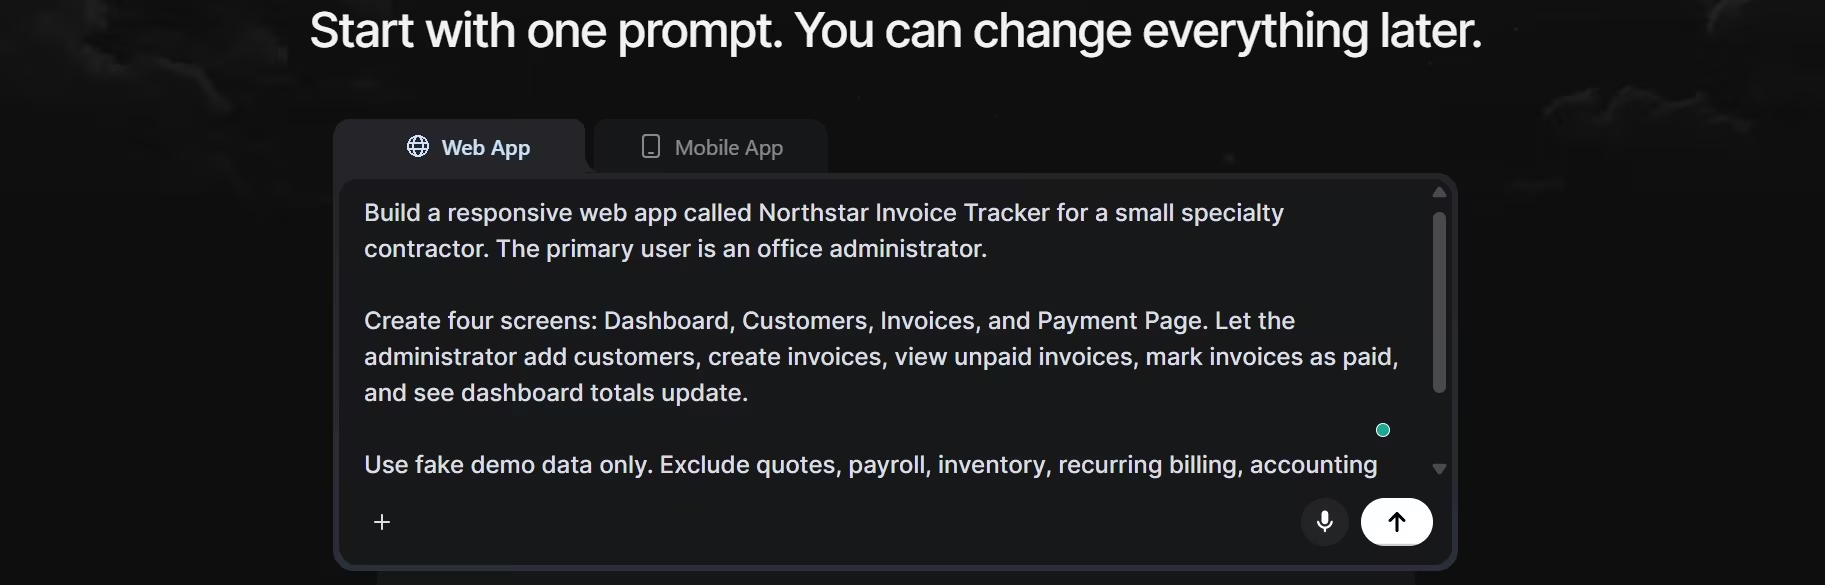
This prompt gives the builder an acceptance test. The finished app either contains the four named screens and six-step workflow, or it doesn’t.
Expected result: The builder returns a plan that matches the named user, screens, data, and workflow.
Add exclusions to every first-build prompt. Otherwise, an agent can spend time generating features that sound useful but don't help you test the main job.
Step 5: Review the Plan Before Building
Stop and inspect the proposed plan. Fixing scope at this stage costs less time and fewer credits than removing completed features.
Use this checklist:
- One administrator role
- Four screens: Dashboard, Customers, Invoices, and Payment Page
- Seven required data fields
- Six workflow actions
- Fake demo data
- Test-mode payment page
- Responsive browser layout
- No excluded features
Ask for a revision when the plan adds a role, screen, integration, or workflow that isn’t listed. Use a direct instruction:
Revise the plan before building. Remove [feature]. Keep version one limited to the four approved screens and the six-step invoice workflow.
Approve the plan only after the scope matches your list.
Expected result: You have a written build plan that can serve as the test checklist later.
Save the approved plan outside the chat. When a later prompt expands the scope, you can paste the baseline back in and ask the agent to compare the requested change against it.
Once you approve the plan, let the builder complete the first pass before changing colors, spacing, or button labels. Test the workflow before polishing the interface.
Also read our guide on how to build an AI app in under an hour to see how fast you can go from approved plan to working product.
Step 6: Test the App With Fake Data
Test the main workflow in the same order a real person will use it. Then repeat the test with incorrect or missing information.
The documented Northstar build used six fake invoices and five fake customers. That was enough data to expose dashboard totals, status filters, recent activity, and customer relationships without placing real business information in an unfinished app.
Run this test:
- Create a fake customer called Jordan Lee.
- Add jordan@example.com as the email.
- Create invoice INV-1007 for $1,250.
- Set the invoice status to unpaid.
- Open its customer payment page in an incognito browser window.
- Return to the administrator view.
- Mark the invoice as paid.
- Confirm that the unpaid total drops by exactly $1,250.
- Refresh the page and check that the status remains paid.
- Open the same screens at a narrow mobile-browser width.
Then try to break it:
- Submit the customer form without a name.
- Enter a negative invoice amount.
- Reuse an existing invoice number.
- Enter an invalid email address.
- Open a payment-page link for an invoice that doesn’t exist.
- Double-click the save or payment-status button.
- Refresh while a form is submitting.
- Check long customer names and large dollar amounts.
Ask the builder to run its own test pass after your manual review:
Test the complete invoice workflow from customer creation through dashboard update. Check form validation, duplicate invoice numbers, missing records, repeated button clicks, mobile layout, and refresh behavior. List every issue found, fix each one, and report what changed.
Expected result: The correct path works, invalid actions produce useful errors, and saved data remains correct after refresh.
Keep real customer records, passwords, payment details, health information, and other sensitive data out of the test project. Bring in a developer or security reviewer before connecting real payments or regulated data.
Step 7: Publish to a Small Test Group
Publish the working version to three to five people who match the primary user. Give them the goal, then watch where they hesitate rather than explaining every step.
Use this test instruction:
Add a customer, create an invoice, open its payment page, mark the invoice as paid, and check that the dashboard changes.
Ask four questions after the test:
- Where did you pause or feel unsure?
- What did you expect to happen at that point?
- Would this replace part of your current process?
- Would you use it again next week or pay for a pilot?
Use a single decision ladder:
- Nobody completes the workflow: Fix the broken or confusing step.
- People finish only with help: Simplify labels, navigation, and form requirements.
- People finish alone but don’t return: Recheck whether the problem occurs frequently enough.
- People return without prompting: Keep improving the current workflow.
- Someone asks to pay or run a pilot: Treat that as your strongest demand signal.
Keep the payment page in test or placeholder mode during these sessions. Connect live payments only after the workflow is stable and the implementation has received an appropriate review.
For a native mobile release, the builder subscription isn’t the only cost. Apple charges $99 per membership year for the Apple Developer Program, and Google charges a one-time $25 registration fee for full Play distribution. New Google Play personal accounts also have testing and identity-verification requirements.
Expected result: You know which part of the app needs revision and whether the workflow deserves another release.
Common Mistakes to Avoid
Prioritizing Features Before the Core Workflow
A collection of screens can look finished while the core task remains broken. Write the start-to-finish workflow first, then add only the screens and fields that support it.
Changing the Core Example Mid-Build
Use one app name, one user, one workflow, and one screen list throughout the build. Mid-project changes are the most common way scope creeps: a new app name, a second conflicting screen list, or a feature like quoting that slips in after you already approved the plan. Lock the example once and keep it identical from the opening brief through launch.
Connecting Real Payments Too Early
A payment button introduces account setup, transaction states, refunds, failed payments, receipts, access control, and security review. Test the user flow with a placeholder or provider test mode first.
Testing With Real Customer Data
Fake records let you share screenshots, invite testers, and diagnose mistakes without exposing business information. Replace them only after the app’s access rules and data handling have been reviewed.
Going Native Before Proving the Workflow
App-store packaging and review add work. Start with a responsive web app when a browser can support the same task. Move to native mobile when device features or daily mobile use create a clear advantage.
Ignoring Your Exit Path
Check code export, GitHub access, data export, hosting options, and what happens after cancellation before you commit to a platform. Emergent’s Standard plan includes GitHub integration, while other builders use different ownership and hosting models.
Assuming Generated Code Is Ready for Production
A working preview only shows the visible path held up during your test, not that every permission, edge case, integration, data rule, and security control is ready for public use.
How to Take Your App Further
Add the next feature only when tester behavior supports it.
For Northstar, the next release could add:
- Editable invoices
- Downloadable PDF invoices
- Customer invoice history
- Email delivery
- A real payment provider in test mode
- Separate administrator and staff roles
Add one item, rerun the original workflow, and check that the change hasn’t broken the earlier version.
When you reach a stable milestone:
- Connect the project to GitHub when your plan supports it.
- Save a named version before major changes.
- Connect one service at a time through the official Emergent integrations directory.
- Use the Emergent MCP connector when you want to start or extend builds from ChatGPT or Claude.
- Ask testers to repeat the same six-step workflow after every release.
Emergent Makes App Building Easier
I’d use Emergent’s AI app builder for the Northstar example because the app needs connected screens, stored records, workflow rules, a responsive interface, testing, and a hosted preview from one description.
Emergent’s agents can plan, build, test, and revise web and mobile apps through conversation.
The Free plan includes 10 monthly credits. The Standard plan costs $20/month month-to-month or $17/month billed annually, includes 100 monthly credits, and adds private project hosting and GitHub integration. Its Mobile Agent is available on paid plans and builds with Expo and React Native for iOS and Android.
For your first project:
- Start with the four-screen prompt.
- Review the proposed plan before approving the build.
- Use fake records.
- Run the manual and agent-led test passes.
- Publish to a small group.
- Add features from observed behavior.
Final Takeaway
The fastest way to build an app without coding is to reduce the idea to one user, one complete workflow, and one measurable outcome. A clear four-screen app that five people can use beats a polished 20-screen product that nobody finishes.
Start with the web route, fake data, and a written test. Add native mobile, payments, integrations, and extra roles only after the core workflow survives real use.

Describe what you want and Emergent builds it. A real, production-ready app you can launch the same day.
- One prompt to build
- Zero code required
- Deploy in minutes